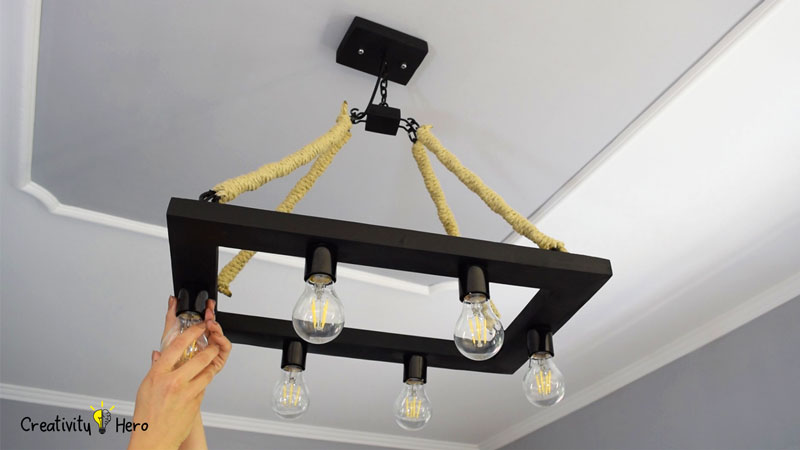
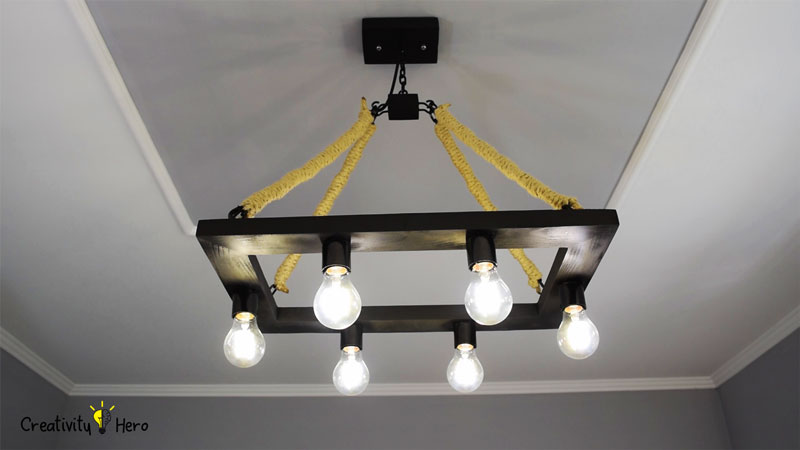
Home Blog Page 2

DIY Interactive LED Coffee Table

20
DIY Interactive LED Coffee Table Photo Featured

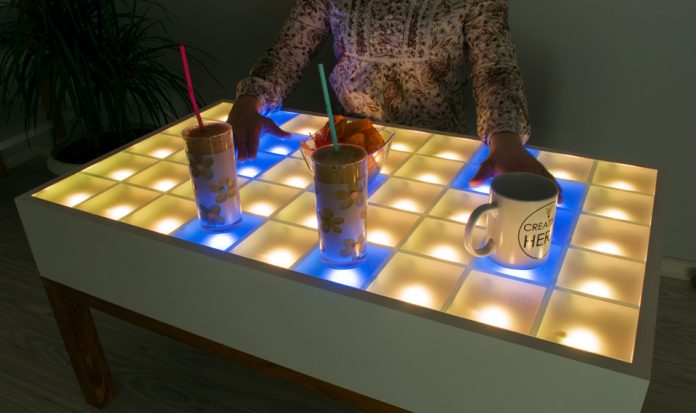
In this video I’m going to show you how to make an interactive LED coffee table.

This unique LED coffee table can create beautiful atmosphere and will be a real focal point in my living room. I wanted to make a simple design with some interesting features that will take my room to a whole new level.

It is controlled via a custom-made Android application, so I can easily change the reactive color, or the background color, and I can even adjust the brightness.

This interactive LED coffee table is made out of MDF for the box, a pine for the legs, a glass top and its inner part consists of an Arduino board, a Bluetooth module, LEDs, proximity sensors and a bunch of wires.

Here’s the video where you can see how I made this interactive LED coffee table step by step.

Here are the materials I used:

Types of tools I used:

Disclosure: As an Amazon Associate I earn from qualifying purchases.

Now, let’s start with the build.

Related: DIY Mid-Century Modern Side Table / End Table

Step 1: Cutting the MDF and the Pine to Size.

DIY Interactive LED Coffee Table 1 - Cutting the MDF to Size

First, I’m cutting all the pieces to size on my table saw. I’m going to make a box out of MDF. I’m using 18 mm thick MDF for the sides, and 8 mm thick MDF for the bottom.

Most of the pieces I cut using my table saw fence.

Inside the box I’ll create a grid out of MDF, so I need to cut 12 pieces 4 cm wide.
DIY Interactive LED Coffee Table 2 - Cutting the the Pine to Size

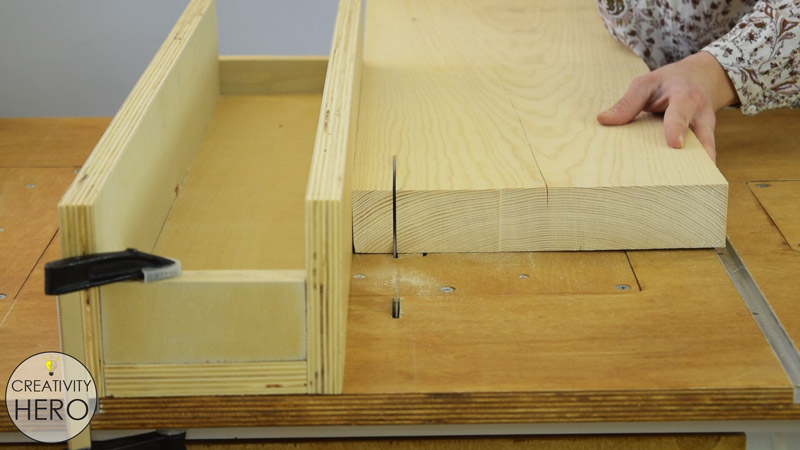
For the legs and the frame below the box, I used a large pine board. It was warped, and I don’t have a plainer which means I needed to make a lot of cuts and adjustments in order to flatten all the pieces.

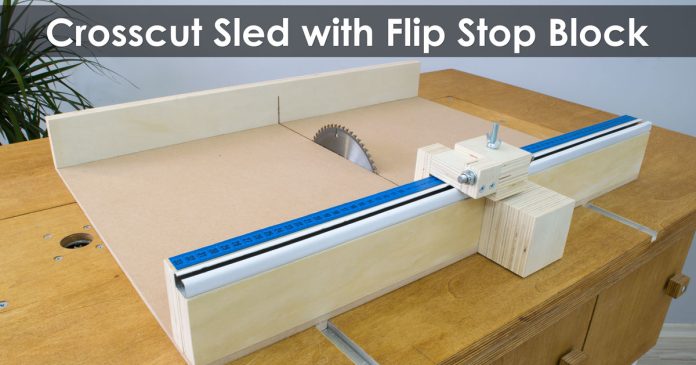
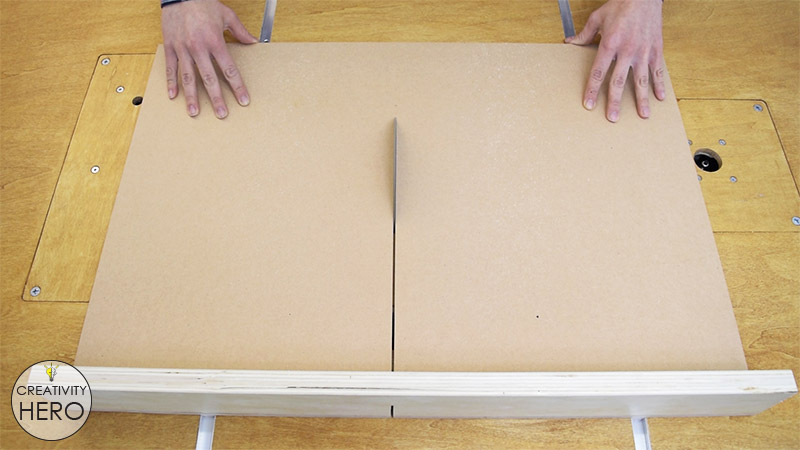
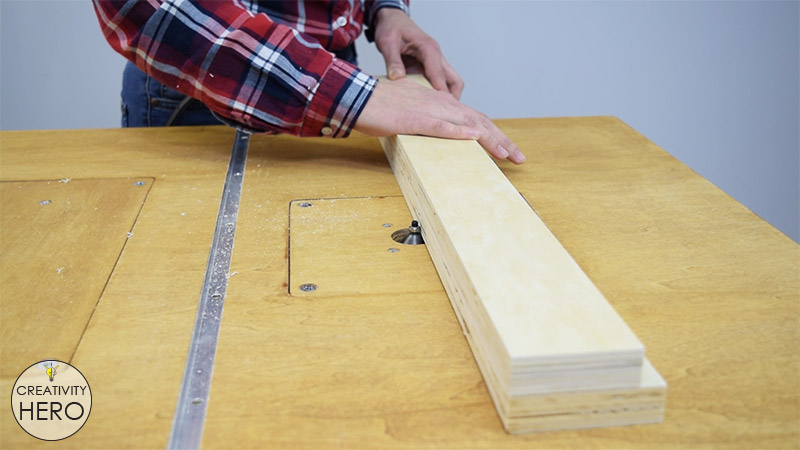
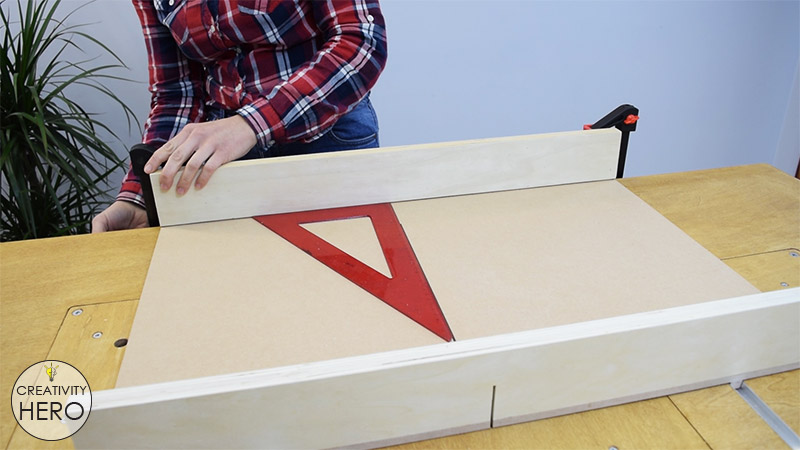
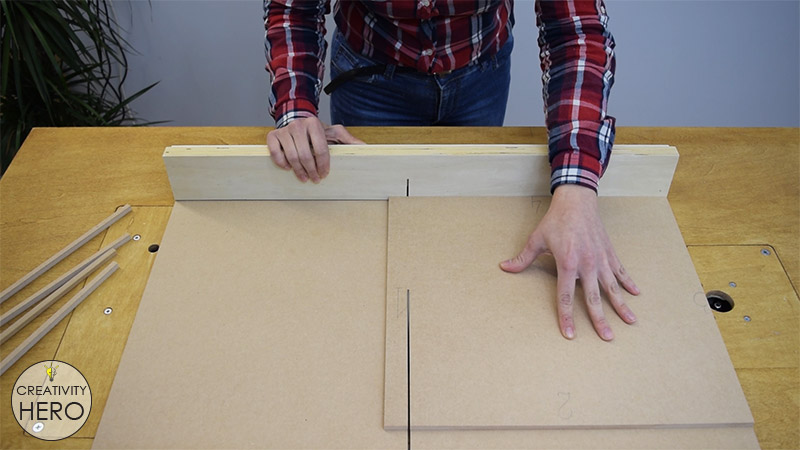
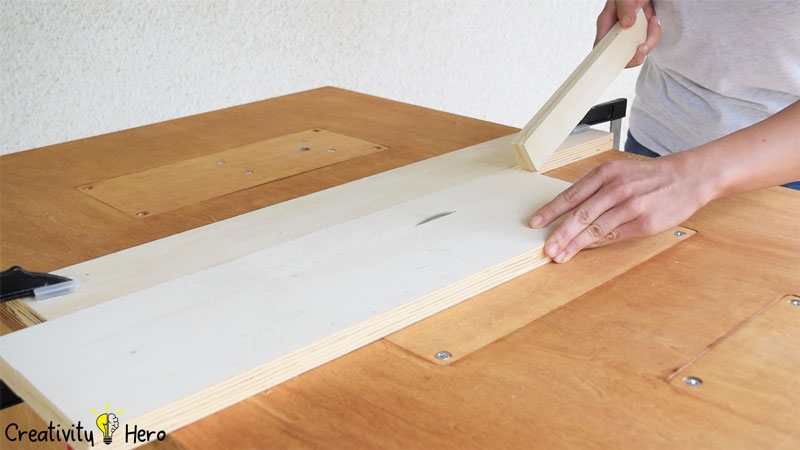
To cut all the pieces to the right length I used the crosscut sled. For making repeated cuts I mounted a stop block. Some of the pieces were much longer, so I set the fence and clamped a scrap of plywood on it, which will actually serve as a stop block for the longer pieces.
DIY Interactive LED Coffee Table 3 - Making dadoes on the crosscut sled

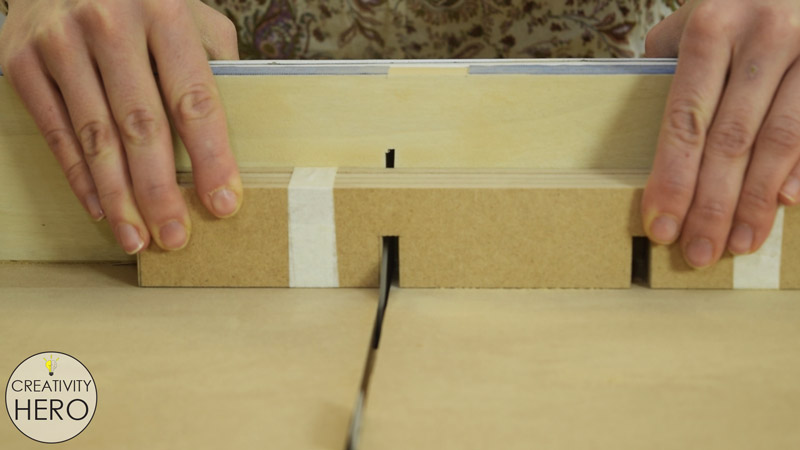
For the grid I should make dadoes onto each MDF piece, so that they can easily lock together and make a perfectly squared grid.

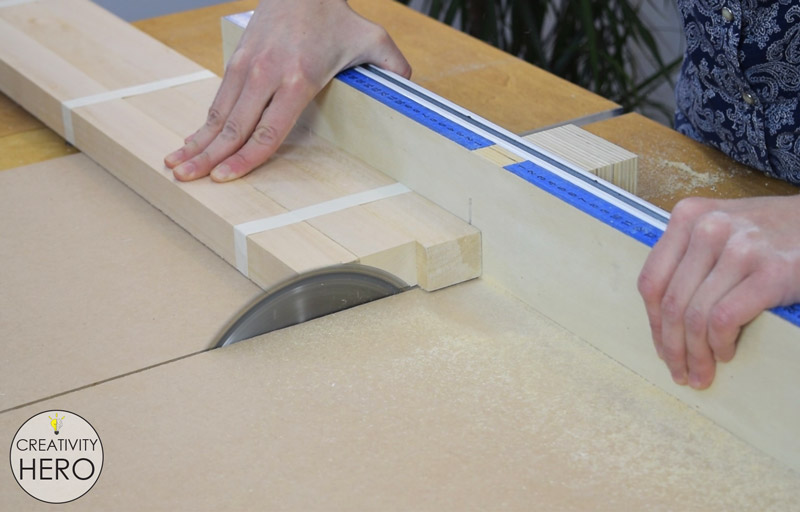
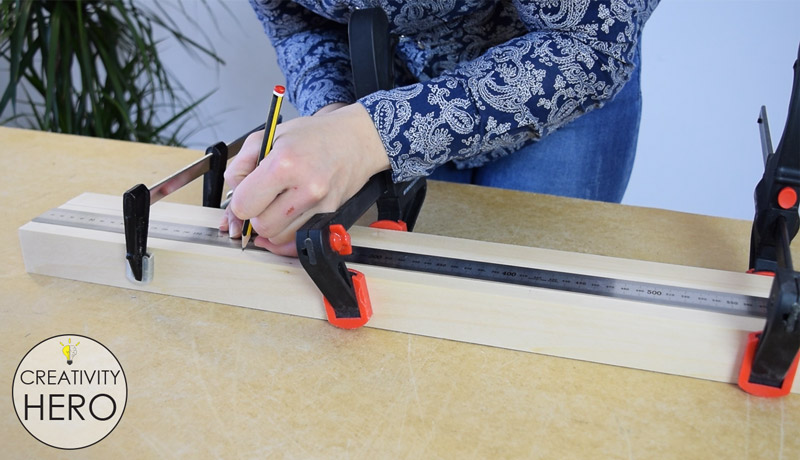
So, I marked all the points for the dadoes, wrapped the pieces together with a masking tape, set my blade on the appropriate height and made all the cuts.

Here’s the 3D model and the plan for this interactive LED coffee table with all the dimensions:

Step 2: Sanding the Pieces.
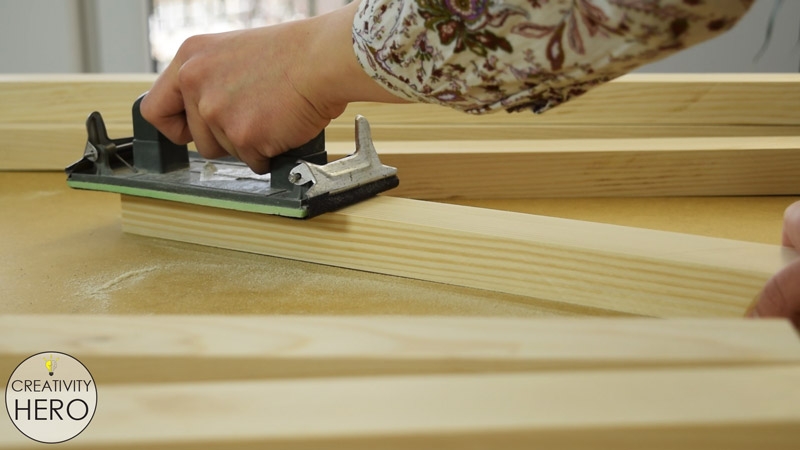
DIY Interactive LED Coffee Table 4 - Sanding the Pieces

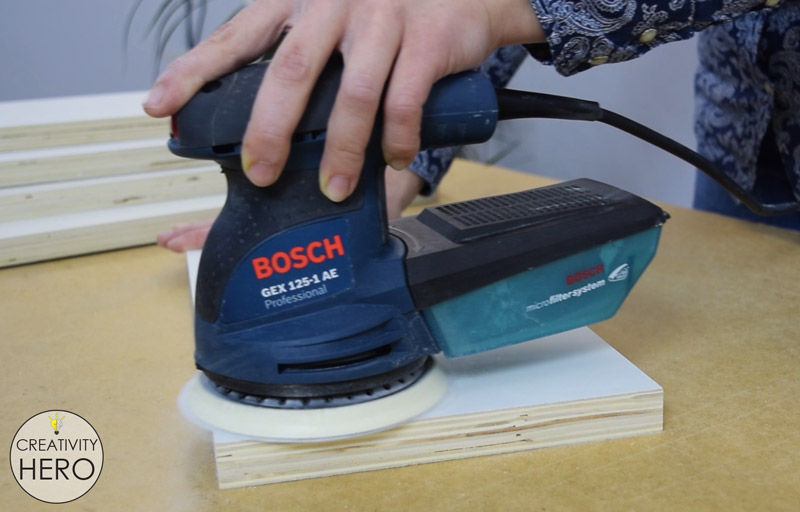
I started with 80 grit sandpaper and then continued with 120 grit, until everything was nice and smooth.

Step 3: Assembling the box.
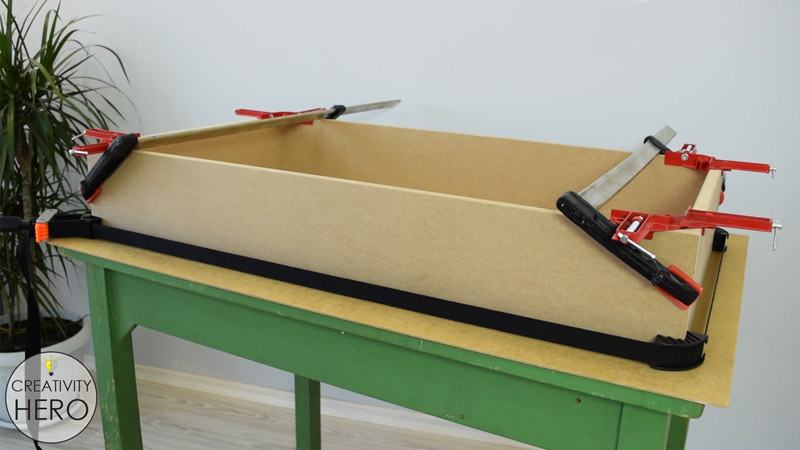
DIY Interactive LED Coffee Table 5 - Assembling the box

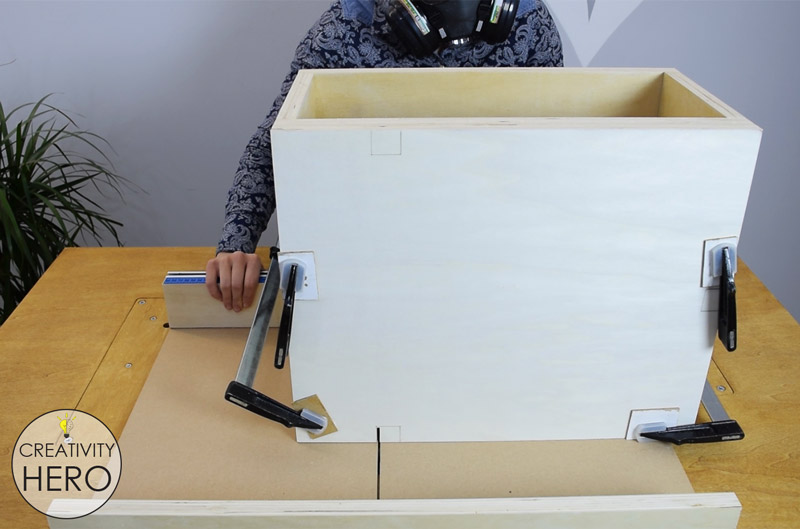
First, I assembled the box. I applied a nice amount of wood glue, and joined the pieces together with corner clamps and a bend clamp.
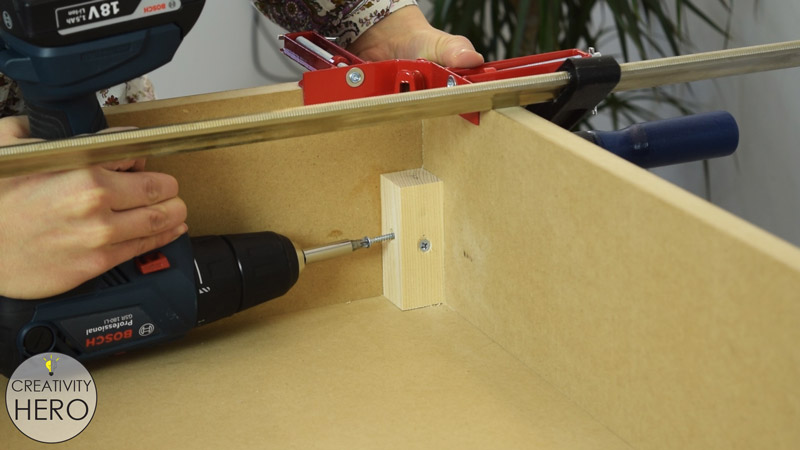
DIY Interactive LED Coffee Table 6 - Assembling the box

To make stronger connection between the sides of this frame, I added a small piece of wood in each corner and secured them well.
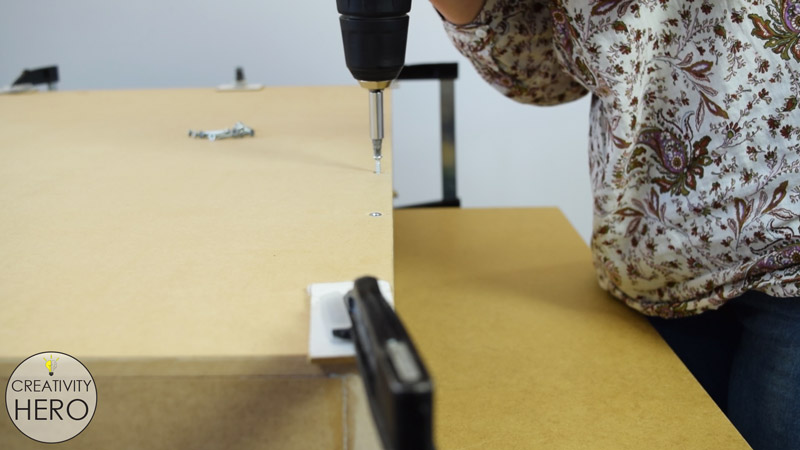
DIY Interactive LED Coffee Table 8 - Assembling the box

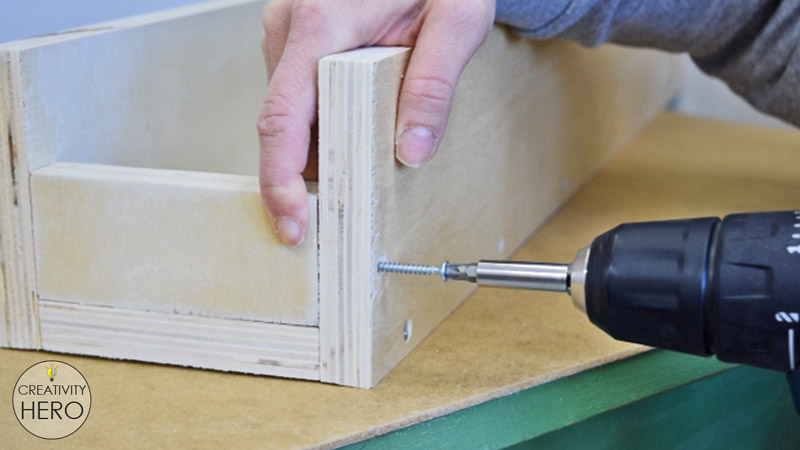
After that I can secure the bottom of the table with a wood glue and a lot of screws . I pre-drilled holes, and then inserted countersunk screws.
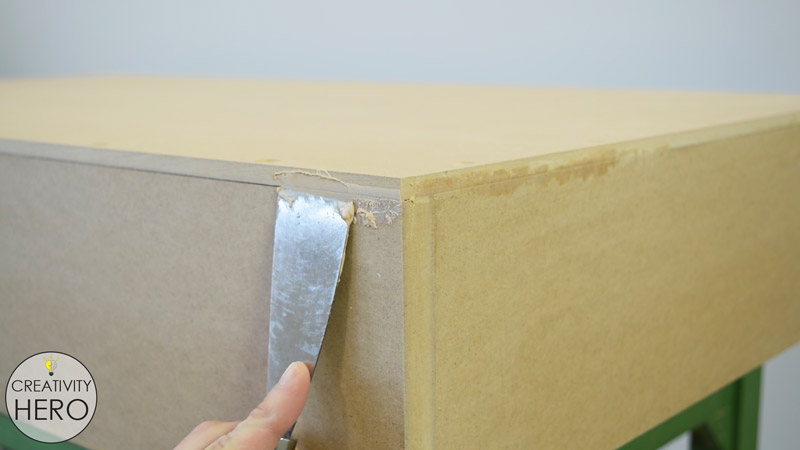
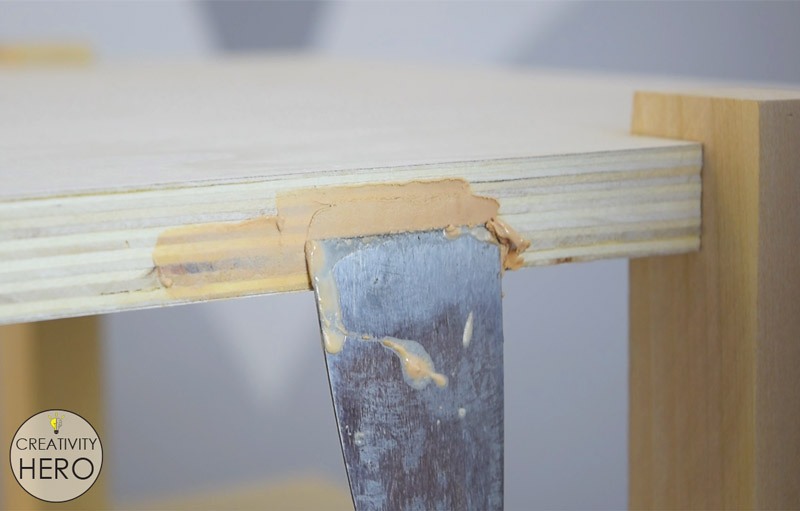
DIY Interactive LED Coffee Table 9 - Filling the gaps with a wood filler

In order to avoid any gaps I’m applying a wood filler on the joining parts of the table.

I made two openings on the bottom of the table, one for the high-voltage cable, and other for the switch. Using a rasp I made the opening for the switch a perfect fit.

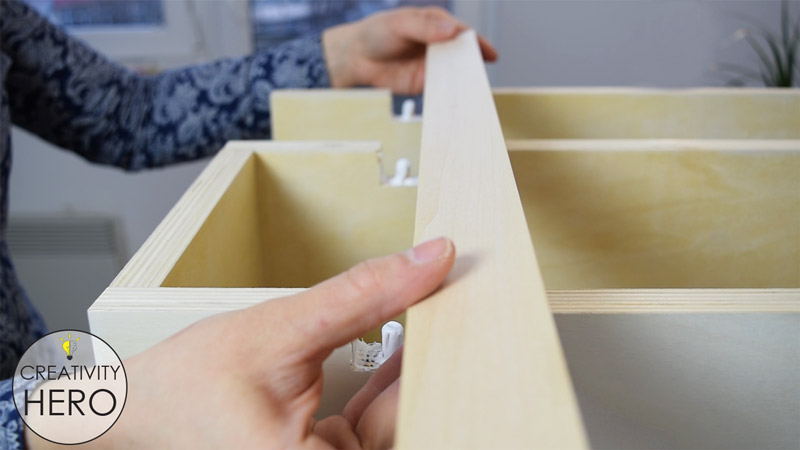
When I placed the smaller MDF board into this box, I noticed that it was warped in the middle due to its length, so I added 2 more small wooden pieces into the box for better support.
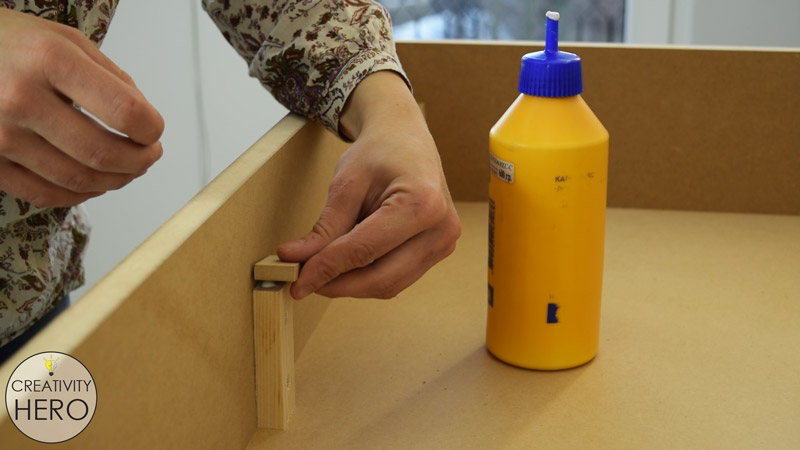
DIY Interactive LED Coffee Table 10 - Adding extra height

Then, I measured the depth of the box, and also realized that I should add extra 8 mm height onto those small wooden pieces so that when I finally place the glass on the top it would be flush with the sides.

Luckily, I had 8 mm thick MDF which is perfect for this purpose. I cut 6 small pieces of it and glued them on top of the pieces that I previously attached.

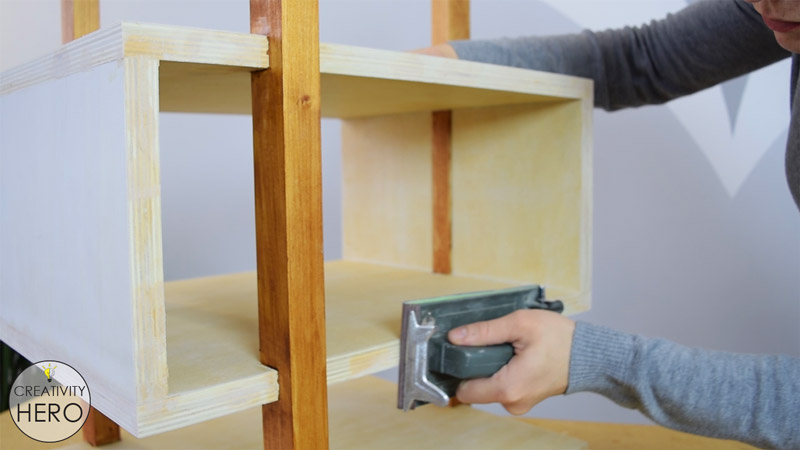
I fine sanded the MDF to remove the extra wood filler and prepared it for painting. Then, I wiped the dust off of the surface with a wet rag.

Step 4: Painting the MDF Box.
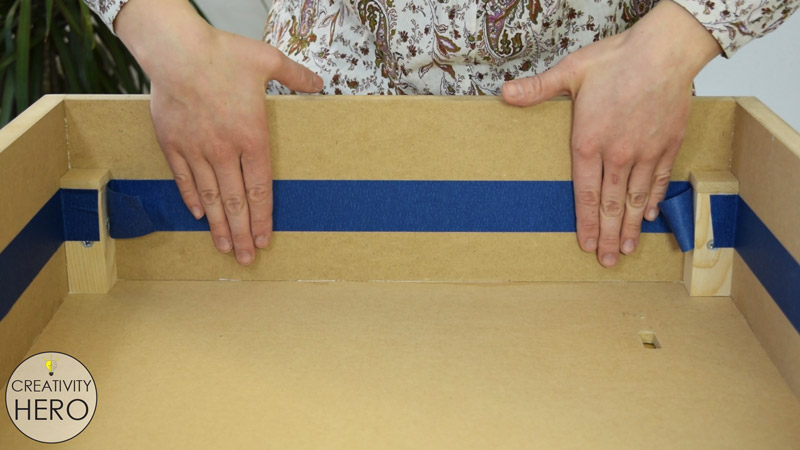
DIY Interactive LED Coffee Table 11 - Applying a masking tape

I don’t have to paint the entire inner part of the table, so I applied a masking tape on the sides to get straight, clean paint lines.
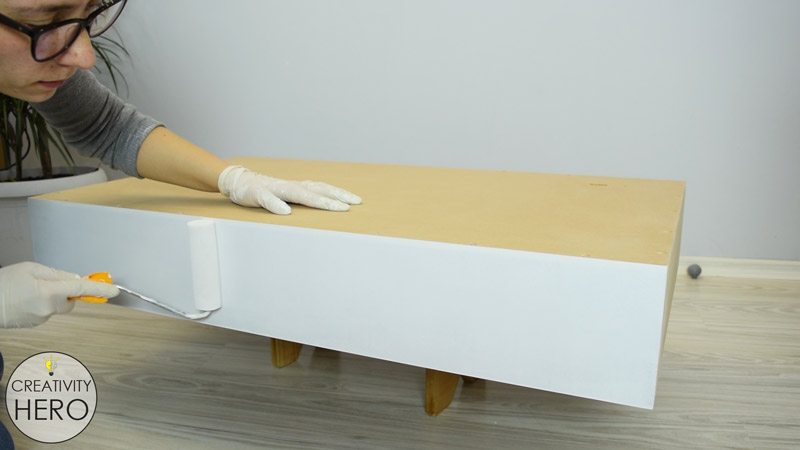
DIY Interactive LED Coffee Table 12 - Applying a Primer onto the MDF Box

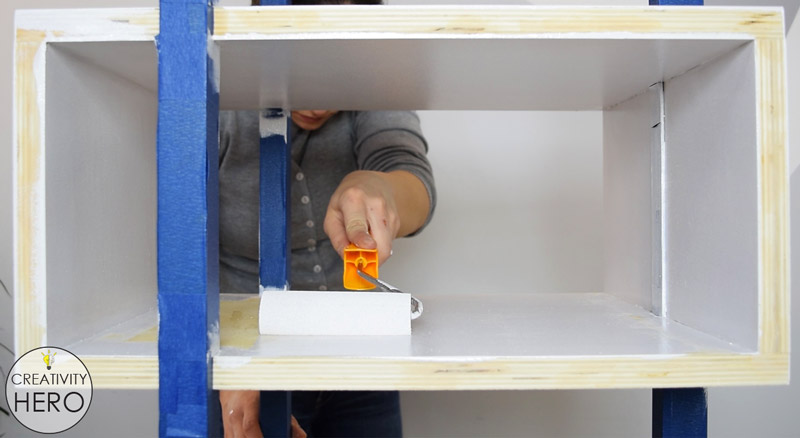
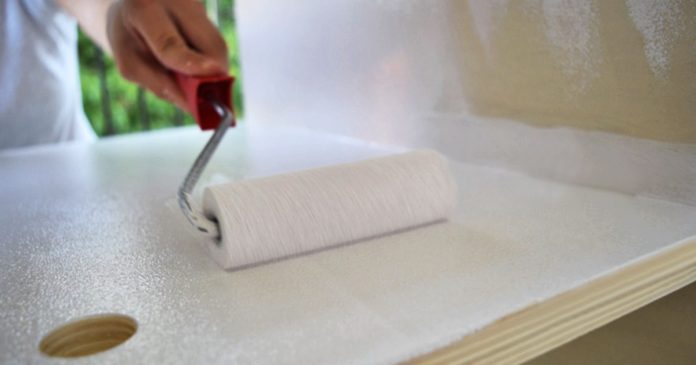
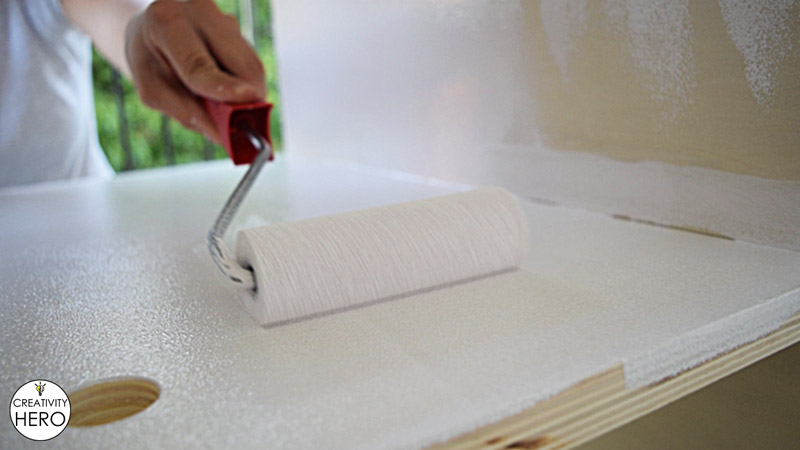
After that, I applied an oil based primer using a roller for large surfaces, and a brush for the areas that are hard to reach.
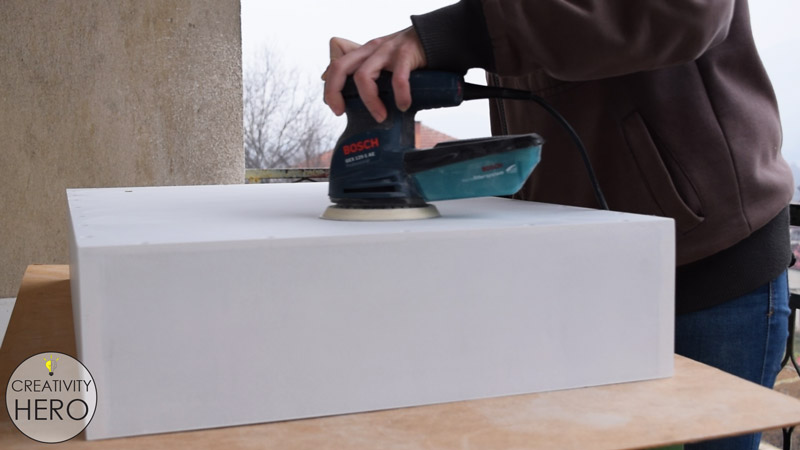
DIY Interactive LED Coffee Table 13 - Sanding the Primer

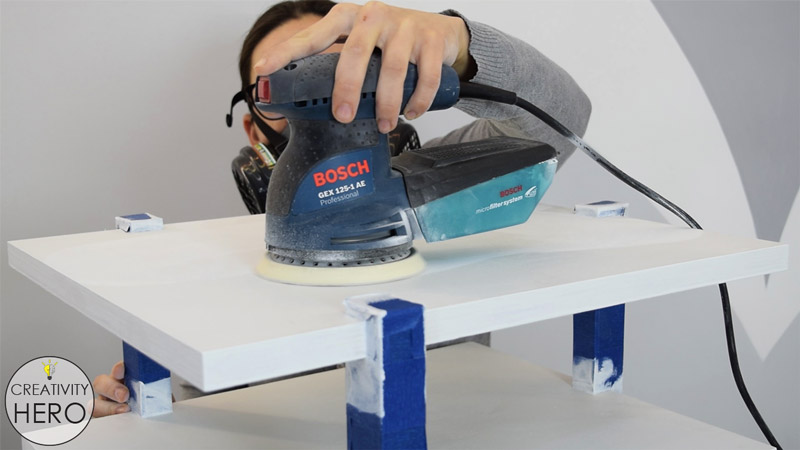
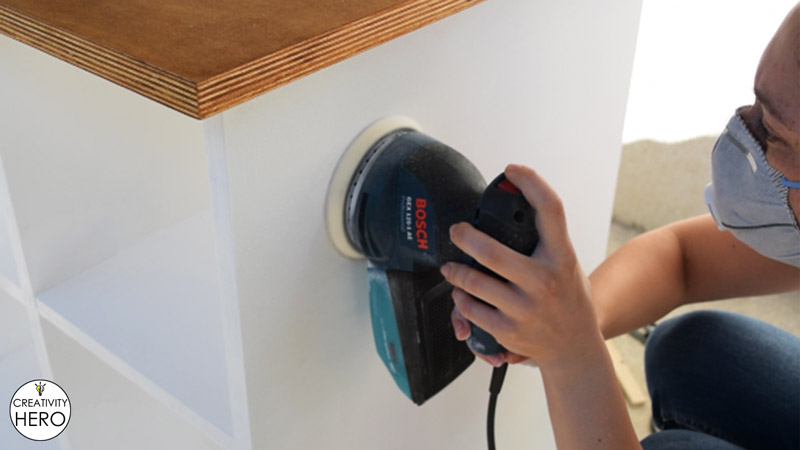
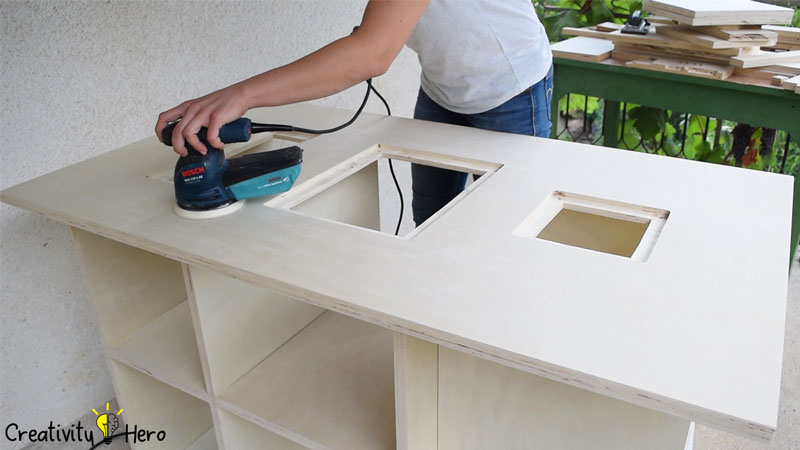
I left it to dry overnight, and sanded the surface with my orbital sander using 120 grit sandpaper.

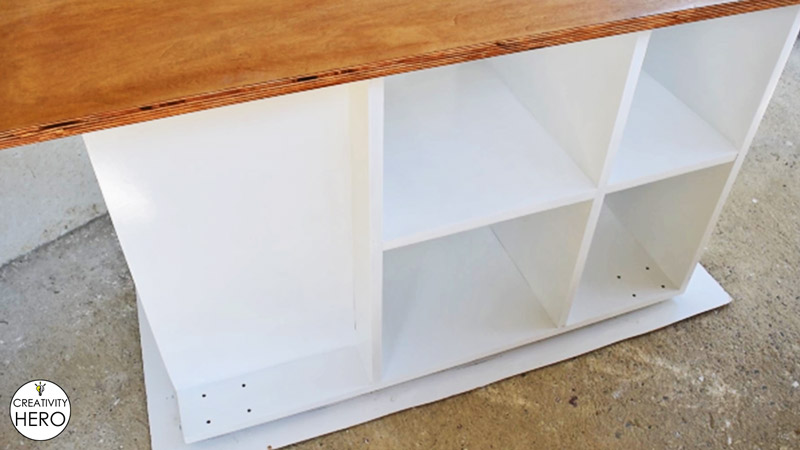
Now it is time to apply paint. I chose an oil based white paint, and carefully applied it on the surface making sure I cover every part of the table.

All the pieces that will be used for the grid inside the table I painted white as well.

Step 5: Assembling the Legs and the Frame below the Box.
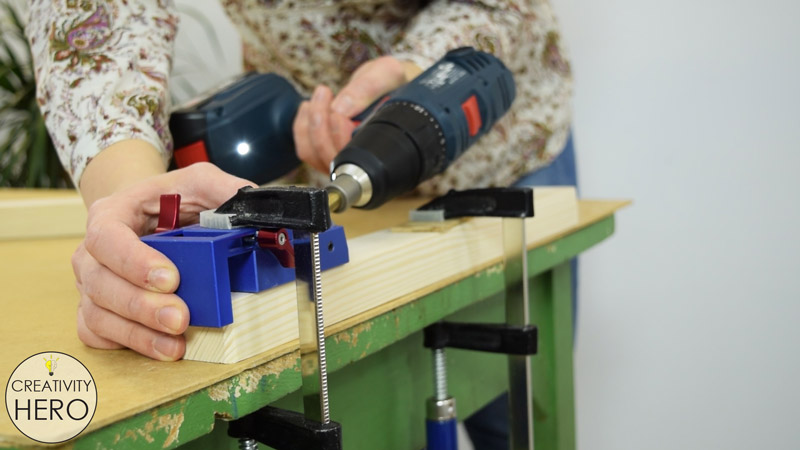
DIY Interactive LED Coffee Table 14 - Assembling the Legs and the Frame below the Box with Pocket Hole Screws

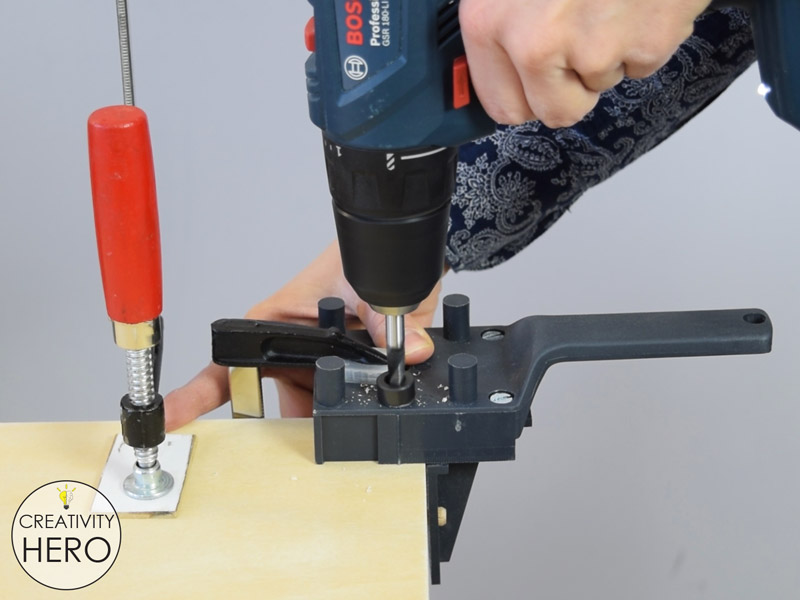
The legs and the frame below the table I’ll join together with pocket hole screws. The pocket hole jig that I have is very useful and easily adjustable tool for making pocket holes.

I wasn’t able to make two pocket holes on each side due to the width of the strips, but later I can mount corner brackets if needed.
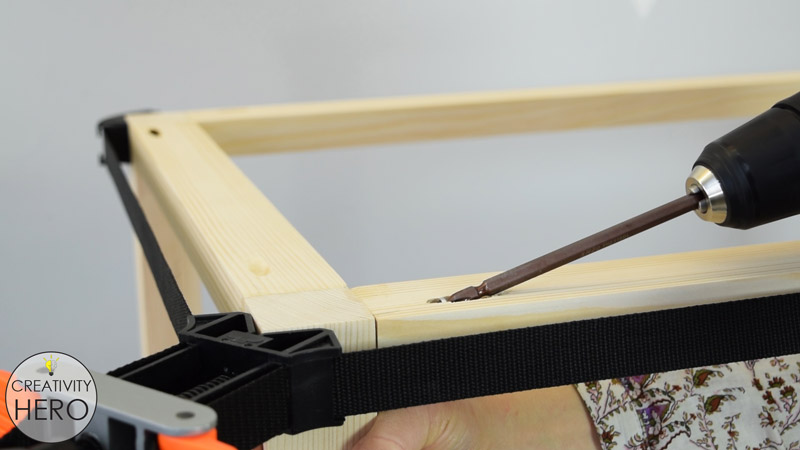
DIY Interactive LED Coffee Table 15 - Assembling the Legs and the Frame below the Box with Pocket Hole Screws

Before attaching the screws, I’m applying a wood glue for stronger connection. In order to make the pocket holes invisible, I inserted the screws on the top of the frame.

Again I applied a wood filler into the gaps and left it to dry. Then sanded the excess to prepare it for staining.

Step 6: Staining the Frame and the Legs.
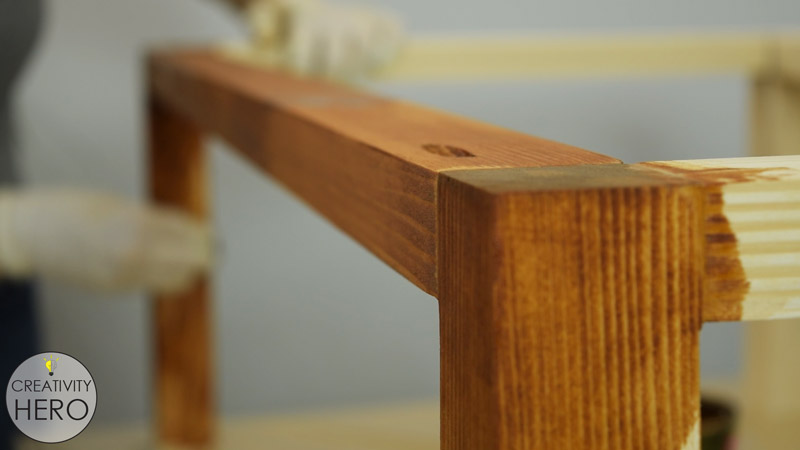
DIY Interactive LED Coffee Table 16 - Staining the Frame and the Legs

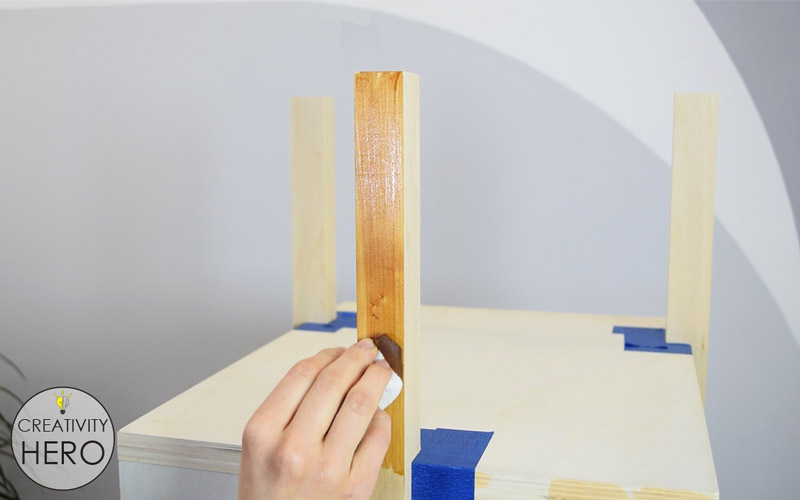
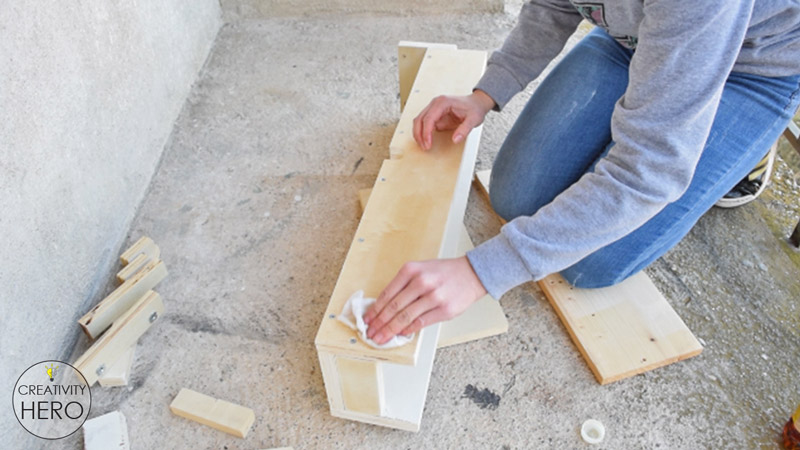
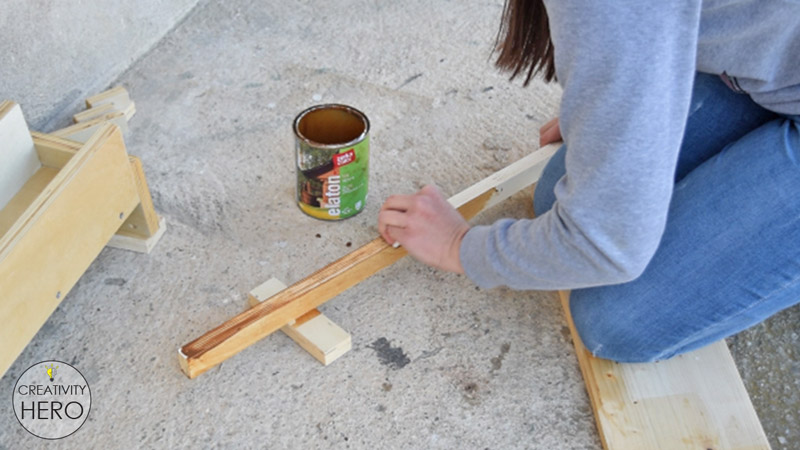
When it comes to the stain, I applied a rosewood stain to get a nice contrast between the top and the legs. I did the same in my previous project, and it turned out wonderful.

Step 7: Assembling the Entire Table.
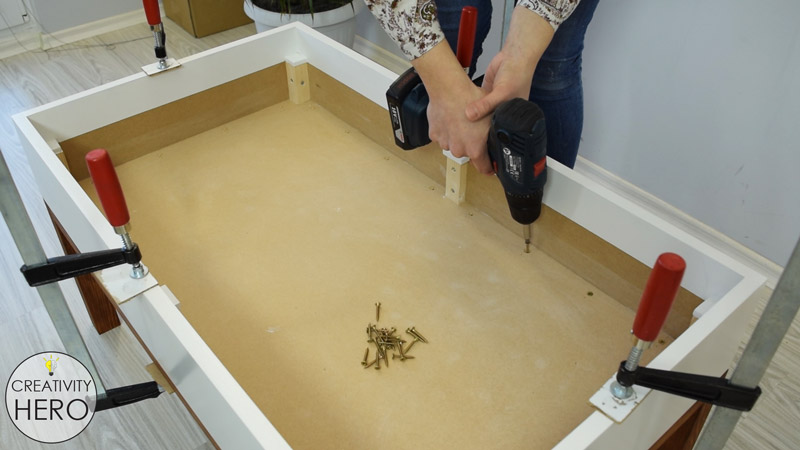
DIY Interactive LED Coffee Table 18 - Assembling the Entire Table

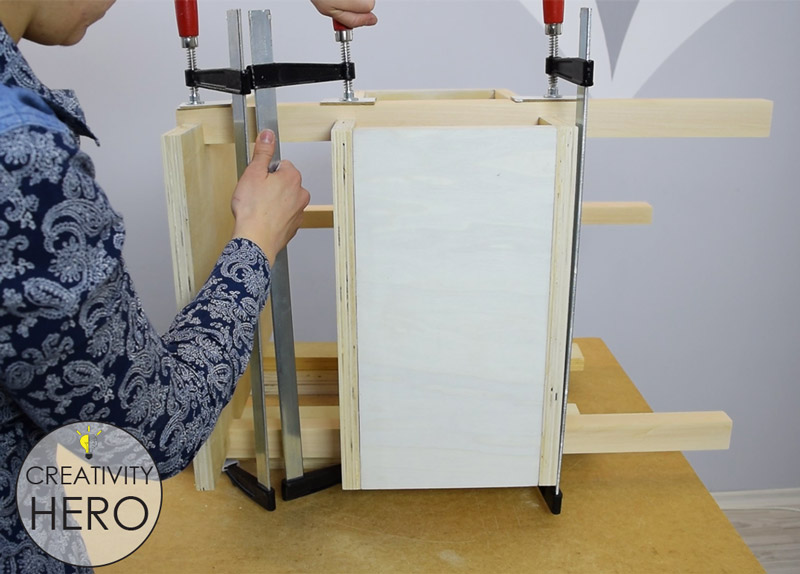
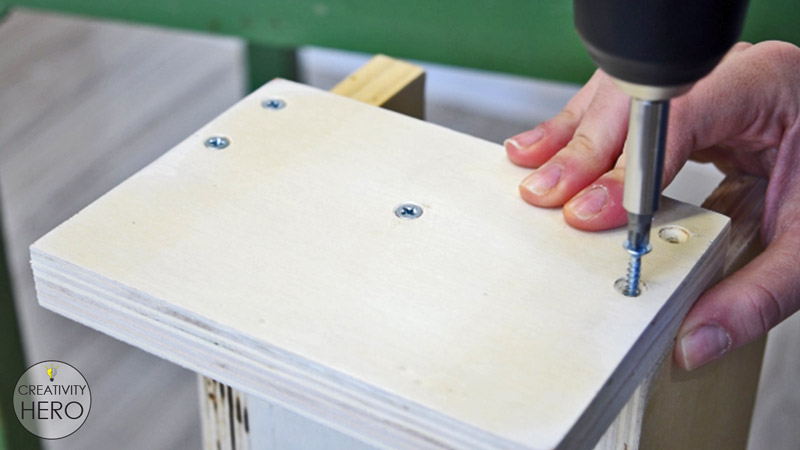
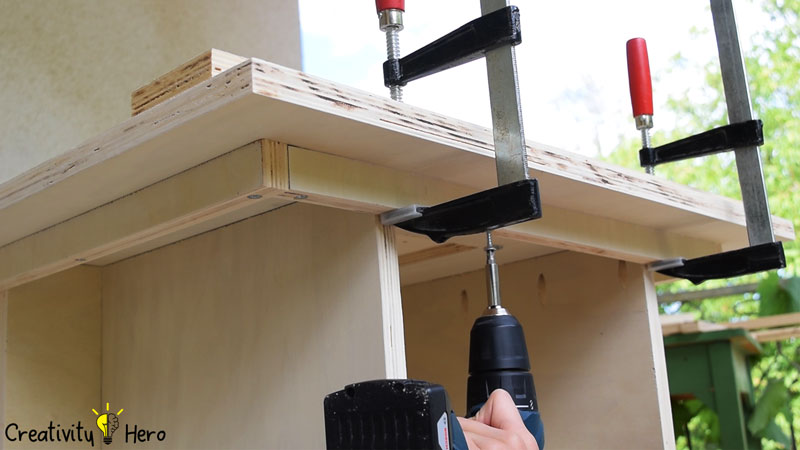
What’s left to do is to join the two parts of the table together. I clamped the top with the bottom, pre-drilled holes with a countersink drill bit and then used a lot of screws to secure them together.

Related: How To Create A 3D Paper Cut Light Box | DIY Project

Step 8: Preparing the MDF Board for The Electronics Part.
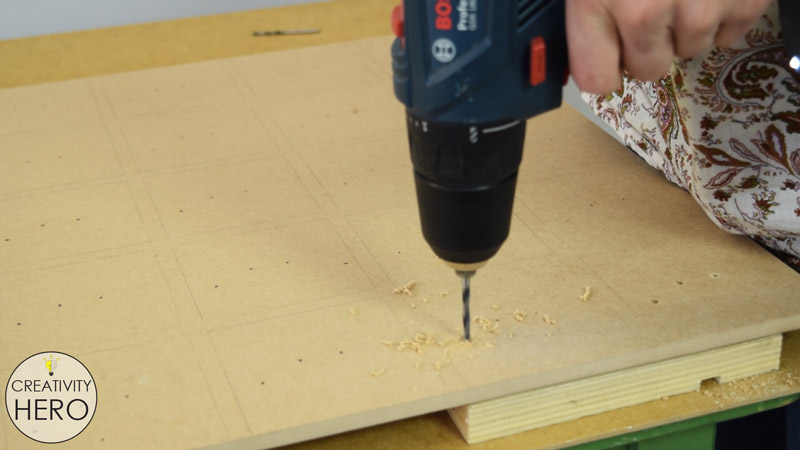
Preparing the MDF Board for The Electronics Part

The electronic parts that I’m using are: Addressable LEDs, Infrared proximity sensors, an Arduino Mega board, a Bluetooth module, 5V power supply and a bunch of wires.

I’ll attach everything onto one MDF board. It will be divided into 45 squares.

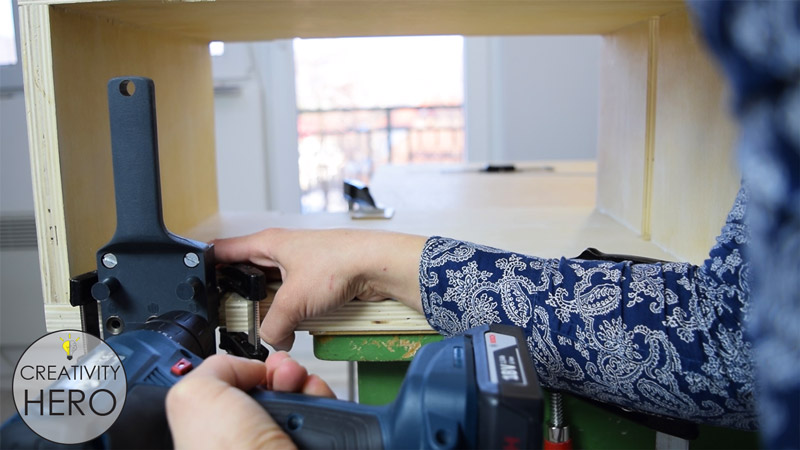
So, first I’m using a template to drill 3 holes into each square, and onto each square I’ll insert an LED and a proximity sensor, and connect them with some wires.

Step 9: Preparing the LEDs.
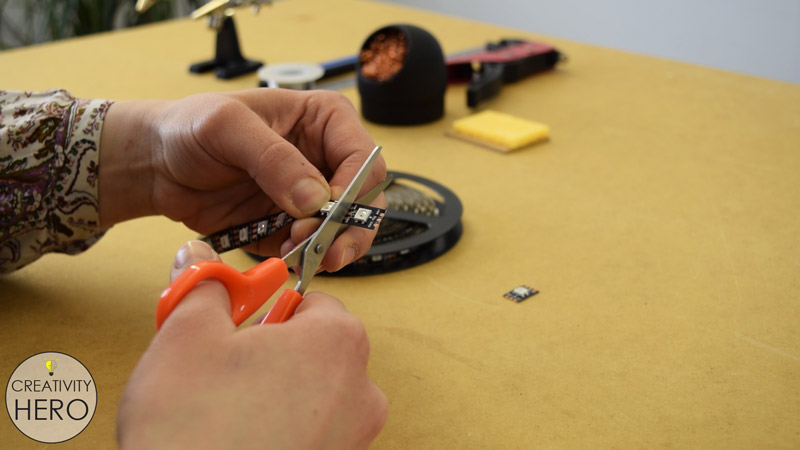
DIY Interactive LED Coffee Table 20 - Preparing the LEDs

Then, I cut 45 LEDs into individual pieces from this strip.

I need to cut 5 cm long pieces of red and black wire and strip off around 5 mm of the insulation on their ends. I’ll use one pair of those for each LED and another pair for each proximity sensor.

I’m doing the same with a green wire, but here I’m cutting longer pieces and also stripping off their ends.
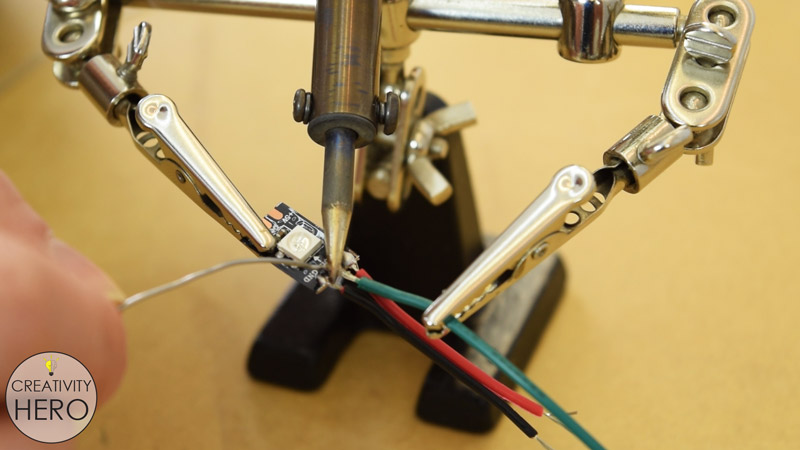
DIY Interactive LED Coffee Table 21 - soldering the wires onto the LEDs

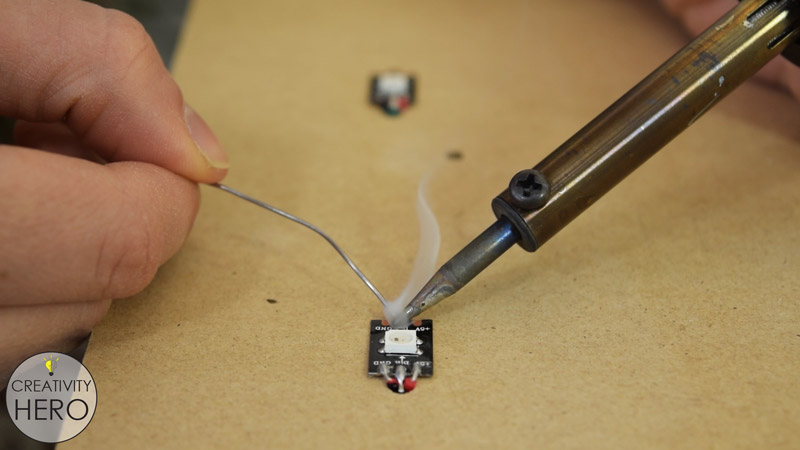
Then, I’m soldering the wires onto the LEDs. The black and the red I’m soldering on the Ground and the 5V pad, and the green one in the middle or on the Data IN pad.

Step 10: Preparing the IR Proximity Sensors.

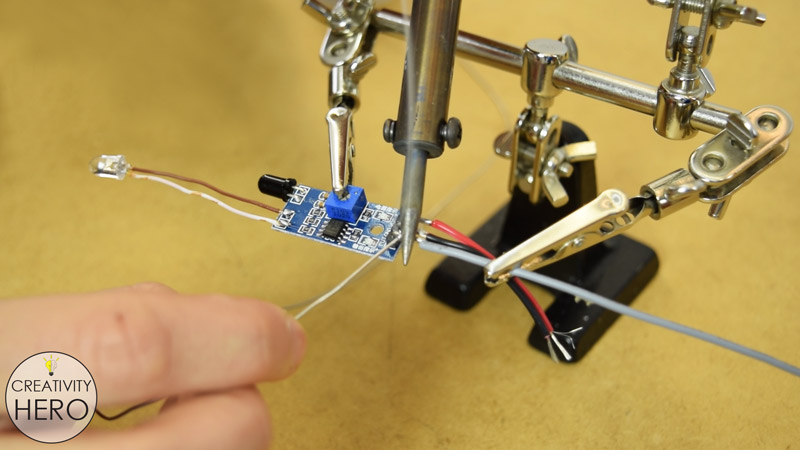
After that I can move on to the proximity sensors. I separated the IR transmitter and the IR receiver and made a larger distance between them.

In a normal position, the sensor won’t be able to detect a glass on top of the table, because the glass won’t reflect the Infrared light. In this way I can position the transmitter and the receiver at an angle so that the light can be reflected to the receiver on the other side.
DIY Interactive LED Coffee Table 22 - Preparing the IR Proximity Sensors

So, I’m removing the transmitter and soldering it back on the sensor, but this time with 4 cm long wires. I used single core wires from an Ethernet cable, because they can be easily bent and stay in that position.

On the other side of the sensor I need to solder the black and the red wire to the Ground and 5V pin, and a longer grey wire to the Output pin that will connect the sensor to the Arduino board.

I need to solder pin headers onto the longer wire ends, so they can be easily inserted into the Arduino board.

To insulate them I’m using a shrink tube and a lighter.

Step 11: Attaching the LEDs and the IR Proximity Sensors onto the MDF Board.

Now, all the LEDs and the sensors are ready to be attached onto the MDF board.
DIY Interactive LED Coffee Table 23 - Attaching the LEDs onto the MDF Board

The LEDs are the first to be attached onto the board. I inserted them into the holes that I previously drilled, peeled off the tape cover on the back, and stuck them onto the board.

Then I connected them by soldering the green wire in the middle of each LED, or the Data OUT pad of the previous LED to the Data IN pad of the next LED.

DIY Interactive LED Coffee Table 24 - Attaching the IR Proximity Sensors onto the MDF Board

Once I’m done with the LEDs, I’ll do the same with the proximity sensors. This time I’ll hot glue them next to the LEDs. Here I need to pay attention to the length of the grey wires. All of them will be inserted into the Arduino board which will be positioned in the middle of the back side of the board.

So, the cables that are further from the Arduino board are longer, and as they are coming closer to it they become shorter.

The IR transmitter and the receiver need to be placed facing up, so I’m making some adjustments here.

Step 12: Connecting all the Wires and Inserting them Into the Arduino Board.

Now I’ll turn the MDF board to the back and connect all the wires.
DIY Interactive LED Coffee Table 25 - Connecting all the Wires

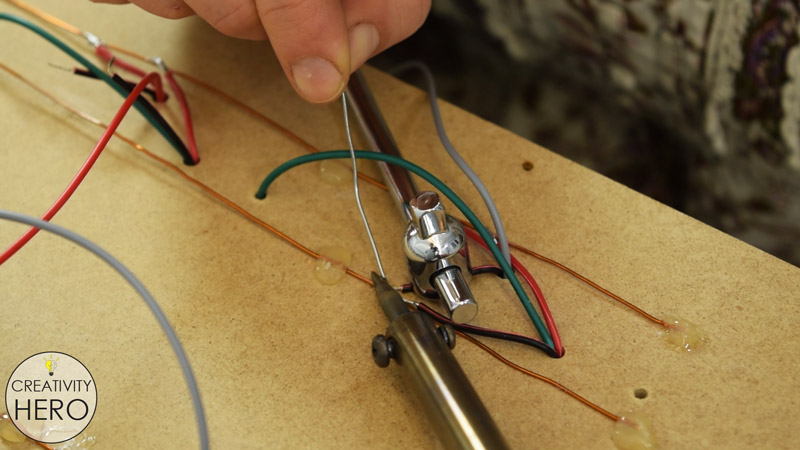
I’ll start with hot gluing copper wires along with the length of the board. They will be used as power lines for the LEDs and the proximity sensors. On the first line I’ll solder all red wires, and on the other line all black wires.

Before soldering, I need to remove the insulation off of the copper wires with a sandpaper, otherwise I won’t be able to solder them.

It took me a long time until I finished soldering all the wires. At the end I connected all the positive and all the negative lines.

Also, on these lines I soldered two more wires which I’ll later connect to the power supply.

I added 330 ohms resistor between the first LED and the Arduino, to reduce the noise on that line.
DIY Interactive LED Coffee Table 26 - Connecting all the Wires and Inserting them Into the Arduino Board

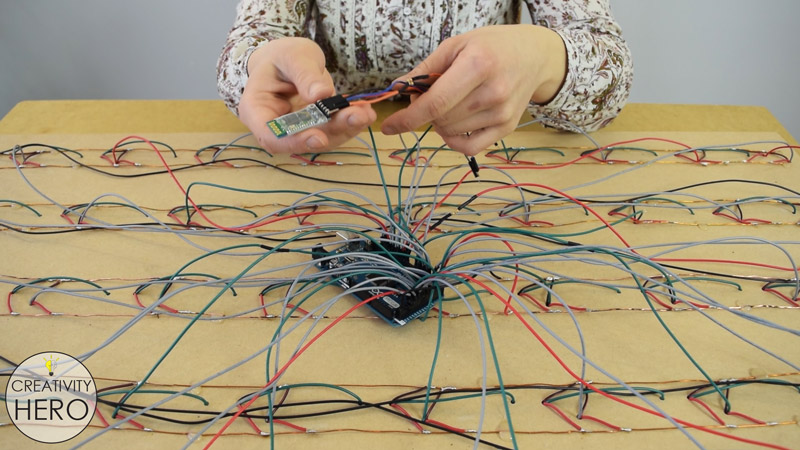
All the wires are ready, so I carefully insert them into the Arduino board in order.

Here I’m also inserting the Bluetooth module.

The Circuit Schematic
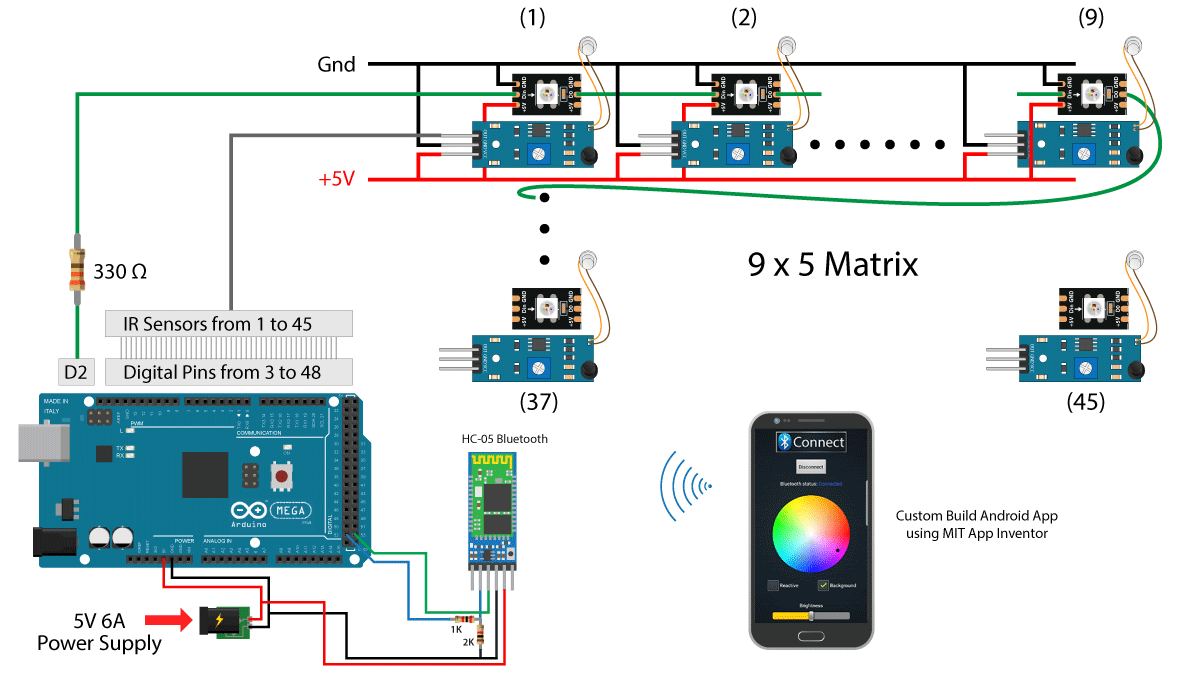
This is the complete circuit schematic where you can see how I connected everything together. For more details on how to use the Arduino in combination with these addressable LEDs and the Bluetooth device you can check Dejan Nedelkovski YouTube Channel, and his website www.howtomechatronics.com.

He made a tutorial on how everything works, including the source code of the program and the custom-built Android application.

Dejan makes awesome videos in the area of Mechatronics and Electronics, as well as cool Arduino projects providing complete explanation, circuit schematics and source codes.

Step 13: Mounting the Power Supply Inside the Table.
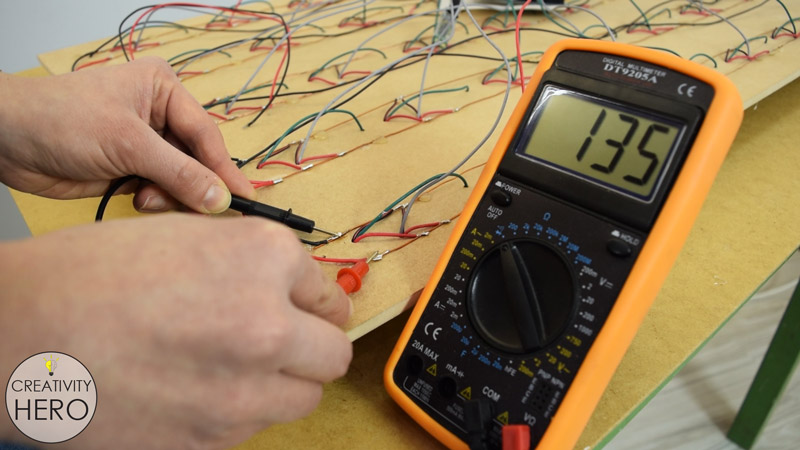
DIY Interactive LED Coffee Table 27 - Making a continuity test on the circuit

Before mounting the power supply I made a continuity test on the circuit, using a multimeter. The multimeter didn’t beep which meant my connections were all good.
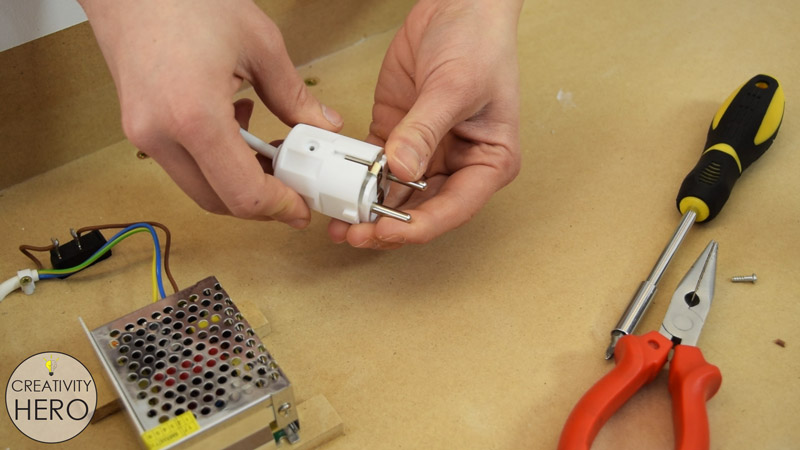
DIY Interactive LED Coffee Table 28 - Mounting the Power Supply Inside the Table

Now I can mount the 5V power supply on the bottom of the table. It needs to be raised up just a little to get better airflow. Therefore, I glued two pieces of MDF, and placed the power supply above them.

Then I pulled the switch in and the main power cord into the appropriate holes and connected them to the power supply. 4 meters of the cord is enough for my space, so I cut it to size and wired a plug on its end.
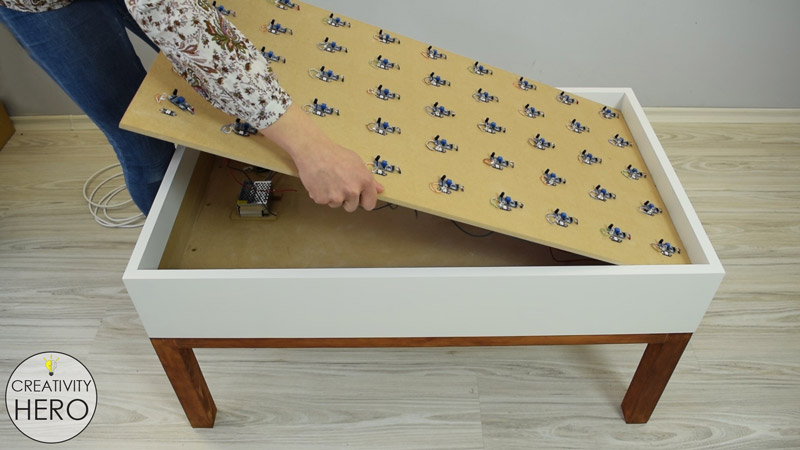
DIY Interactive LED Coffee Table 29 - DIY Interactive LED Coffee Table 28 - Mounting the Power Supply Inside the Table

After that I brought the MDF panel and connected the last two wires into the power supply.

Related: How To Build A Wooden Desk Lamp | DIY Project

Step 14: Programming the Arduino.

At this point we are ready to program the Arduino.

The code is fairly simple, it just reads the proximity sensors, and if an object is detected it lights up the particular LED.

For the color and brightness control we use the custom-built Android application. The data coming from the Smartphone is received via the Arduino Bluetooth module. As I mentioned earlier you can find detailed explanation on how this code works on Dejan’s article.

Once I uploaded the code, I placed the panel inside the LED coffee table.

Step 15: Making some Adjustments.
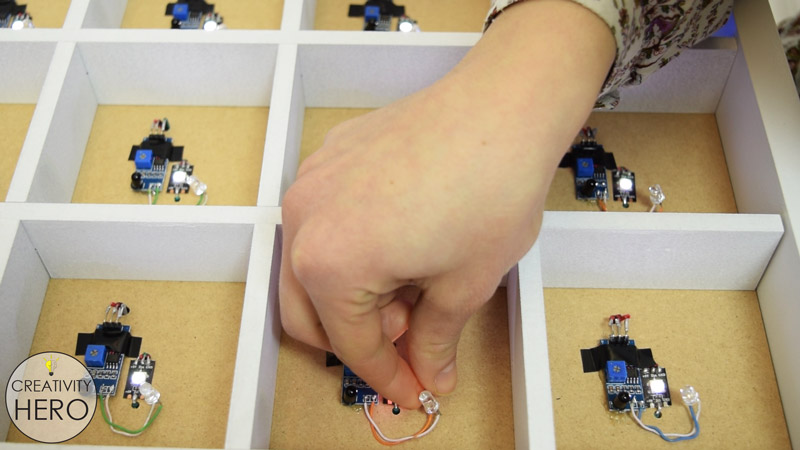
DIY Interactive LED Coffee Table 33 - Making some Adjustments

I noticed that the power indication LED of the proximity sensors would interfere with the main LED light, so I covered them with an electrical tape.

Making the grid is very easy. I just need to lock all the parts together, and as you can see they fit snugly.

Finally, I can put the matte glass on the top of the table, turn the switch on and check if everything works properly.

One of the LEDs doesn’t turn on when I placed a glass on top of it, so I removed the glass and adjusted the transmitter. It needs to be positioned at the right angle to be able to reflect the light to the receiver.
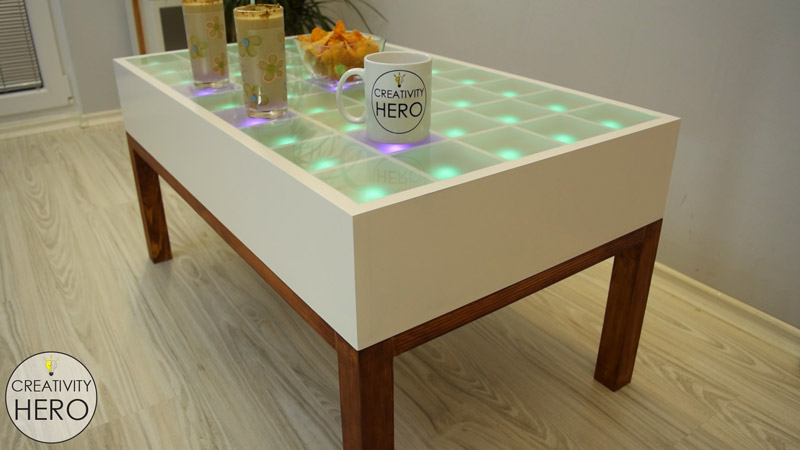
DIY Interactive LED Coffee Table 34

Now I can say that I’m finally done with this project!
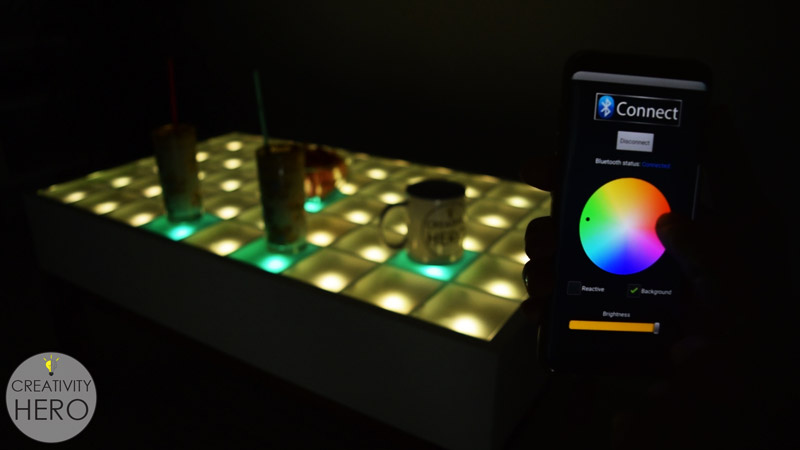
This interactive LED coffee table turned out perfect. I like every part of it, including the design, the color change, and the brightness adjustment. It gives another dimension to my living room.

I hope you enjoyed this amazing DIY project. If you like this LED coffee table give me a thumbs up, leave a comment below, and subscribe to my YouTube channel.

DIY Mid-Century Modern Side Table / End Table

6
DIY Mid-Century Modern Side Table End Table Featured

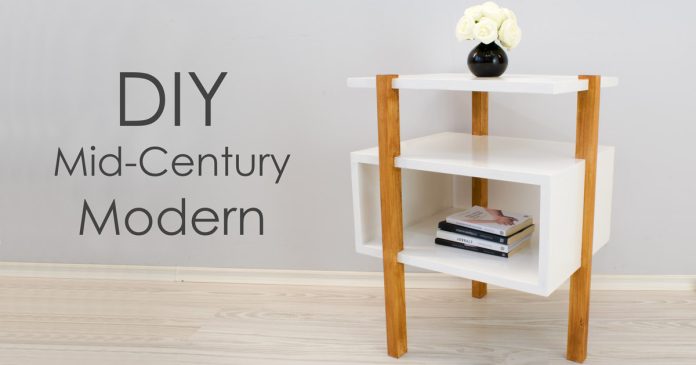
Today I’ll show you how to make a mid-century modern side table or end table with three legs.

The purpose of this project was to make a fairly simple DIY project that seems a lot more complex than it really is to build.

In the video below you can see how I built this side table:

Recommended: How To Build A Wooden Desk Lamp | DIY Project

Here are the materials I used:

Types of tools I used:

Disclosure: As an Amazon Associate I earn from qualifying purchases.

Step 1: Cutting All the Pieces to Size.

I started by cutting all the pieces to size on my table saw. In fact, I used my table saw for all the cuts in this project.

DIY Mid-Century Modern Side Table End Table 1

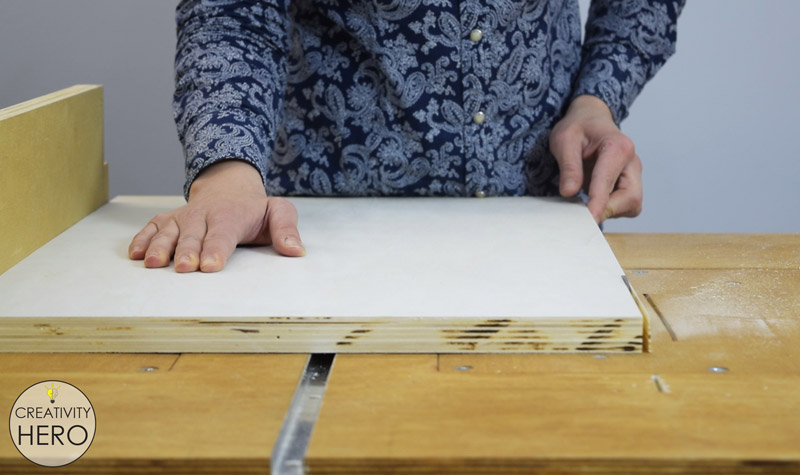
First, I needed to cut larger plywood pieces, so I used a table saw fence for that purpose. This large plywood board was really heavy, and was a bit difficult to handle when making the first cuts.

DIY Mid-Century Modern Side Table End Table 3

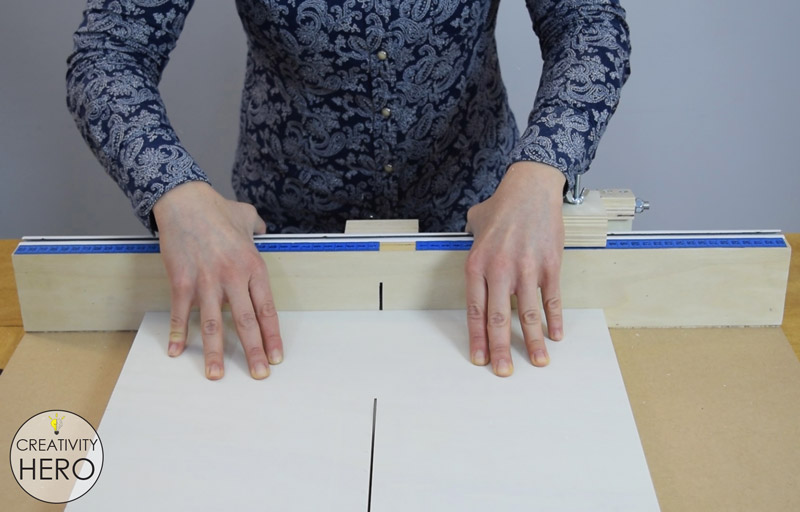
Then, I made all the cross cuts with my new crosscut sled. It is one of the most useful accessories I have in my workshop. You can check the articles on how I built the crosscut sled and the fence if you want to build them yourself. FREE PLANS are included in these articles.

All the cuts that I made were repeated, and a stop block is a MUST-HAVE to make that possible.

Most of the pieces were 50 cm long, which is more than my sled can handle, and I wasn’t able to use the original stop block for those cuts.

So, I attached the fence at the left edge of the table and clamped a scrap wood on it that will serve as a stop block itself. This way I could cross cut longer pieces of wood.

The rest of the repeated cuts I made using the original stop block which I made for my sled.

DIY Mid-Century Modern Side Table End Table 5

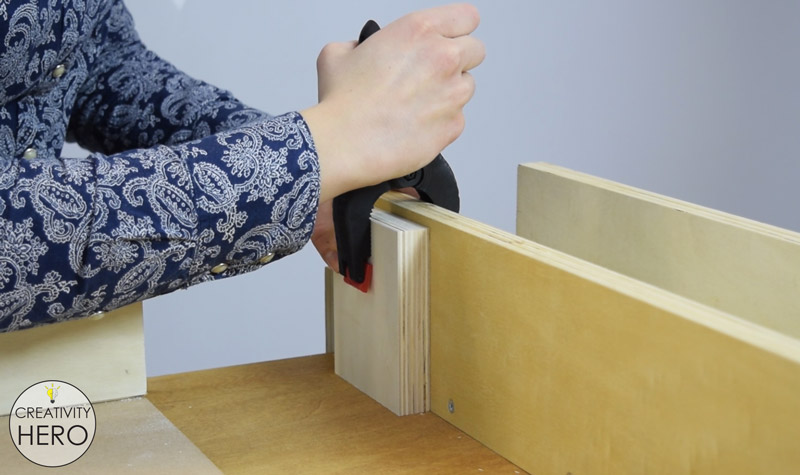
For the legs I used a 2 meters long pine strip. I cut it into three pieces, and fastened them together with a tape in order to cut them all to the same length. I wanted to get maximum length for the legs out of that single strip, so I cut just as little of them as possible.

Plan for the Side Table / End Table:

Step 2: Fine Sanding.

DIY Mid-Century Modern Side Table End Table 6

Once I’m done cutting, I can sand all the pieces with my orbital sander using 220 grit sandpaper to make them nice and smooth. Now everything is sanded and ready to be assembled.

Step 3: Drilling Dowel Holes for the Frame with a Doweling Jig.

DIY Mid-Century Modern Side Table End Table 7

There are so many ways to put wood together but for this project I’m using only wood glue and dowels. It is very clean and fast way to join everything together. In my opinion these joints are going to be plenty strong.

Now I’m making the frame. You can notice that I use this doweling jig to drill all the holes in this project. This is a very useful jig that will help you drill perfectly straight holes for dowels without a drill press.

First I marked all the points where I’ll insert the dowels and drilled all the holes into both sides of the frame.

Then I inserted dowels without forcing them too much into the holes. I did this because the dowels along with the doweling jig will help me drill holes into the top and the bottom of the frame exactly on the same position as you can see here. This will later lead to a perfect 90 degree joint.

I made 4 holes on one side of the frame because there I’ll have a dado for one of the legs, so I wanted to make a stronger bond here.

This was my approach and worked great for me. If you have any other suggestions on how to join with dowels, leave them in the comments below.

Step 4: Assembling the Frame.

DIY Mid-Century Modern Side Table End Table 8

All the holes are made, so I can assemble the frame. I applied a generous amount of wood glue on the side. Then I inserted dowels in each hole with a mallet. After that I attached the bottom at a 90 degree angle and taped with a rubber mallet until both pieces touch each other making a strong connection.

I used a scrap of wood to tap with the mallet so that I don’t damage the surface.

DIY Mid-Century Modern Side Table End Table 9

Everything is square, so I can secure the frame with a bunch of clamps and leave it to dry out.

Recommended: 5 Types of Wood Glue: How to Use Them and How to Choose the Right One

Step 5: Making Dadoes for the Legs.

The trickiest part of this project is making dadoes for the legs because actually I need to make three dadoes at the same time for each leg. They can be made in the exact same way as box joints.

I don’t have an appropriate router bit, or a dado blade on my table saw, and in order to avoid any mistake I was thinking a lot before making those dadoes. And I came out with a simple, but time consuming solution. The most suitable way was to cut them on my table saw with the regular blade.

DIY Mid-Century Modern Side Table End Table 10

So, on the top of the table I marked the three points where I needed to make the dadoes, clamped it along with the frame onto the sled, set my blade at around 25 mm height and started cutting. This was a very slow process, because after each cut I needed to move the frame just a little and secure it with clamps until I get 3 cm wide dado. This means that I moved the frame and clamped it back to the sled around 50 times.

Anyway, it was worth the time and effort. The dadoes were a tight fit for the legs, so I successfully finished this step.

Step 6: Drilling Dowel Holes for the Legs.

The legs are most important here because they will support the table, and this means I need to be careful and make the holes for the dowels on the same distance on each leg.

DIY Mid-Century Modern Side Table End Table 11

I secured them together, measured and marked all the points, making sure they’re all at the same distance.

DIY Mid-Century Modern Side Table End Table 12

After that, I drilled the holes with the doweling jig. I did the same with the plywood pieces, but here I used more clamps to keep the jig in place.

Now that I have drilled all the holes I can attach the legs to the table, and that would mean that I’m done with the assembly.

Step 7: Attaching the Legs.

DIY Mid-Century Modern Side Table End Table 13

Each leg perfectly matches the dadoes which is great. I applied a wood glue, inserted the dowels, and carefully attached the legs. I tapped them with a rubber mallet and clamped them in place.

DIY Mid-Century Modern Side Table End Table 14

Then I left them to dry out.

Step 8: Filling the Gaps with a Wood Filler.

DIY Mid-Century Modern Side Table End Table 15

Once everything is dry, I can fill the gaps into the plywood edges with some wood filler. I wanted to avoid any gaps into the table when I apply paint.

Step 9: Applying a Finish to the Table.

Now I can add some finish to the table. I started with the legs and stained them with a palisander stain.

DIY Mid-Century Modern Side Table End Table 16

Before staining I covered the parts of the table that touch the legs with a masking tape, to protect them from the stain.

This stain is really nice. It would help me achieve a great contrast with the body of the table which I’ll paint white.

DIY Mid-Century Modern Side Table End Table 17

I sanded the plywood because previously I applied a wood filler and I wanted to make it nice and smooth before painting.

This time I covered the legs with a masking tape to make sure I don’t make a mess with the paint.

DIY Mid-Century Modern Side Table End Table 18

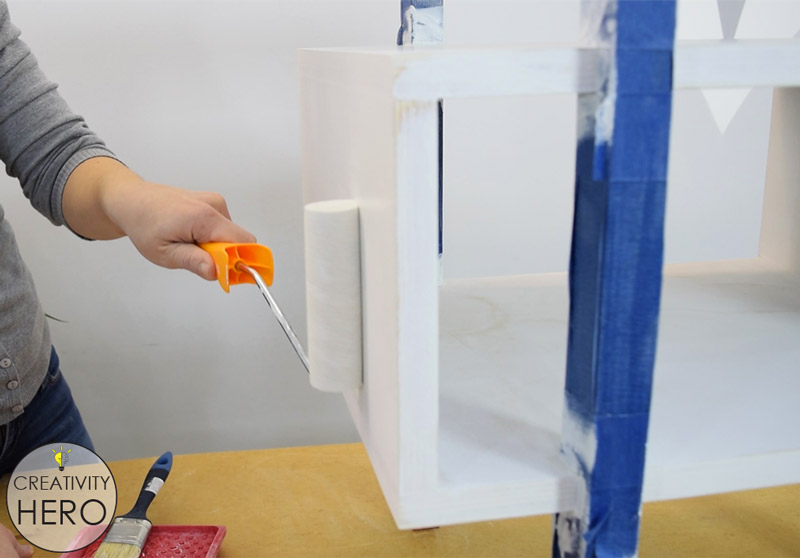
Then, I applied white oil based primer on the body of the table, used a brush for the corners that are hard to reach, and a roller for the flat surfaces. I left it to dry overnight.

DIY Mid-Century Modern Side Table End Table 19

Once it’s completely dry, I can do a quick sand with a 120 grit sandpaper. Then I can move on to the paint.

DIY Mid-Century Modern Side Table End Table 20

I decided to go with a white oil based paint because it perfectly matches the stain.

Recommended: How to Paint Wood Furniture: A Beginner’s Guide

DIY Mid-Century Modern Side Table End Table 22

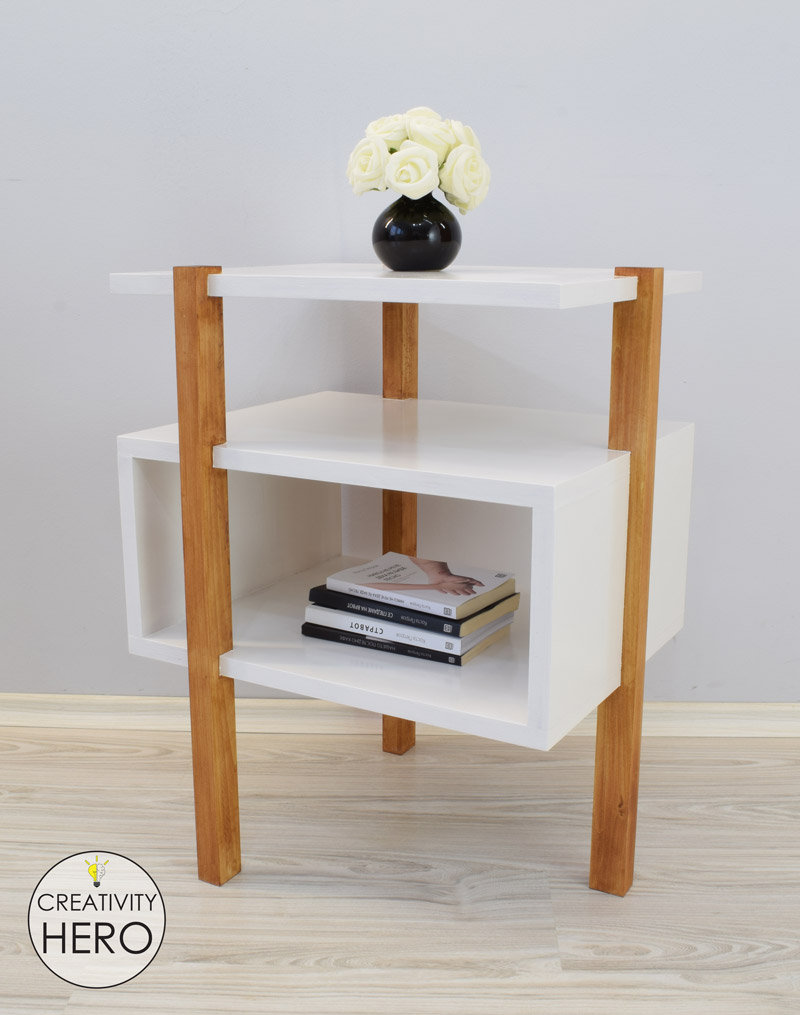
With this done my mid-century modern side table is complete. I’m very happy with the end result. This table has a wonderful design and color, so it would be a perfect addition to my room.

Be sure to watch the video, like, share and subscribe to my YouTube channel.

How to Make a Crosscut Sled with Flip Stop Block (Free Plans)

12
How to Make a Crosscut Sled with Flip Stop Block (Free Plans) Featured

After I built my table saw fence I realized that the next thing I need to do for my workbench is a crosscut sled.

A crosscut sled is an essential part of any table saw. It makes cross cutting operations a lot more accurate, cleaner and safer. This accessory is fairly simple to build. You can find the link to the plan below in this article.

If you want to build it yourself I recommend watching the full video.

Recommended: How to Make a Table Saw Fence and Router Table Fence for Homemade Workbench (Free Plan)

Here are the materials I used:

Types of tools I used:

Disclosure: As an Amazon Associate I earn from qualifying purchases.

Here you can download the FREE PLAN:

Step 1: Creating Miter Slots on the Table Saw Top.

I started this project with creating miter slots on the table saw top. The best tool for cutting miter slots is a router.

How to Make a Crosscut Sled with Flip Stop Block (Free Plans) 1

First, I traced some parallel lines that I need to follow with the router and made sure they’re square with the front of the table. Then, I clamped down two guides that will help me make accurate cuts.

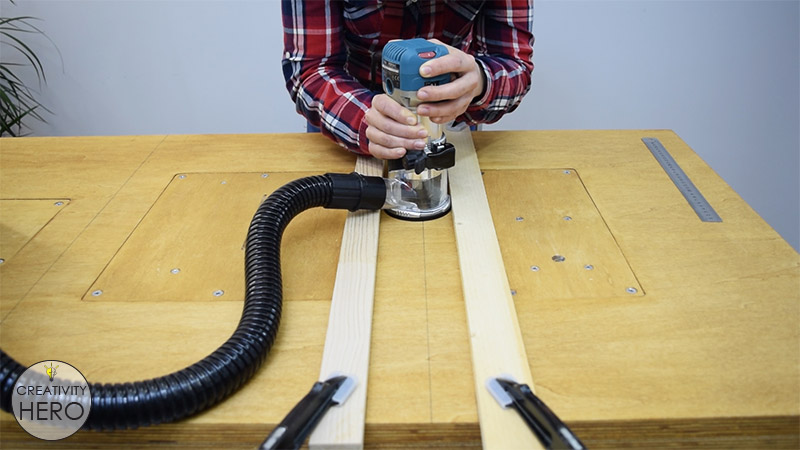
So, I carefully started routing the sections out. The depth of the slots is 10 mm, and their width is 15 mm. I have a bit with 12 mm diameter, so I need to make 2 passes to get the proper width.

Once I’m done with the router I need to attach the U-shape aluminum profile into the slots. They’re a perfect fit, so I can cut the aluminum to size with a hacksaw.

How to Make a Crosscut Sled with Flip Stop Block (Free Plans) 4

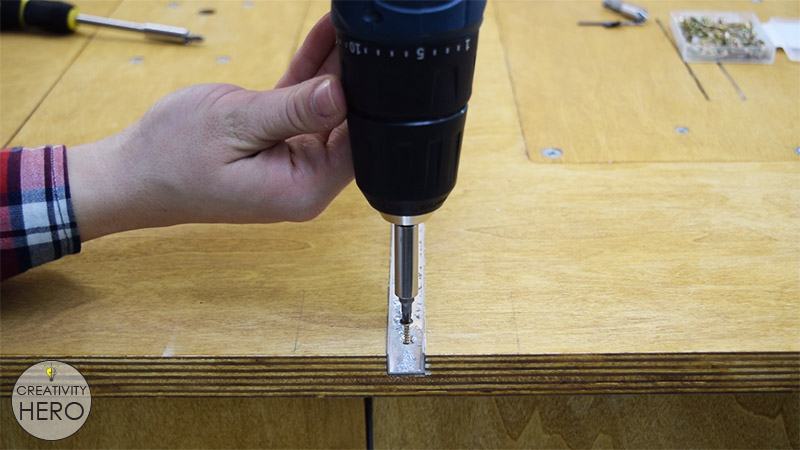
Further, to attach the aluminum into the slots I used some countersunk screws because they need to sit flush with the surface.

Step 2: Making the Runners and the Base of the Crosscut Sled.

How to Make a Crosscut Sled with Flip Stop Block (Free Plans) 5

For the base I’m using 8 mm thick MDF, and cut it to size on my table saw. Its dimensions are 70 by 50 cm, which is the right size for me.

Now let’s move on to the runners.

You can use metal, plastic or hard wood runners. I’m using beech for the runners, so I’m cutting 2 identical strips, 13 mm wide and 8 mm thick. Here I need to be careful because these runners should fit in the miter slots without causing any movement.

How to Make a Crosscut Sled with Flip Stop Block (Free Plans) 7

They’re cut to size and fit into the slots with no side-to-side movement, and also they slide nice and easy. The runners need to be flush with or just a little bit under the surface of the table saw top.

To attach the runners to the bottom of the base I need to raise them up using some spacers, in my case washers. They need to be a bit higher than the table top and when I apply some glue they will have a good contact.

How to Make a Crosscut Sled with Flip Stop Block (Free Plans) 8

I’ll drop these runners on top of the washers, apply a wood glue on them and place the MDF right on top.

Once the glue has dried, I flip it over and drive at least 5 countersunk screws in each runner to secure them permanently.

How to Make a Crosscut Sled with Flip Stop Block (Free Plans) 11

One more thing I need to do with the runners is to cut off the excess length with a handsaw. With that done, I can now move on to the fences.

Step 3: Working on the Fences.

How to Make a Crosscut Sled with Flip Stop Block (Free Plans) 12

Attaching the back fence.

For the front fence I used two plywood strips, and for the back fence I used one plywood strip. I cut them to size and attached the back fence.

First, I applied a wood glue to secure it well. Then I placed the back fence on the sled and clamped it down. I want the fence to be flush with the edge of the sled, but it doesn’t need to be perfectly square, it’s here just to support the sled. This fence doesn’t need adjustment, so I’ll drive some screws in.

How to Make a Crosscut Sled with Flip Stop Block (Free Plans) 14

With the back fence in place then I just raised my blade as high as it could go, pushed the sled forward and made about 80% of the kerf cut throughout the sled.

Attaching the front fence.

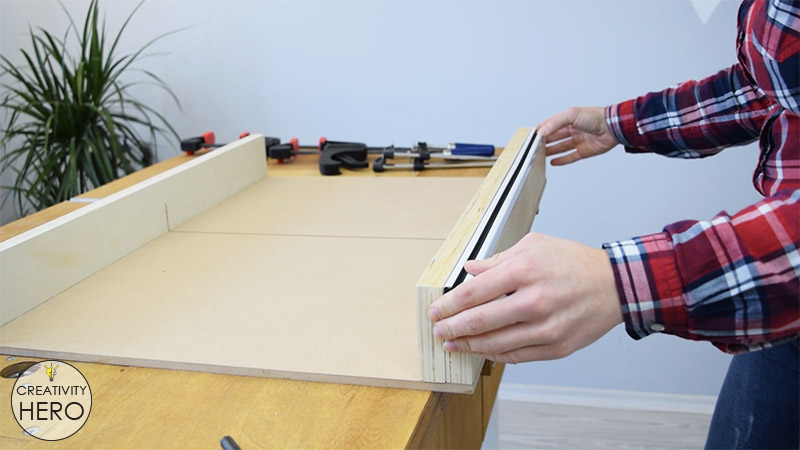
Now let’s pay attention to the front fence. It consists of two plywood stripes which I glued together with a wood glue, one 8 cm wide and other 6.6 cm wide, because the fence needs a 21 by 14 mm rabbet along one of its edges.

How to Make a Crosscut Sled with Flip Stop Block (Free Plans) 15

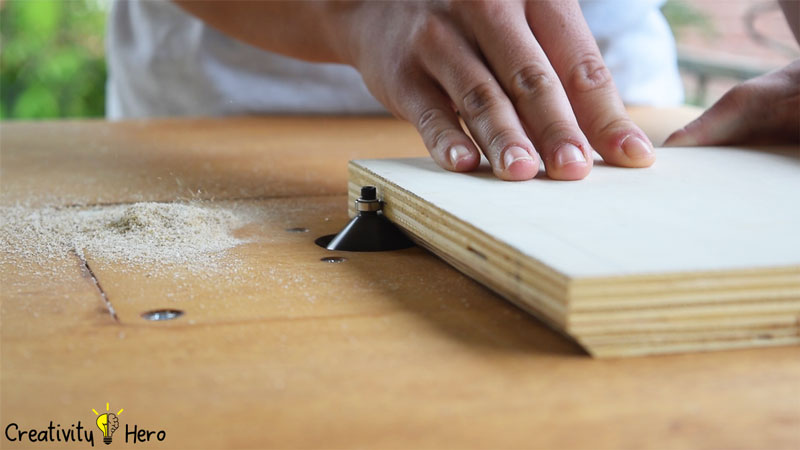
Using a chamfer bit I put a small chamfer on the bottom inside edge of the front fence where it will actually touch the work pieces. With this chamfer I created a dust channel because I wanted to allow the sawdust to have a place to go when I’m using the sled itself, and also I wanted to avoid any inaccuracies.

Both fences should be taller than highest you’ll raise the blade, but not too tall, because it can be difficult to put pressure on the work pieces with your hands.

How to Make a Crosscut Sled with Flip Stop Block (Free Plans) 16

In contrast to the back fence, for the front fence it is crucial to be square to the blade. So, first I’ll use a square ruler and try to get the fence as 90 degrees to the blade as possible. Then, I’ll clamp it in place, pre-drill and countersink a hole and drive two screws in to secure the fence in place.

Here I’m not using wood glue, because I might need to make some adjustments. Then I can continue the saw kerf completely throughout the whole sled.

Recommended: Homemade 3 in 1 Multipurpose Workbench: Table Saw, Router Table and Inverted Jigsaw (Free Plans)

Step 4: Adjusting the Crosscut Sled with the 5 Cut Method.

To fully adjust the sled I’m going to use the 5 cut method.

How to Make a Crosscut Sled with Flip Stop Block (Free Plans) 19

I took a larger piece of MDF scrap, it doesn’t matter what size it is. However, the larger the piece of wood, the more accurate the adjustment will be. All 4 edges I marked with numbers from 1 to 4, and started cutting.

I made a small cut on the edge 1, then rotated the MDF piece clockwise and made another cut on edge 2. I repeated this step with edge 3 and 4, and arrived back at my first original cut that I marked as number 1. Here I’m going to slide my piece more than 2 cm to the right and make the fifth cut. I’m going to take this off cut and measure it’s width with a caliper. It will show me the exact error in the squareness.

How to calculate the error?

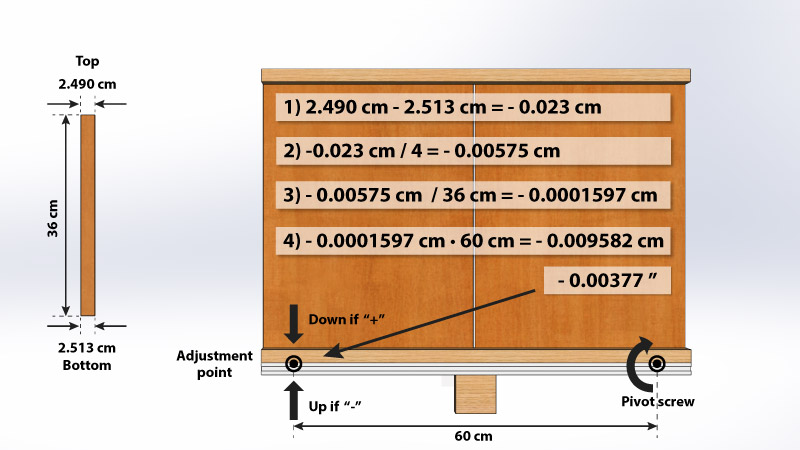
5 Cut Method - How it works

The width of the top is 2.490 cm. The width of the bottom is 2.513 cm. I subtracted the bottom portion from the top and the result is negative 0.023. Then, I divided that by the four angles that are in this rectangle, and I came out with negative 0.00575. I took this number and divided that by the length of my fifth cut which is 36 cm, and got 0.0001597. Then I multiplied that with the distance between my pivot screw and where I’m going to make an adjustment (which is 60 cm).

In my case I had a negative 0.009582. In inches this is a negative 0.00377, which is great. I’m happy with the result and I don’t need to make any adjustment here.

But, if you want to make an adjustment, I’ll explain how to do it. If it’s a negative number, you need to move your fence up on the adjustment side, and if it’s a positive number you need to move it down. The best way to adjust it is with a feeler gauge and a scrap of wood.

If you need to make an adjustment you need to drive a new countersunk screw to secure the fence. Don’t reuse the old screw hole.

To completely secure the fence to the base I’ll drive some more screws on the bottom.

Step 5: Installing a T-Track on the Front Fence.

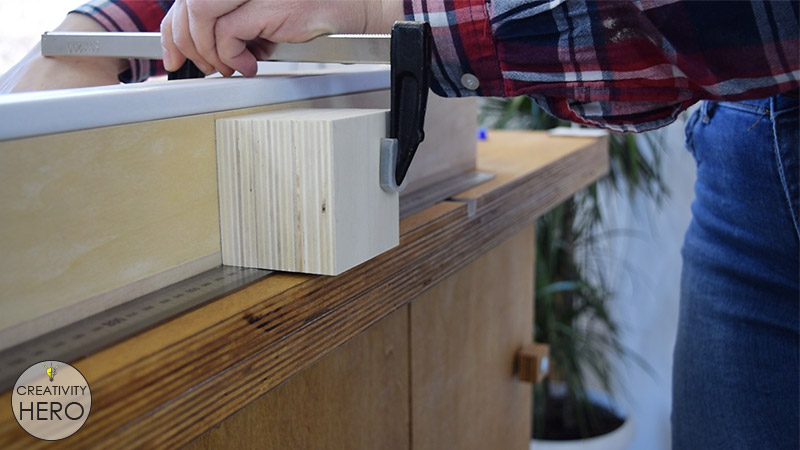
Now it is time to install a T-track for the stop block. I have a white aluminum curtain track and I cut it to size. Its length needs to match the length of the front fence.

How to Make a Crosscut Sled with Flip Stop Block (Free Plans) 23

I used a CA glue to make a better contact between the track and the fence. After that I secured the track additionally with some screws.

Step 6: Adding a Blade Guard.

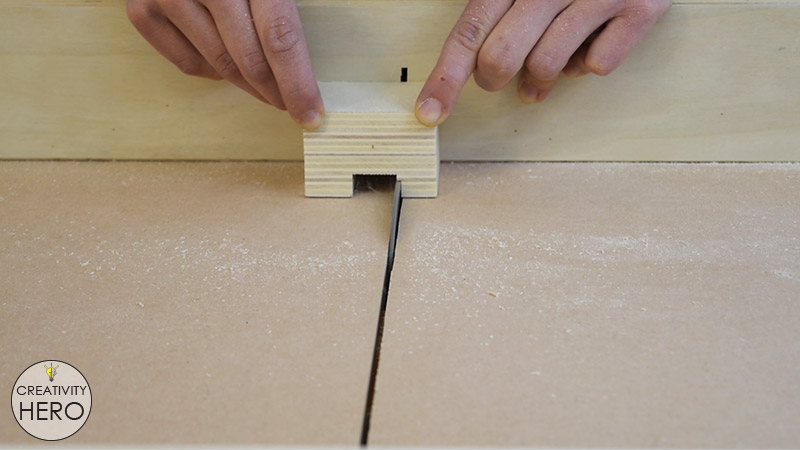
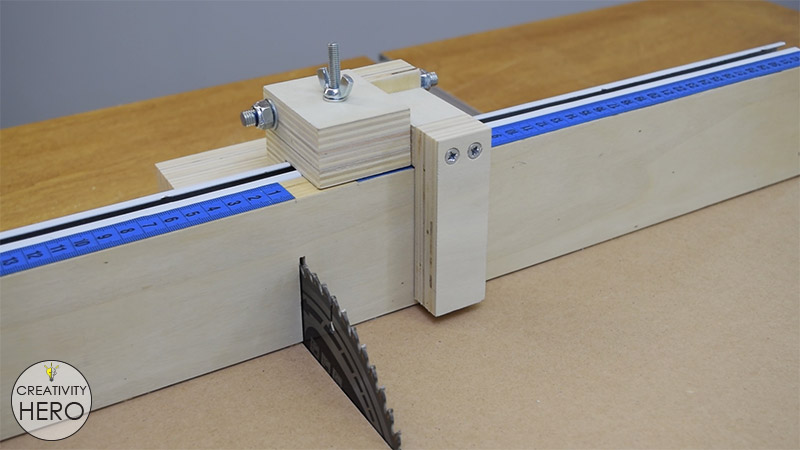
When making cross cuts the blade is protruding out of the back, which means that I need to make a blade guard. I’m going to make the cuts on my new crosscut sled. So, I’m cutting 3 squares out of plywood using a temporary stop block. Then, I’m joining them together with a wood glue, and then, I’m attaching this guard on the front fence.

How to Make a Crosscut Sled with Flip Stop Block (Free Plans) 26

This block will act as a reminder for me to push the crosscut sled from the sides of the block and not the middle when making cross cuts.

Step 7: Making a Flip Stop Block.

I decided to make a flip stop block out of plywood. This stop block will make repeated cuts possible. It consists of two parts and it’s very easy to make.

How to Make a Crosscut Sled with Flip Stop Block (Free Plans) 28

I made all the cuts on my table saw with the crosscut sled.

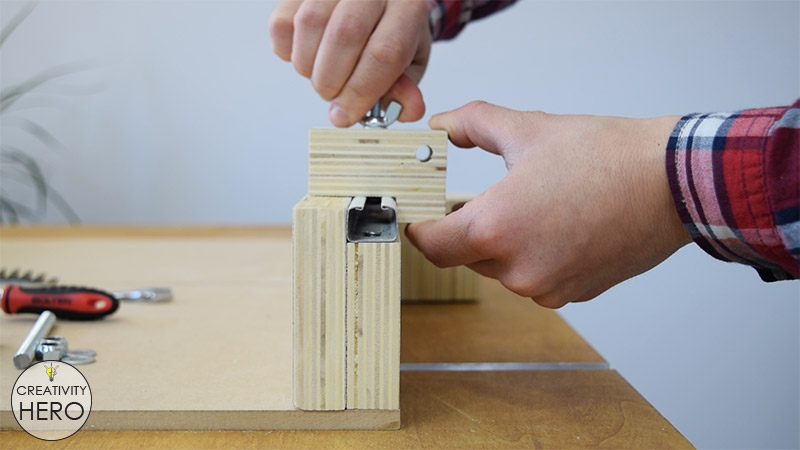
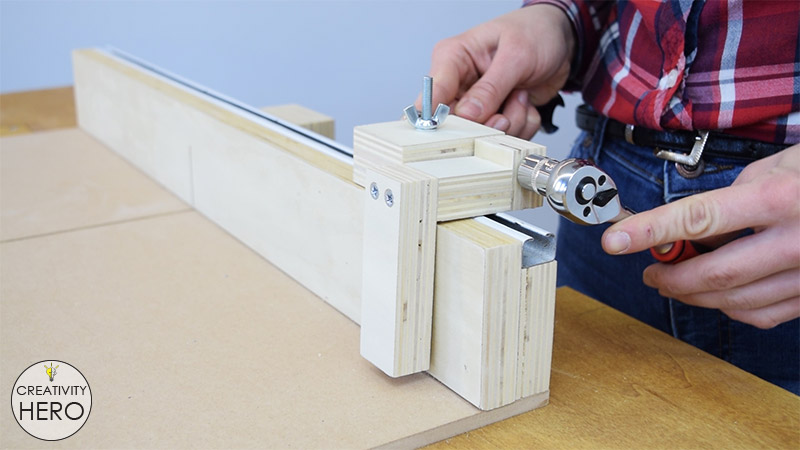
To make the first part of the stop block I’m gluing these pieces together, and then I’m removing 12 x 41 mm of it on the table saw. It was extremely easy to remove that area now that I have the crosscut sled. On this piece I made 2 holes because I need to insert 2 bolts in it.

When it comes to the other part, it consists of 3 small pieces of plywood. I drilled a hole in the smallest one, and then I joined all the pieces together.

To join them, I’m using a wood glue and some screws, because I’m going to move it on the T-track all the time and flip it when making cuts, so it needs to be strong.

How to Make a Crosscut Sled with Flip Stop Block (Free Plans) 33

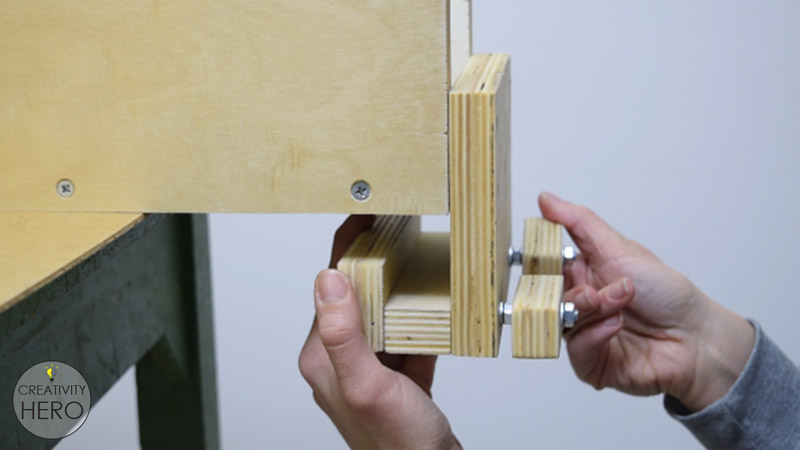
I’m attaching the stop block onto the T-track and tighten it with a bolt and a butterfly. Then, I’m using a longer bolt to connect the two parts of the stop block together and tighten them with washers and nuts with rubber seal.

How to Make a Crosscut Sled with Flip Stop Block (Free Plans) 34

It works pretty well, it’s strong enough and there’s no side-to-side movement.

Step 8: Applying a Tape Measure on the Top of the Front Fence.

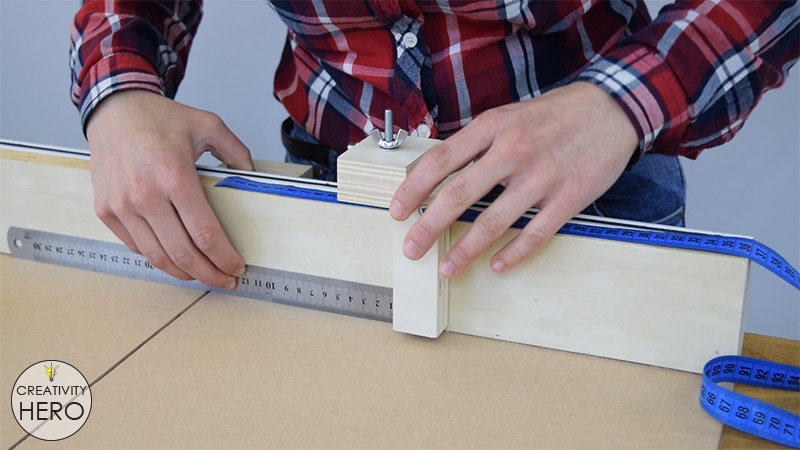
What’s left to do is to apply a tape measure on the top of the front fence. I used a sewing tape, set my stop block properly and carefully attached it onto the fence with CA glue.

How to Make a Crosscut Sled with Flip Stop Block (Free Plans) 35

Here you need to take the thickness of the stop block into consideration to determine the starting point of the tape.

Step 9: Making some test cuts on the crosscut sled.

This means that I’m done with the crosscut sled. An the end, I’m going to make some test cuts and see how everything works.

How to Make a Crosscut Sled with Flip Stop Block (Free Plans) 38

Now I can use it to make little cuts and I can cut larger pieces. Also, I can also use the stop block to make repeated cuts at a perfect 90 degree angle. Most important, I’m protected from kickbacks because it’s pretty safe to use. I really like how this crosscut sled came out.

How to Make a Crosscut Sled with Flip Stop Block (Free Plans) 39

You May Like: DIY Rustic Hemp Rope Chandelier for 35$

I hope you find this video useful. If you have any questions and thoughts on this crosscut sled leave them in the comments section below. Also if you like this video share it with your friends and subscribe to my YouTube channel.
How to Make a Table Saw Fence and Router Table Fence for Homemade Workbench (Free Plan)

7
How to Make a Table Saw Fence and Router Table Fence for Homemade Workbench Featured

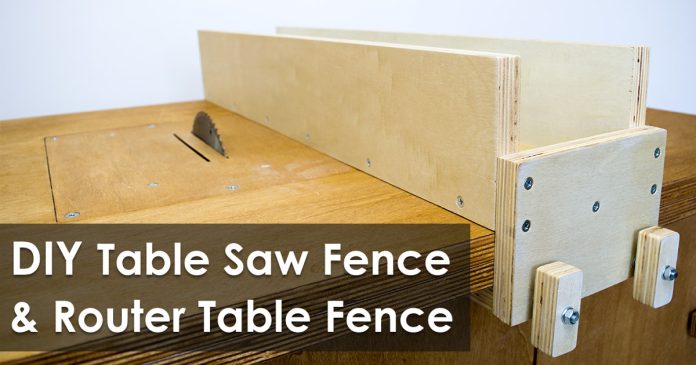
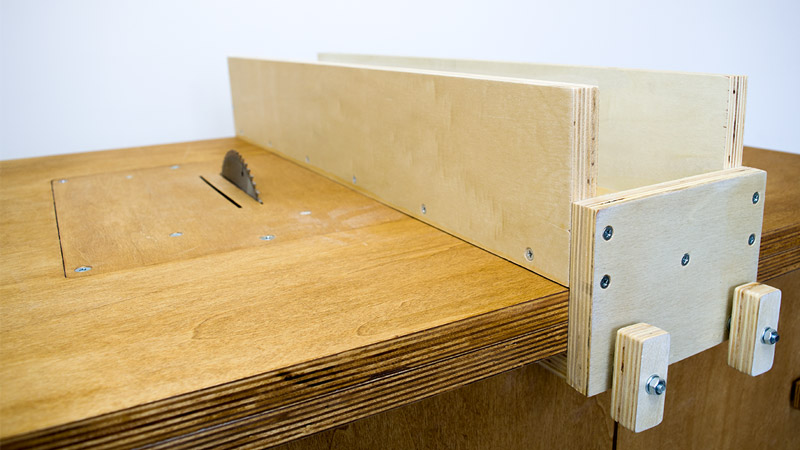
Today I’m going to make a table saw fence and a router table fence for my multipurpose workbench. If you’re new to my website be sure to check out my article on how I built the workbench.

Also if you want to build this fence yourself I’m giving you a free plan. You can find the free plan in the text below.

This is very simple design and the most important thing is that it is strong, functional and provides perfect cuts. I like how it came out and now I can make different cuts on my table saw and router table faster, easier and safer.

Here are the materials I used:

Types of tools I used:

Disclosure: As an Amazon Associate I earn from qualifying purchases.

Here you can download the FREE PLAN:

You may like: DIY Rustic Hemp Rope Chandelier for 35$

Step 1: Cutting all the plywood pieces to size and sanding them down.

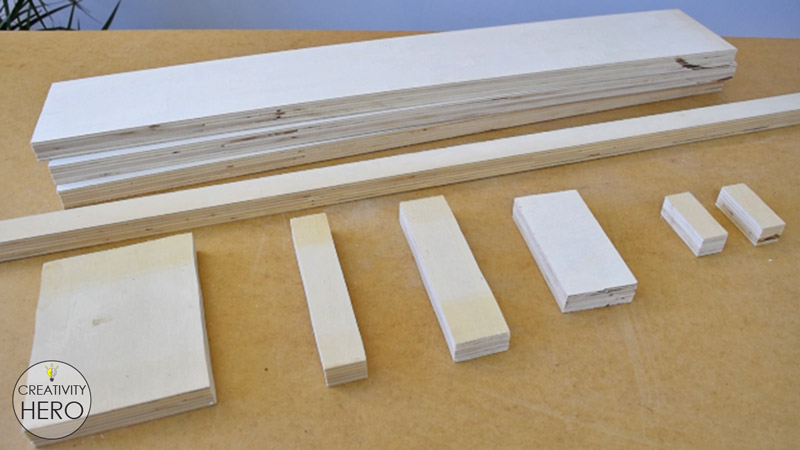
This table saw fence (and router table fence) is made out of plywood board with 21 mm thickness. So, I cut the pieces on my table saw. I clamped down a scrap of plywood and used it as a guide for more accurate cuts. I used a jigsaw to cut the smaller parts of the fence.

How to Make a Table Saw Fence and Router Table Fence for Homemade Workbench (Free Plan) 2

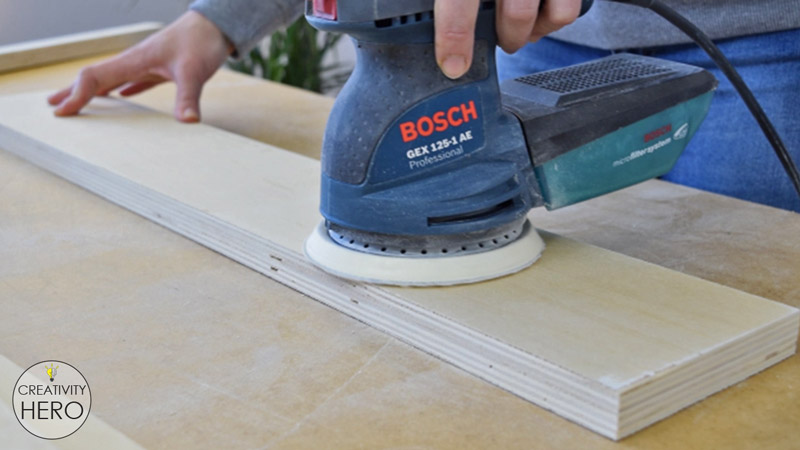
Before putting all the parts together I’m going to do a quick sand with a 180 grit sandpaper. For the larger pieces I used a random orbit sander, but for the smaller ones I used a sanding block. I’m going to make knobs out of the smallest pieces, and I’m going to round their corners a little which will make them more handy and easy to turn.

How to Make a Table Saw Fence and Router Table Fence for Homemade Workbench (Free Plan) 3

I decided to do the sanding in the beginning, because it would be harder to reach all the corners of the fence after attaching everything together.

Step 2: Assembling the fence.

Now I can move on to assembling the fence.

First I’m going to glue these three boards together with a wood glue and clamp them down.

How to Make a Table Saw Fence and Router Table Fence for Homemade Workbench (Free Plan) 4

The most important thing here is squaring. Every piece needs to be square with the workbench, so work on a flat surface and measure twice before driving the screws in.

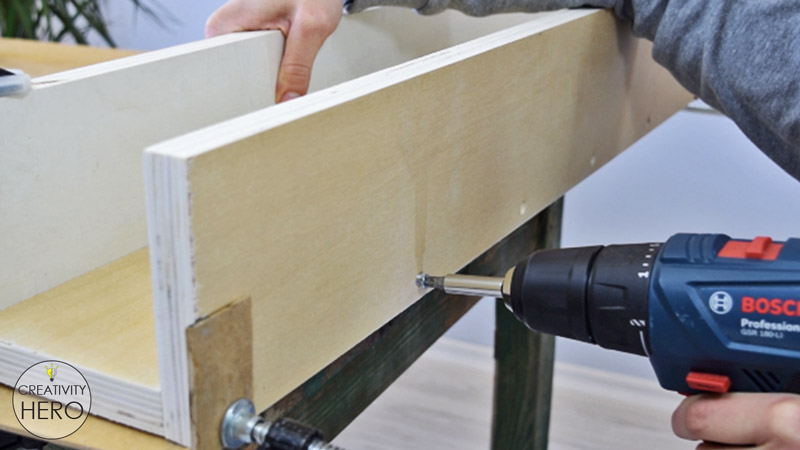
Then, I pre drill holes on each side with a countersink drill bit, making the holes deep enough for the screws to be flush with the surface. This is also a thing you need to pay special attention to, because if the screws aren’t flush, you won’t be able to make accurate cuts with the table saw.

How to Make a Table Saw Fence and Router Table Fence for Homemade Workbench (Free Plan) 5

After that I’m driving 5 cm long screws on each side. The screws will hold these three pieces tight in place.

Step 3: Working on the front and the back of the fence.

Now that I’m done with the main part of the fence, I can move on to the front and the back of the fence.

The front piece needs to be perpendicular with the main body of the fence and 65 mm of it need to go below the fence. I drew a line that will help me achieve that. Also I marked the places where I need to attach the screws. Then I pre-drilled the holes with a countersink drill bit, and then I attached it on the fence.

How to Make a Table Saw Fence and Router Table Fence for Homemade Workbench (Free Plan) 6

It was a little bit hard to do it, because I don’t have clamps with appropriate length. I decided to apply a wood glue, add some weight and wait for it do dry a bit so I can drive the screws in.

After that I turned the fence upside down and drilled 2 holes on the bottom of the piece that I previously attached. Here I’ll create the lock mechanism of the fence.

I need some extra support on the back of the fence to prevent any flexing, and this small piece will provide that support. I’m going to use 3 screws to hold it in place.

How to Make a Table Saw Fence and Router Table Fence for Homemade Workbench (Free Plan) 7

Step 4: Creating the lock mechanism.

These two pieces of plywood I’ll secure together. I marked two points where I’m going to insert T-nuts, because they need to be adjustable for the sliding part of the fence.

How to Make a Table Saw Fence and Router Table Fence for Homemade Workbench (Free Plan) 8

These two holes need to go all the way through both pieces. This means that I need to drill the holes carefully to make them straight and perfectly match both pieces.

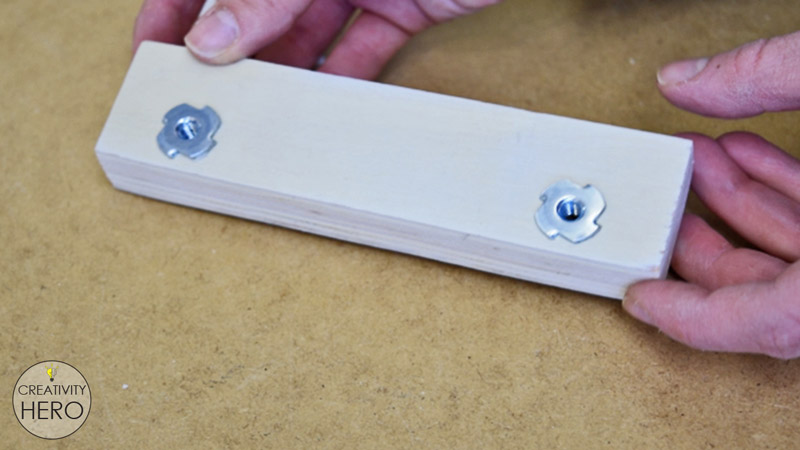
First I installed the T-nuts. I applied a small amount of 5-minute epoxy so they can stick well to the wood. Then I pulled the T-nuts into the wood with a clamp.

In order to make knobs I drilled holes in the middle of these 2 small pieces of plywood where the bolts will be inserted.

Step 5: Turning the table saw fence into a router table fence.

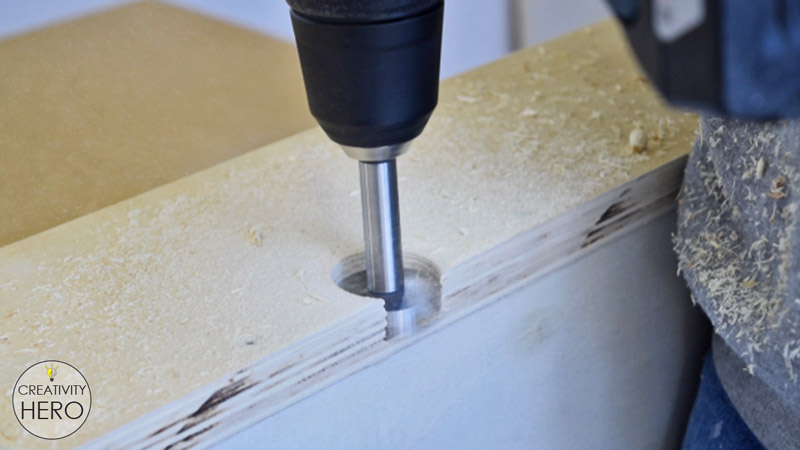
As I said in the beginning this fence can be used as a table saw fence, as well as a router table fence. Although I needed to make a hole on one side of the fence before assembling it, I’m doing it later with a 35 mm Forstner bit.

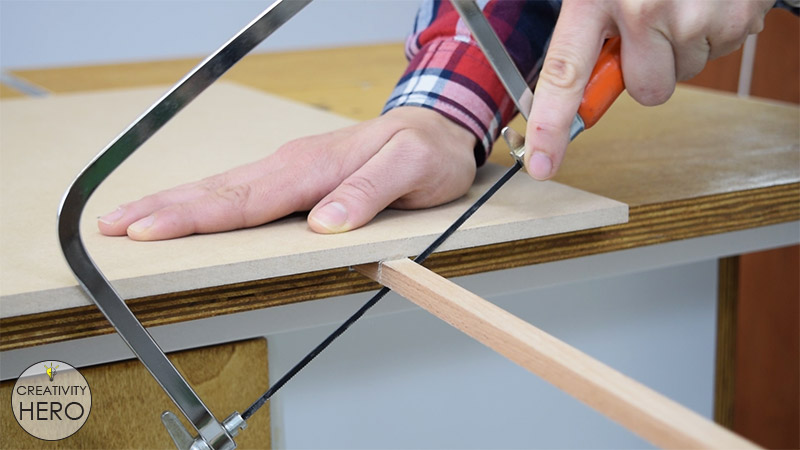
I removed the extra plywood with a U-shape saw which is awesome for this kind of work.

With this done I actually turned this table saw fence into a router table fence as well.

Step 6: Applying a wood finish.

The next thing I need to do is to protect the wood with a finish so that all the pieces that I’m going to cut can slide smoothly on the fence.

I applied one coat of water-based polyurethane on all parts of the fence with a rag. It is transparent finish which I like because I wanted to achieve a contrast between the workbench and the accessories.

The longest piece of plywood is actually a guide rail of the fence and it needs to be placed under the top of the workbench. Before that I’ll protect it with walnut stain, the same that I used for the workbench. The guide rail will become a part of the workbench and I want its color to match the color of the top.

Step 7: Putting everything together.

Once everything is dry I can move on to putting everything together.

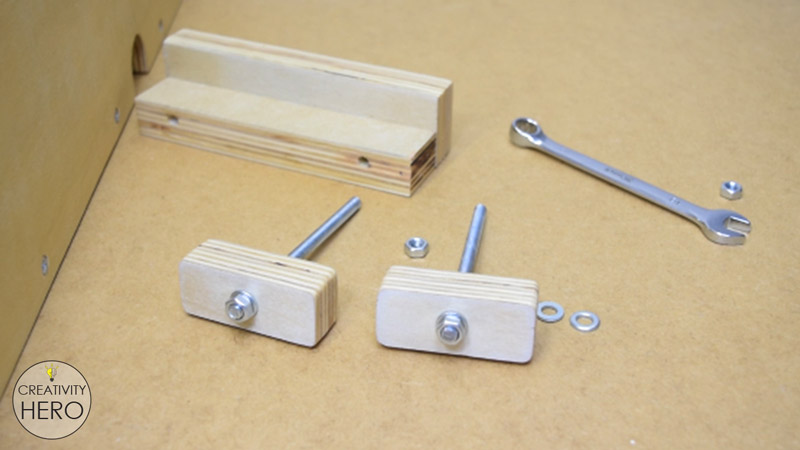
I didn’t have 10 cm long bolts, but I made two bolts out of threaded rod. Then I insert those DIY bolts into the knobs and use nuts and washers on both sides to tighten them well.

Then I insert the knobs into the holes that I previously made, and finally I insert the last piece on the other side. This means that the lock mechanism is done.

Step 8: Attaching the guide rail of the fence.

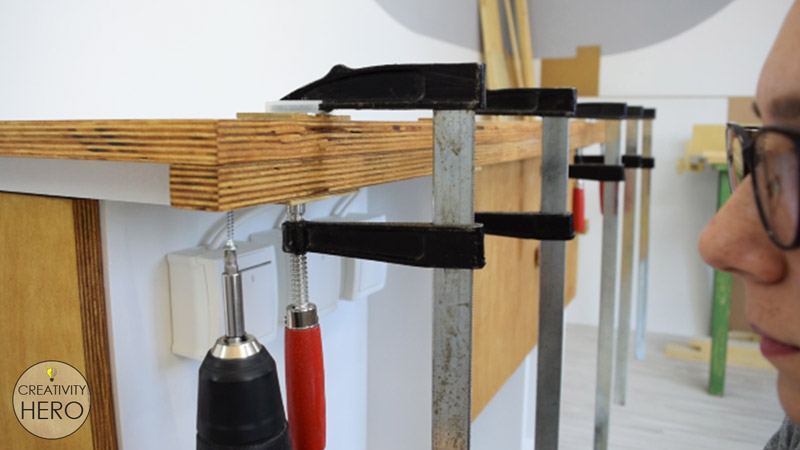
One more thing I need to do is to attach the guide rail of the fence. I carefully applied just enough wood glue without making a mess and clamped it below the top with a bunch of clamps making sure that it is flush with the front of the table.

How to Make a Table Saw Fence and Router Table Fence for Homemade Workbench (Free Plan) 16

After that I predrilled holes with a countersink bit, and at the end I attached 35 mm screws. I attached a lot of screws on a shorter distance because this rail needs to be firm and flush with the front.

You may like: 5 Types of Wood Glue: How to Use Them and How to Choose the Right One

The fence is done at this point.

How to Make a Table Saw Fence and Router Table Fence for Homemade Workbench (Free Plan) 21

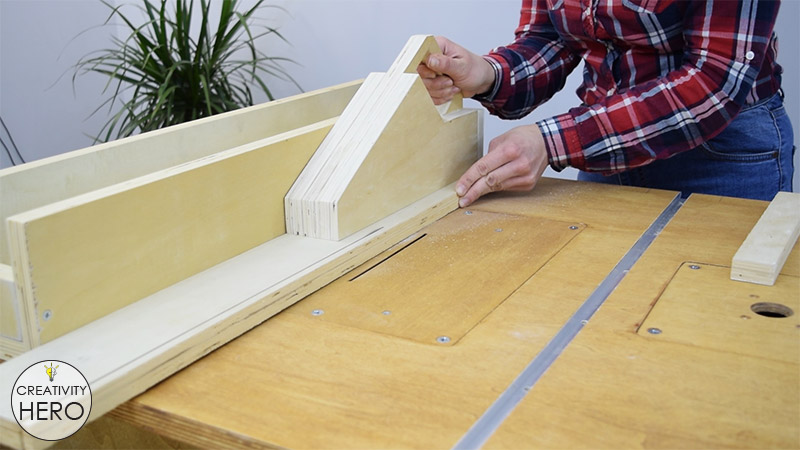
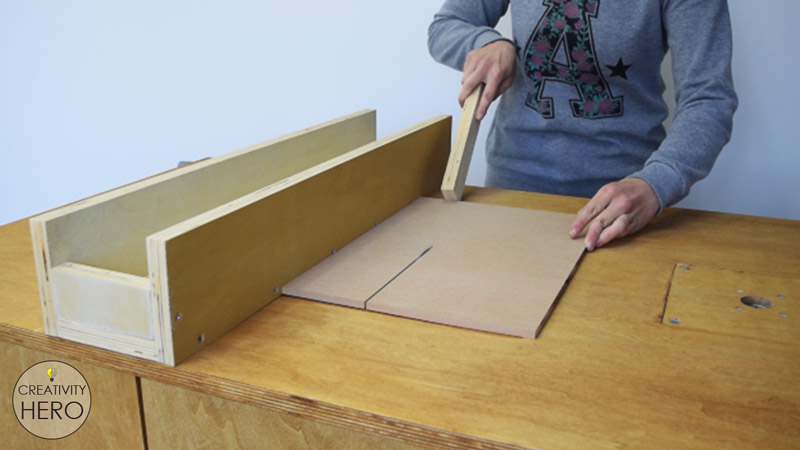
To add the fence I have to slide it in and lock it with the knobs. Once I lock it in place it’s not moving which will provide accurate cuts.

What’s left to do is to check the squaring and run some test cuts.

Now I have a guide that will help me cut wood evenly, precisely and safely.

In the next videos I’ll build some other accessories which are a must have for a workbench like this and I’ll provide free plans for them as well.

I hope this article was helpful. Let me know what you think down in the comments section. Also don’t forget to like, share and subscribe to my YouTube channel.
How to Paint Wood Furniture: A Beginner’s Guide

6
How to Paint Wood Furniture A Beginner’s Guide 0

Painting is the last step of creating a wood furniture. But, how to properly paint wood furniture? What steps are included?

You don’t need to be a professional to know how to paint wood furniture. This skill can be easily learnt during the weekend.

You’ll only need a few tools and materials to make a wonderful piece of art. So, here are all the tools and materials you need to paint wood furniture:

Disclosure: As an Amazon Associate I earn from qualifying purchases.

I’m sharing with you a guide for successful painting, and some tips that will help you make a professional-looking finish that is going to last.

Related: 5 Types of Wood Glue: How to Use Them and How to Choose the Right One

Painting walls is one thing, but painting furniture is a completely different process that you should pay special attention to. There are a few tips you need to keep in mind in order to ensure that your next furniture-painting project is successful.

Step 1: Sand.

After you’re done building a wooden furniture, you need to prepare it for painting.

The first thing you need to do is to sand the entire surface until it is smooth using a sanding block or a random orbit sander. Start with 80 grit sand paper, and move to the progressively finer grits of 120 and 220.

Then, wipe the dust off of the surface with a rug.

Also, remove the hardware before applying primer.

Step 2: Apply primer.

How to Paint Wood Furniture A Beginner’s Guide 1

After your furniture is dry and dust-free it is time to paint on some primer. The primer protects the surface and helps the paint adhere to the piece better. It also prevents stains from bleeding through the new paint. Also, I suggest choosing the same type of primer and paint, for example, they both should be oil-based, or latex based.

Although you can use oil-based primer with latex paint, you must use an oil-based primer with oil-based paints. This is a rule you must follow!

The advantage of using oil-based primers is strong adhesion and stain blocking, but the main disadvantage is their strong odor. When using oil-based primers and paints make sure you have good room ventilation, or ever better, work outside because you really don’t want to be exposed to such strong odor.

If you can’t stand the odor, you should definitely use latex primer and paint.

Then, lay the cloth on the area where you plan to paint.

Make sure to give the primer a good stir. Pour primer into the paint tray until the lower half is full. Roll the roller into the primer and back out to coat the roller. Apply the primer onto the wood in the grain direction. Then let the primer dry overnight, or better leave it to dry 24 hours.

NEVER leave primer unpainted.

Step 3: Sand again.

How to Paint Wood Furniture A Beginner’s Guide 2

Sand the primer lightly with a fine-grit sandpaper (220 works just fine). Be careful, you don’t want to completely remove the primer, because you just need to smooth it. Remove the dust with a rag.

You can repeat this step twice, but I usually apply one coat of primer. Also, you need to sand between every single coat of primer and paint to get a smooth and professional finish.

Step 4: Paint.

How to Paint Wood Furniture A Beginner’s Guide 3

I usually use oil-based paint with semi-gloss finish, because I really like the way it looks. The glossier the finish, the easier to clean.

The most important thing you need to remember: ALWAYS work in a well-ventilated area and wear a dust mask and eye protection while working.

There are a few different ways of painting. You can use a spray paint, a paint sprayer, a brush or a roller.

I prefer using foam roller on the bigger surfaces, and a brush in the parts that are hard to reach.

Put tape on the parts where you will separate different colors to apply.

Applying paint is same as applying primer. You need to pour paint into the paint tray until the bottom part of the tray is full. Wet the roller in the paint and apply it to the wood in the grain direction. Also, you need to work in small areas, and take your time because you want to apply the paint evenly in order to get a wonderful, smooth surface.

Additionally, you can apply second coat of paint, but it all depends on how good the first coat looks.

Step 5: Seal.

This step is optional.

After the paint has dried for at least 24 hours, you can seal it. But, if you have more time, and you don’t plan to use the piece of furniture, than you should leave it for around 30 days to completely dry, and don’t touch it! You don’t want to damage the surface before it is completely dry. For this purpose you can use Polycrilic, Paste wax, Clear topcoat spray etc.

Paint is a wonderful way to emphasize the beauty of a wooden furniture.

I hope this article has been helpful for you. If you have any questions and suggestions on how to paint wood furniture leave them in the comments section below.

Wall Art: How to Make Flower of Life Out of Toilet Paper Rolls

0
Wall Art How to Make Flower of Life Out of Toilet Paper Rolls 0

Who knew toilet paper rolls could turn into beautiful wall art!

There are so many things to do with toilet paper rolls, from interesting crafts, to useful life hacks that will improve your home, the possibilities are endless.

This project is very flexible and easy to make, so don’t be afraid to get creative with it!

Why I chose toilet paper rolls for this craft?

What makes paper rolls so popular to craft with is their ability to bend in any shape you want. Additionally, they are all the same size, which makes things much easier. Remember the more you save the larger your craft will be. Toilet paper rolls can be painted any color you want, or you can keep them in its natural color for more rustic look.

It’s such a simple craft that will really give a special touch to your house. So, this is something worth keeping your toilet paper rolls for.

Wall Art How to Make Flower of Life Out of Toilet Paper Rolls 2

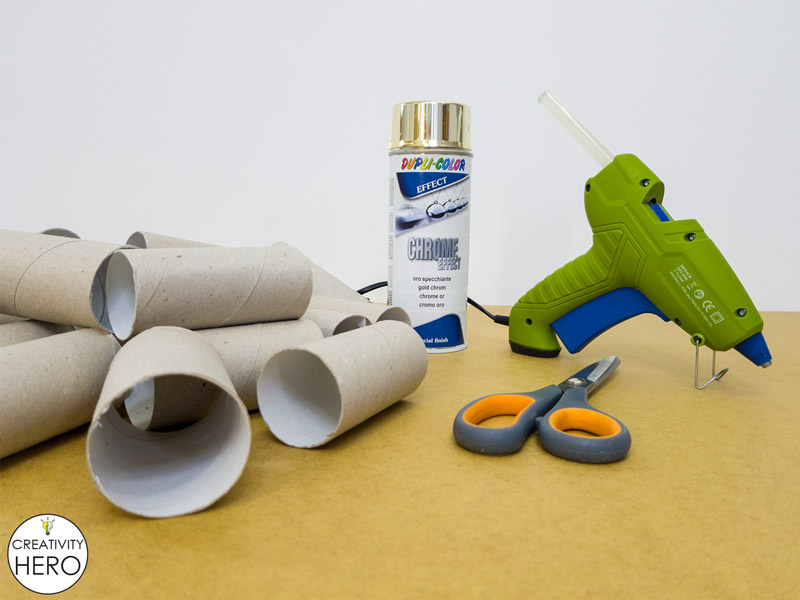
Here are the materials you’ll need to make this wonderful flower of life:

Disclosure: As an Amazon Associate I earn from qualifying purchases.

You may like: Simple DIY Picture Frame Using Popsicle Sticks

Wall Art How to Make Flower of Life Out of Toilet Paper Rolls 1

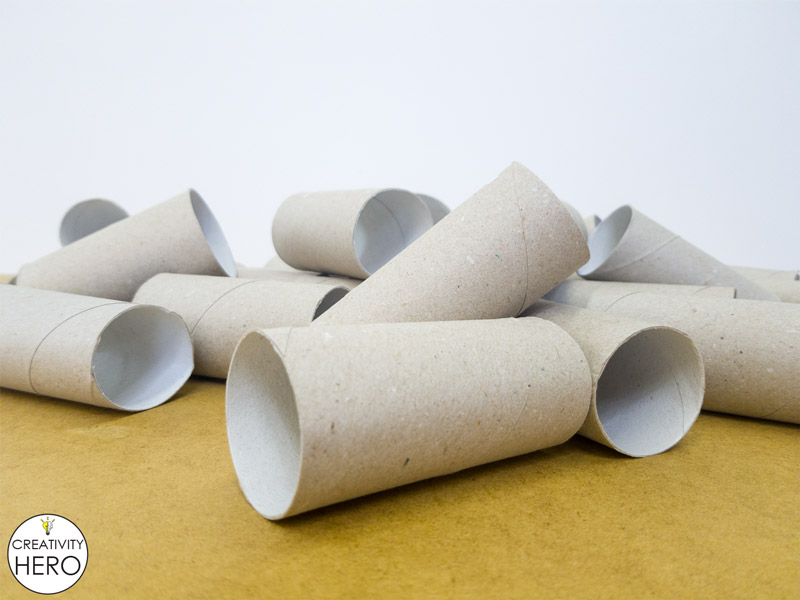
First, you need to collect a bunch of toilet paper rolls.

Wall Art How to Make Flower of Life Out of Toilet Paper Rolls 3

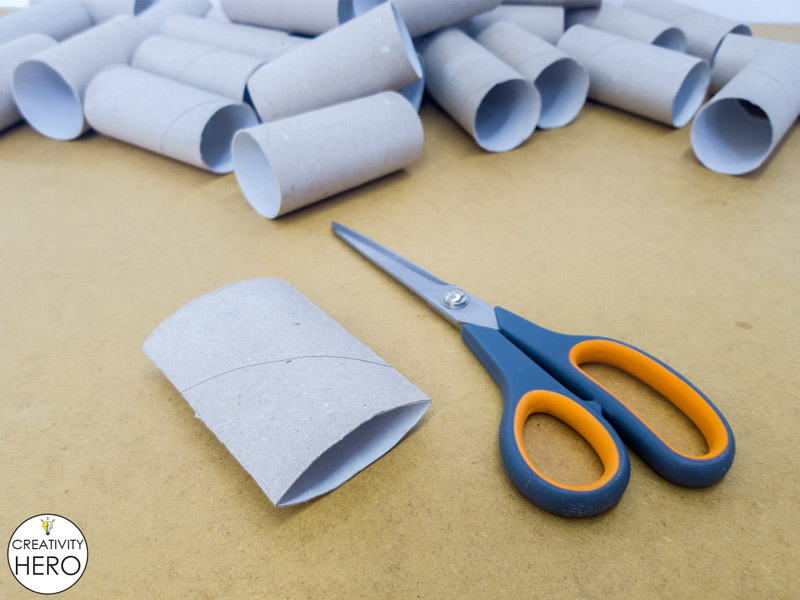
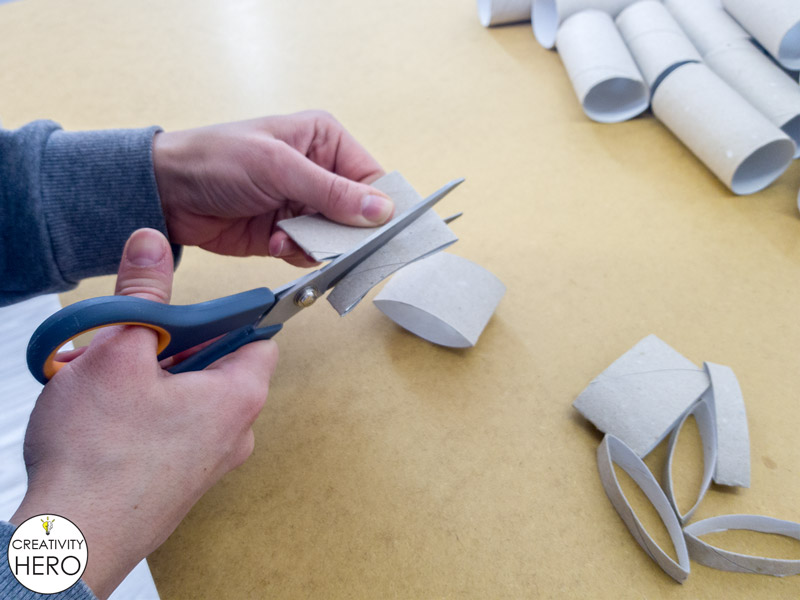
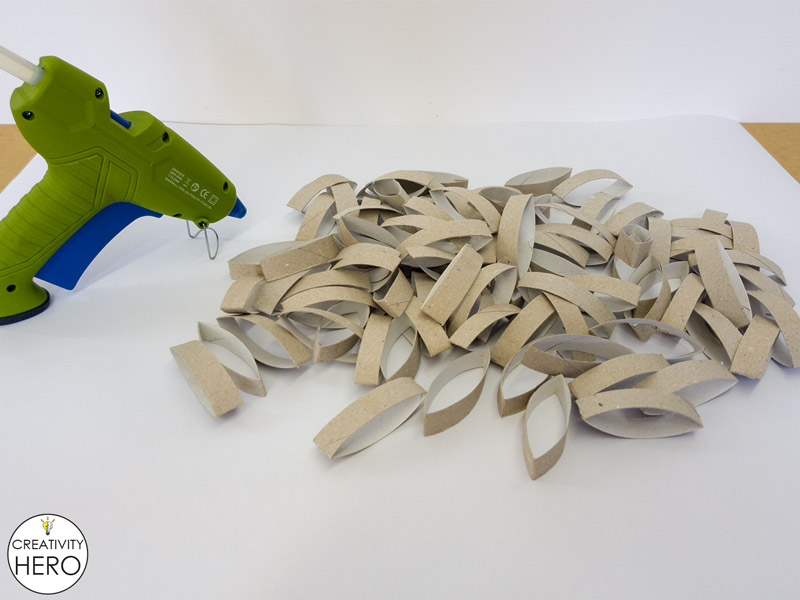
I started by flattening the paper rolls, and then cut them into 6 equal parts (around 1 cm wide).

Wall Art How to Make Flower of Life Out of Toilet Paper Rolls 4

You can use a ruler to be more accurate.

Wall Art How to Make Flower of Life Out of Toilet Paper Rolls 5

Repeat this step to all of the paper rolls until you have a bunch of cut-outs. I used 16 rolls in total.

Wall Art How to Make Flower of Life Out of Toilet Paper Rolls 6

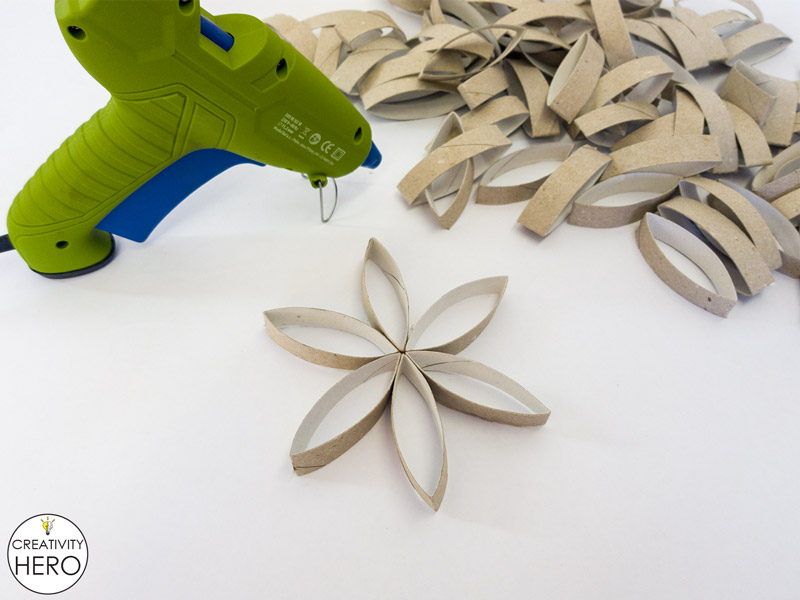
Next, place the pieces on a flat surface creating flower like shape. Now that I have the design, it is time to glue the pieces. I started with gluing one 6 petal flower which was the center point of the entire flower of life. Then I glued the pieces together where their sides touch.

Wall Art How to Make Flower of Life Out of Toilet Paper Rolls 7

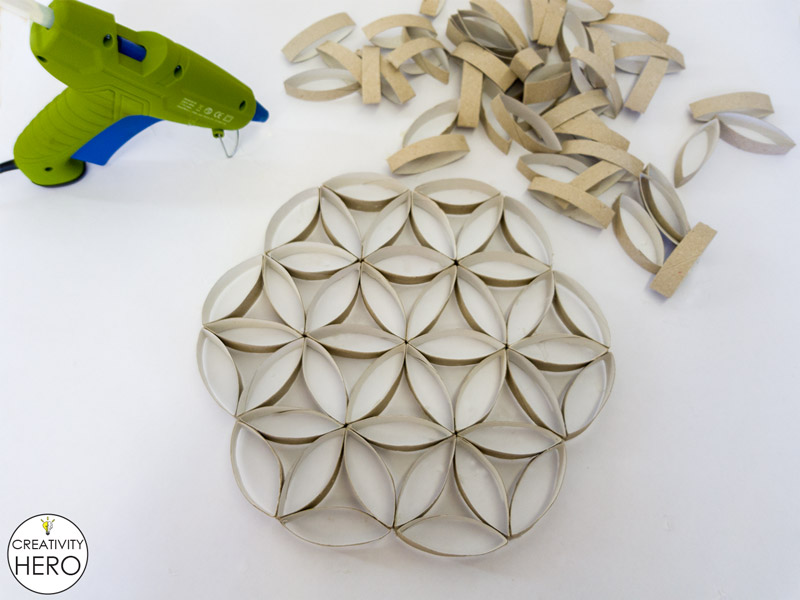
I continued forming a circle around the flower.

Why you need to use a hot glue?

Hot glue is the perfect choice for gluing toilet paper rolls. It dries so fast, it is transparent and if there is any excess glue you can easily remove it.

Instead, you can use white crafts glue, but the process of drying is much longer, and also you’ll need clothes pins to secure them in place.

Wall Art How to Make Flower of Life Out of Toilet Paper Rolls 8

After finishing the circle, I added more petals around it, and that way I formed other flowers around the center. Here you need to pay attention to the number of petals. There should be 6 petals on each flower so that you keep the right shape of the object.

Wall Art How to Make Flower of Life Out of Toilet Paper Rolls 9

The next step is gluing more pieces around the flowers the same way you glued the circle, but here you’ll get a hexagonal shape of the object.

Wall Art How to Make Flower of Life Out of Toilet Paper Rolls 10

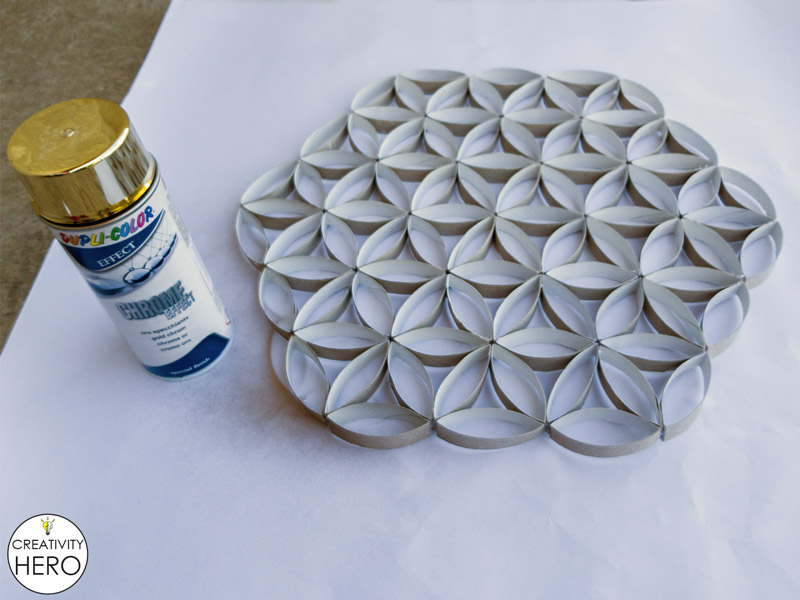
Follow these steps, and you can make as large flower as you want, depending on your taste and the place on the wall where you’ll attach it.

Wall Art How to Make Flower of Life Out of Toilet Paper Rolls 11

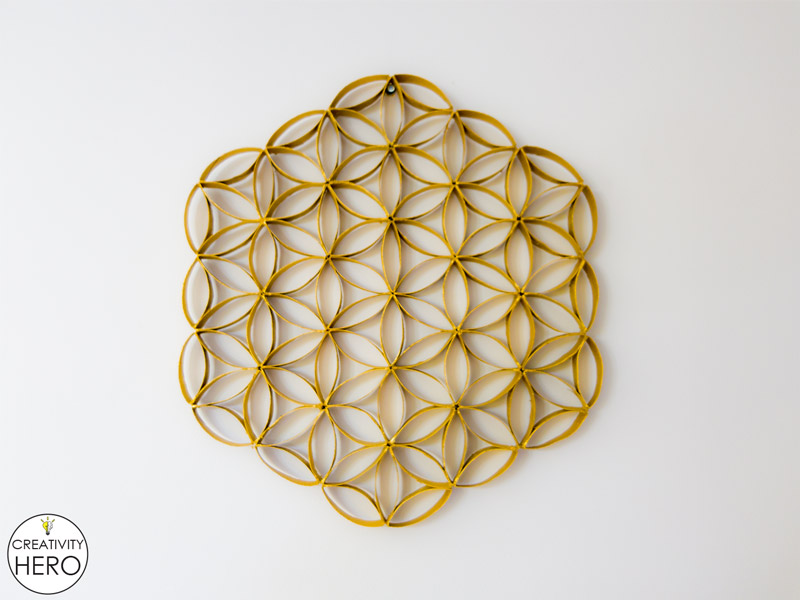
The final step is painting the flower any color you want. I chose gold spray paint and sprayed the flower. It didn’t take long to dry.

You may like: Simple DIY Picture Frame Using Popsicle Sticks

Wall Art How to Make Flower of Life Out of Toilet Paper Rolls 13

And this is the finished project hung on the wall!

Wall Art How to Make Flower of Life Out of Toilet Paper Rolls 12

I hope you like this simple craft as much as I like it. If you do please share this wonderful wall art with your friends and family.

Simple DIY Picture Frame Using Popsicle Sticks

0
Simple DIY Picture Frame Using Popsicle Sticks 0

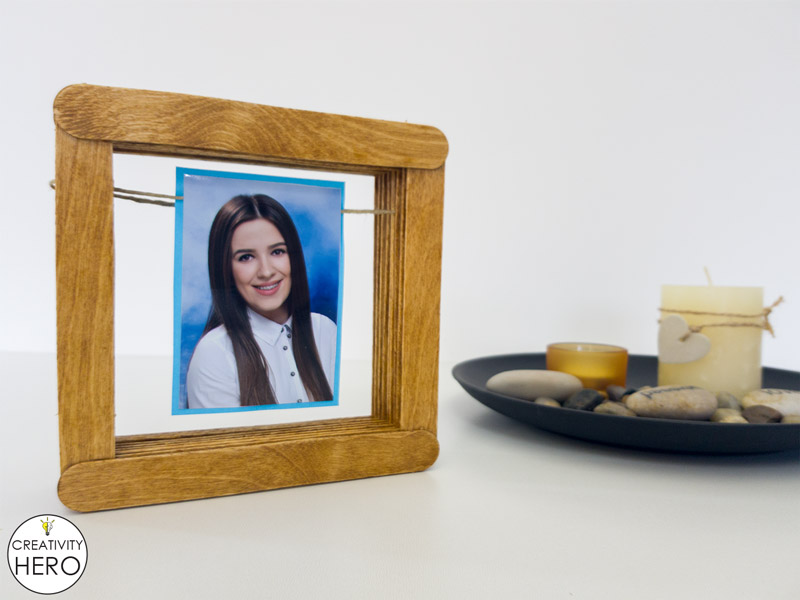
Today I’ll make a simple and beautiful picture frame. I had some Popsicle sticks at home, so I decided to create an original, rustic style picture frame that will match my room perfectly.

I love displaying pictures everywhere in my house. But, the most satisfying part is displaying pictures in the frames that I made.

Simple DIY Picture Frame Using Popsicle Sticks 1

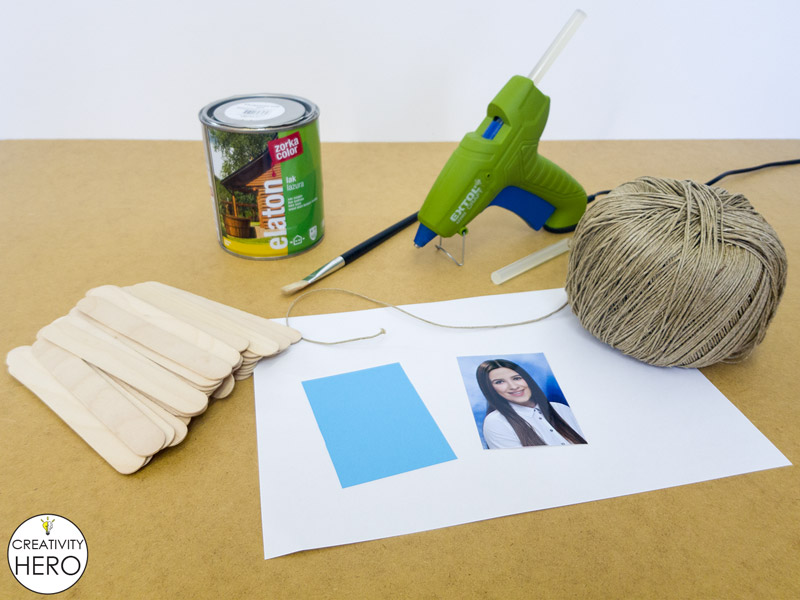
Here are the materials that I used:

Disclosure: As an Amazon Associate I earn from qualifying purchases.

Related: How To Make A Hanging Clothespin Photo Frame | DIY Project

It is very simple and easy to make, so you’ll literally need only an hour to finish it.

So, let’s get started!

Simple DIY Picture Frame Using Popsicle Sticks 2

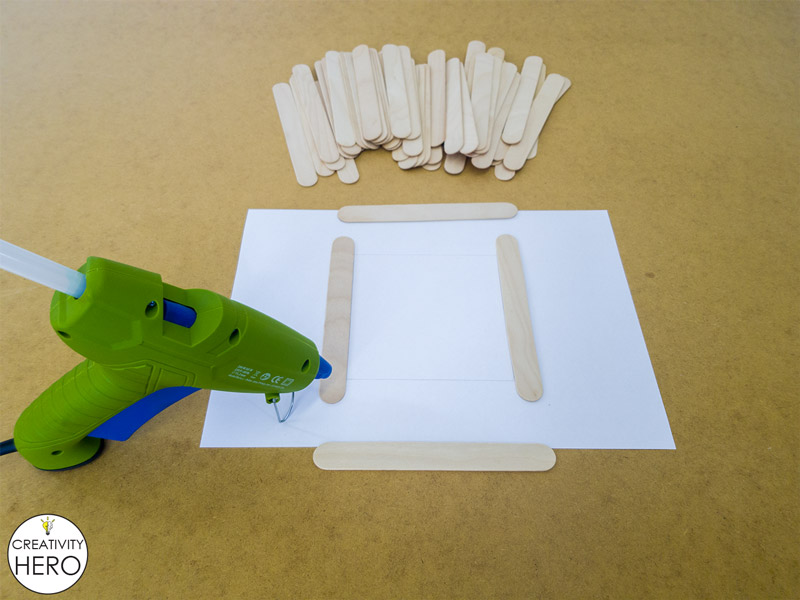
First, I draw a square on a piece of paper that will act as a guide that I need to follow.

Simple DIY Picture Frame Using Popsicle Sticks 3

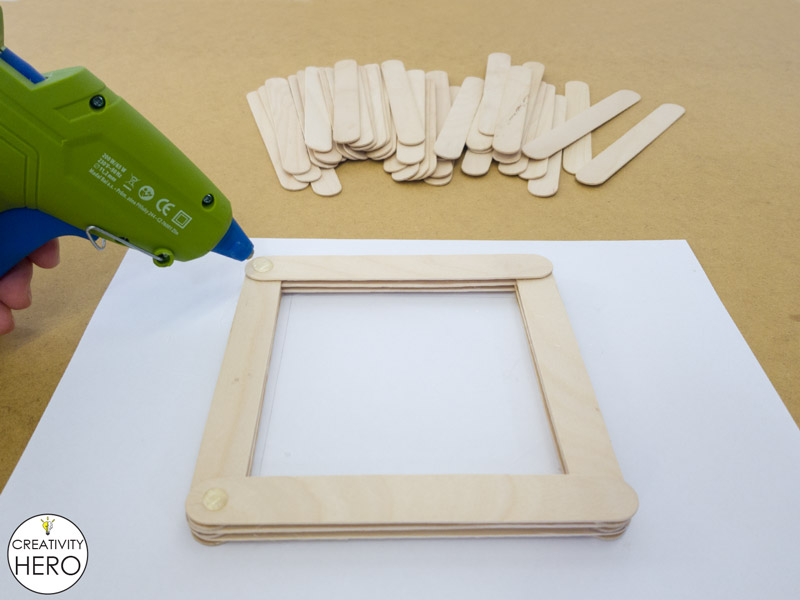
Then, I started gluing the Popsicle sticks together with hot glue. You’ll need a small amount of glue to keep the edges nice and clean.

Simple DIY Picture Frame Using Popsicle Sticks 4

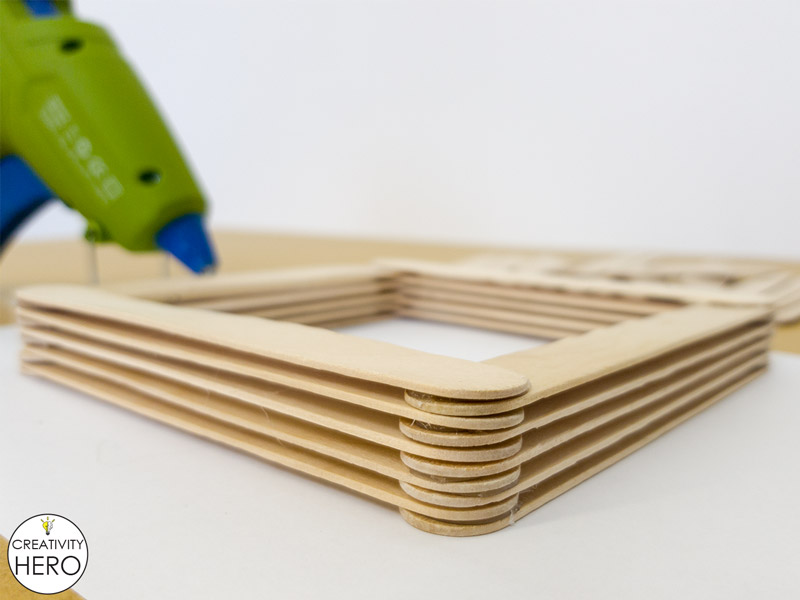
I glued 10 layers in total. They are perfectly lined up.

Simple DIY Picture Frame Using Popsicle Sticks 5

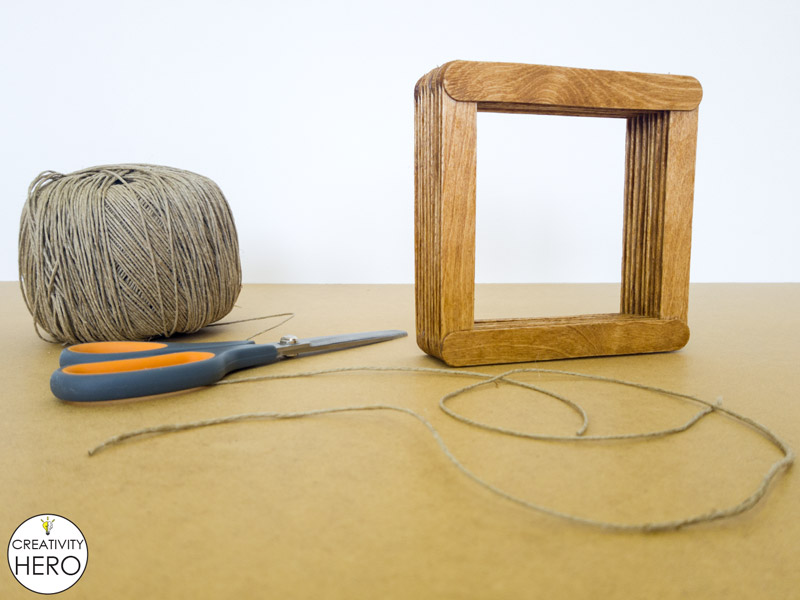
To give the frame more rustic look I stained it with a wood stain. I chose walnut stain because I really like how it emphasizes the beauty of the wood.

This step is optional, so you can leave the frame as it is, or you can add another color, for example blue, pink, white, depending on your taste.

Simple DIY Picture Frame Using Popsicle Sticks 6

I cut a 30 cm long hemp twine string, and placed it between the gaps of the frame.

Simple DIY Picture Frame Using Popsicle Sticks 7

Also, I tied a knot to keep it in place.

Simple DIY Picture Frame Using Popsicle Sticks 8

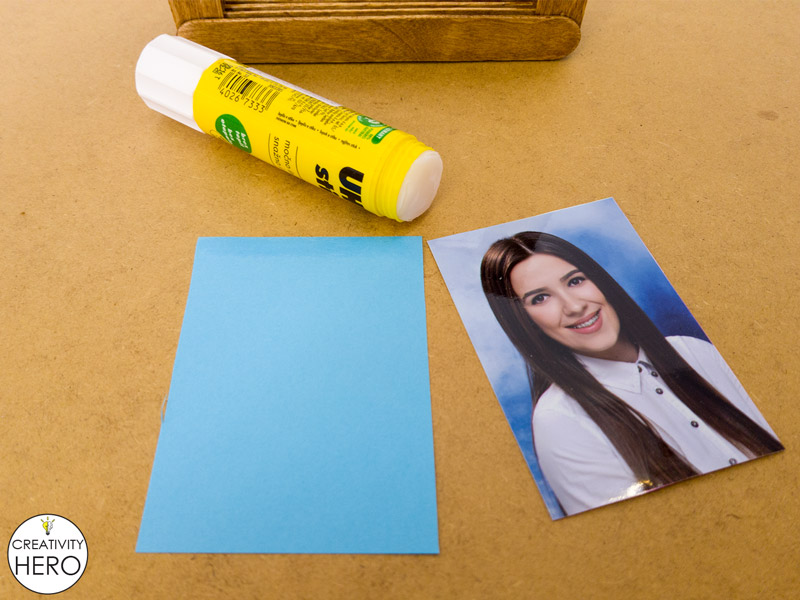
Finally, I can attach the picture onto the frame. I applied a small amount of glue stick on the top of the blue paper and glued the picture. Then I attached it on the frame and carefully glued the bottom.

Simple DIY Picture Frame Using Popsicle Sticks 9

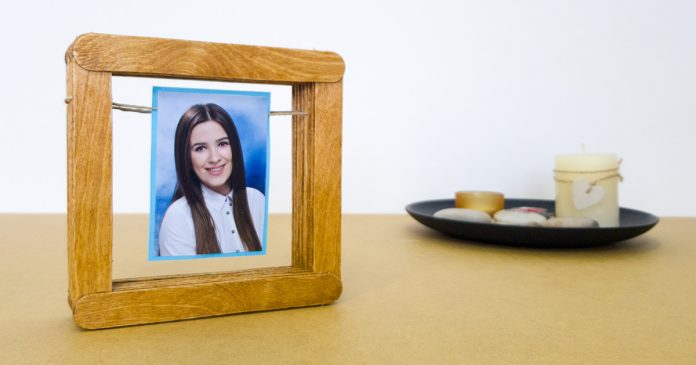
And that’s it. I really like how this picture frame turned out.

Simple DIY Picture Frame Using Popsicle Sticks 10

You may like: How To Create A 3D Paper Cut Light Box | DIY Project

You don’t need much money to create a beautiful and original home decor. There are so many things out there waiting to be discovered and used for creating an amazing decor that will make your home more beautiful.

5 Types of Wood Glue: How to Use Them and How to Choose the Right One

4
5 Types of Wood Glue How to Use Them and How to Choose the Right One 0

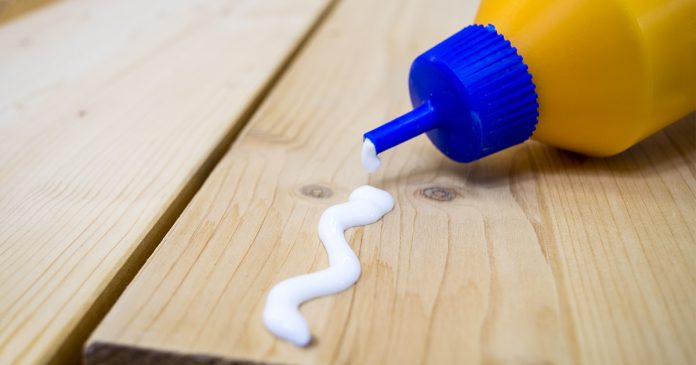
When creating a woodworking project, the most important thing you need to pay attention to is the joinery technique as well as the wood glue to hold your project together.

When it comes to the types of wood glue, there are plenty of options, but you need to choose one of them. Different types of wood require different kinds of wood glue.

You may like: DIY Rustic Hemp Rope Chandelier for 35$

In the text bellow you’ll find 5 types of wood glue, some tips on how to use them, and a guide to choosing the right one.

Disclosure: As an Amazon Associate I earn from qualifying purchases.

1. PVA Glue

Polyvinyl acetate (PVA) glue is the most common type of glue. These two words simply mean that it’s a colorless, odorless material used in adhesives. If you have a bottle of wood glue at home, it’s likely to be PVA glue. Yellow glue, white glue, and simply bottle of “wood glue” are all likely to be PVA glue. Some special formulations of PVA glue, for example Titebond III are waterproof.

The greatest advantage of PVA glue is that it is available everywhere. But, you should be careful and remove the excess glue of your project because it can affect your finish, with other words it will be visible after you apply the finish, which will completely ruin the appearance of the project.

So, before gluing two pieces of wood together you can place a line of masking tape down one side of the joint, spanning the crack with the tape. Then flip the wooden pieces over and apply glue inside the joint. Clamp the two pieces down and use a cloth to wipe off any excess glue.

2. Epoxy

Epoxy comes in two parts: a resin and a hardener. It is made by mixing these two agents in exact proportions. They are both liquid, but when mixed together a chemical reaction occurs and causes the mixture to harden.

The advantage of using epoxy is that it is waterproof and also does a great job filling gaps in imperfectly matched joints, which is not the case with the other above mentioned types of glue.

3. Polyurethane glue

Polyurethane glue is activated by moisture, and swells as it is activated and dries. It dries very quickly and hard, and it is waterproof. Dealing with dried polyurethane glue can be problematic for finishes.

Polyurethane glue is appropriate for so many different projects, because it can be used indoors and outdoors. Before applying polyurethane glue, wet the piece of wood with a damp cloth. After applying the glue, clamp the pieces together as soon as possible, and let it 24 hours to completely dry. Use mineral spirits to clean off any excess polyurethane glue.

4. Hide Glue

In case you’re wondering, yes, it comes from animal hides. There are two types of hide glue.

The first one is hot hide glue, which is made by heating granules of hide glue in a pot with water. It liquefies as it heats, and it becomes solid as it cools. It can be applied with a brush.

The other type of hide glue is liquid hide glue which comes in a bottle. It can be used just like PVA glue. The advantage of using liquid hide glue over PVA glue is that it does not affect the finish in case you don’t remove every bit of it.

It’s often a good idea to mix a little sawdust from the wood you’re gluing into the epoxy mixture. This way the glue will be the same color as the wood when it dries.

Another important thing to point out is that there are different epoxy formulas, some of them take a while to cure, while others take only 5 minutes to cure. Anyway, the longer you leave the epoxy to cure, the stronger the bond will be.

5. Cyanoacrylate glue

Cyanoacrylate, or CA glue, is used to join hard pieces together. It is also used in woodworking. Its advantage is that it cures in a very short period of time. You can also apply an accelerant which will additionally speed up the process of gluing. The glue joint that is made is very hard, so it can be broken under impact.

When it comes to woodworking, you can use it as a temporary way of joining two pieces of wood together. For instance, if you are joining curved pieces of wood together, you can attach a glue block to the pieces to give your clamps a place to hold onto. CA glue can be used to attach the glue blocks, and once the pieces are glued together, just tap with a mallet or a hammer which will separate the glue blocks right away.

You may like: How To Build A Wooden Desk Lamp | DIY Project

Which Type of Wood Glue to Choose?

When it comes to choosing the right glue for your project, all of the above mentioned glues will provide a strong enough bond, especially for furniture projects. The things you need to take into consideration is whether you need the glue to be waterproof, how long you need to work with the glue before it starts to harden, and whether you need to fill a gap.

I usually use PVA glue in my projects because I can always find it at the local home center, and when I need strong waterproof bonds I use 5 minute Epoxy. So, the choice is yours, take your time and pick the right glue for your project.

Homemade 3 in 1 Multipurpose Workbench: Table Saw, Router Table and Inverted Jigsaw (Free Plans)

91
Homemade 3 in 1 Multipurpose Workbench - Web

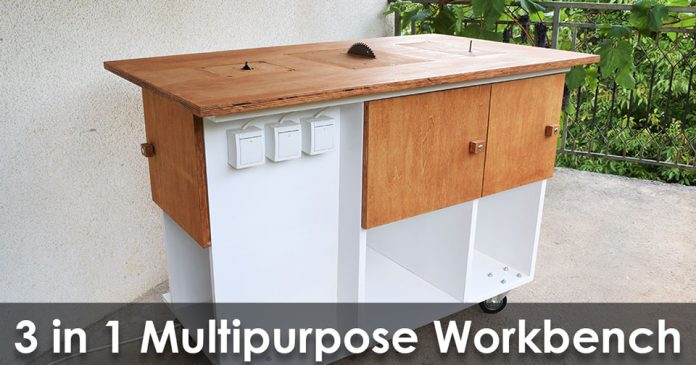
In this video I’m going to show you how I built my 3 in 1 multipurpose workbench.

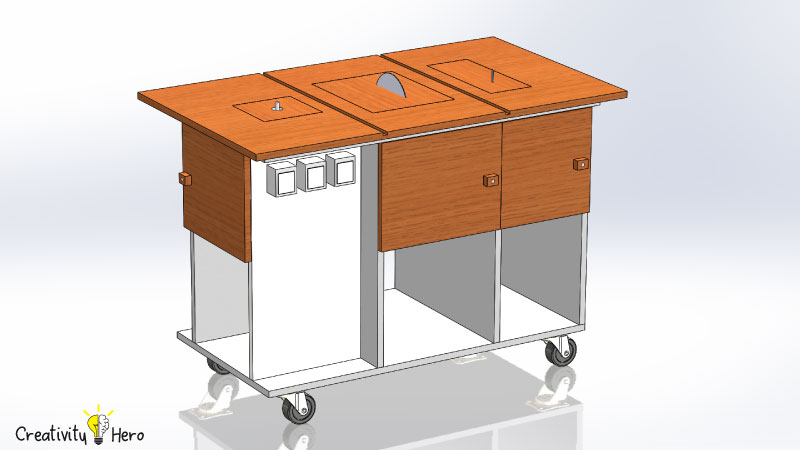
I’m going to show you how I turned my router into a router table, my circular saw into a table saw and my jigsaw into an inverted jigsaw. Also, I’m going to show you how I collect the dust from these tools. And at last I’ll show you how I connected and wired everything.

I dedicated almost a month in designing and building this multipurpose workbench that will ease my future projects.

In this video I explained everything step by step, so it would be easier for you to build one on your own. Below you can find a FREE PLAN with all the details included.

You may also like: How To Build A Wooden Desk Lamp | DIY Project

So, let’s get started!

Here are the materials I used:

Types of tools I used:

Disclosure: As an Amazon Associate I earn from qualifying purchases.

Here you can download the FREE PLAN:

In my next videos you can find some accessories that I plan to make for this workbench like: Table Saw Fence, Crosscut Sled, Miter Gauge, Featherboard and Push Stick. I’ll upload free plans for the accessories when I build them.

Step 1: Measuring and Cutting.

For this project I used 2 sheets of plywood, 122 x 244 cm, 21 mm thick. First I marked all dimensions. I used a wooden strip as a fence and clamped it down. Also, I placed the sheets onto 2 tables to prevent the wood from splintering.

Multipurpose Workbench 2

I cut all the pieces that I need for this project: the top, the bottom, the sides, the inner panels, the doors and the frame.

Step 2: Assembling the Workbench.

Multipurpose Workbench 3

I’ll start with the bottom, and I’ll attach the sides to it.

To make the sides perpendicular with the bottom I’m using corner clamps. On the bottom of the table I’m marking the points where I’ll drive the screws in, and then I’m drilling some pilot holes in there. After I made the pilot holes, I decided that it is much better to strengthen the joints with a wood glue, and then to drive the screws in. I’m using 5 cm long screws with 4 mm diameter. I repeated this process with the other two panels which are parallel with the first one.

Multipurpose Workbench 4

Now I’ll attach the shelves.  To do this, I’ll make pocket holes with a pocket hole jig on each shelf. This is the most appropriate way to give the table a cleaner look.

I spent some time measuring and clamping them down with corner clamps, and then I drove the screws in. For these joints I’m using 4 cm long screws.

I can move on to attaching the other two panels which are perpendicular with the other panels that are already attached to the bottom of the workbench. One more thing I need to do is to attach the last shelf with pocket hole screws as well.

Step 3: Turning the Router into a Router Table.

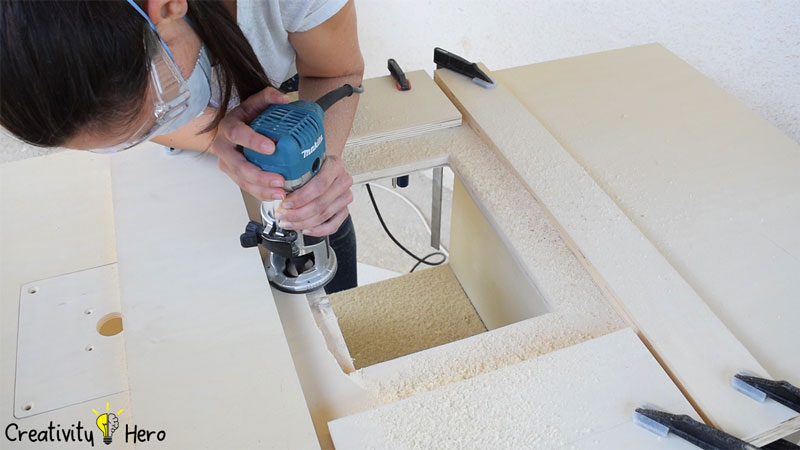
The first tool that I’m going to attach is the router. I measured the size of the opening, found its center, and drew a square on the panel that I need to cut with a jigsaw.

3.1. Making the Opening.

Multipurpose Workbench 8

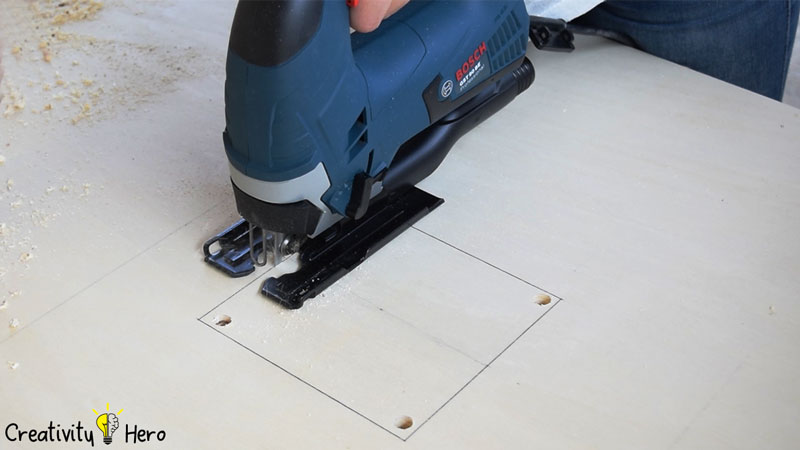
Then I drilled out four holes, one in each corner to pass the jigsaw blade through. These holes will be starting points for the jigsaw. While cutting you should try to stay as close to the line as possible.

I’ve cut the opening and used a rasp to remove all the extra wood that I couldn’t cut with the jigsaw.

Multipurpose Workbench 9

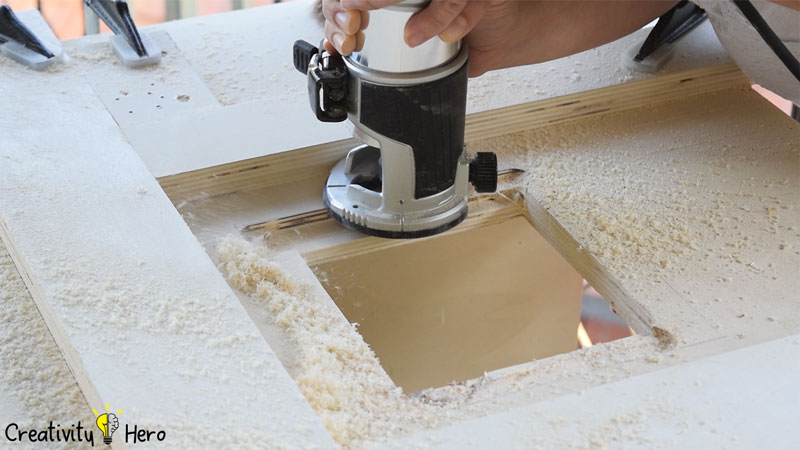
Next, I need to make a rabbet for the insert that will hold the router from below. I’m drawing the perimeter of the square that I need to cut. To follow the line of the perimeter I clamped down a few pieces of scrap wood.

I’m using a straight 12 mm bit to route this section out, but I set the depth of the cut on 5 mm, so I need to pass twice on the same surface to get the 10 mm depth.

3.2. Creating the Inserts.

Multipurpose Workbench 71

Now I need to make the inserts for the tools. The rabbet that I previously made can fit 10 mm thick insert. The problem is that I don’t have 10 mm thick plywood, so I need to find a way to solve this issue.

The only reasonable solution was to turn the 21 mm plywood board into 10 mm board with a router. So, I did it. I removed 11 mm off of the plywood. Although I was all covered in dust, I finally got 10 mm board which was one of the most important parts of the project.

The easiest way to get 10 mm thick plywood is, of course, to buy it, but I wasn’t able to do that, so this solution wasn’t bad at all.

Before cutting the inserts, I sanded the board down to make it nice and smooth. Then I cut the insert for the router and used a sandpaper to make round edges.

3.3. Attaching the Router onto the Insert.

Multipurpose Workbench 14

Next, I removed the base of the router and I used it as a template to mark the mounting holes.

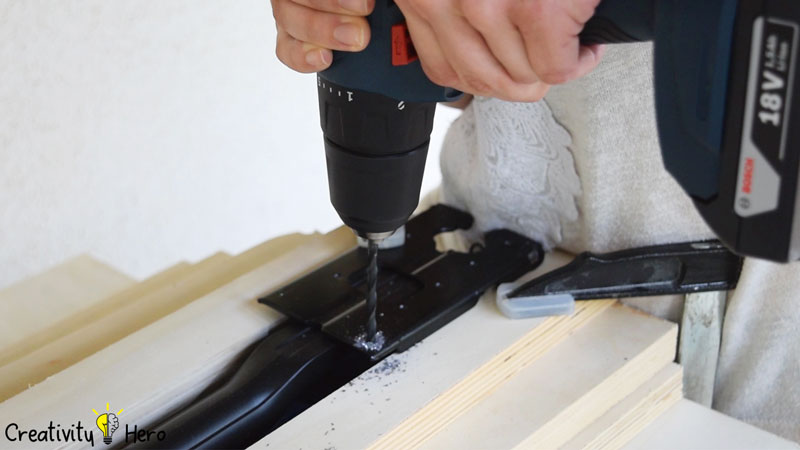
Then I drilled the holes out. First I used a countersink bit to drill out the holes just enough to get the screw heads to sink below the surface of the wood. That’s because I need the insert to be flush with the surface of the table. For the router, I made holes with a 4 mm bit, and for the insert I made 6 mm holes. Also, I used a 35 mm Forstner bit to drill out the center so that I can easily move the router bit up and down.

Multipurpose Workbench 17

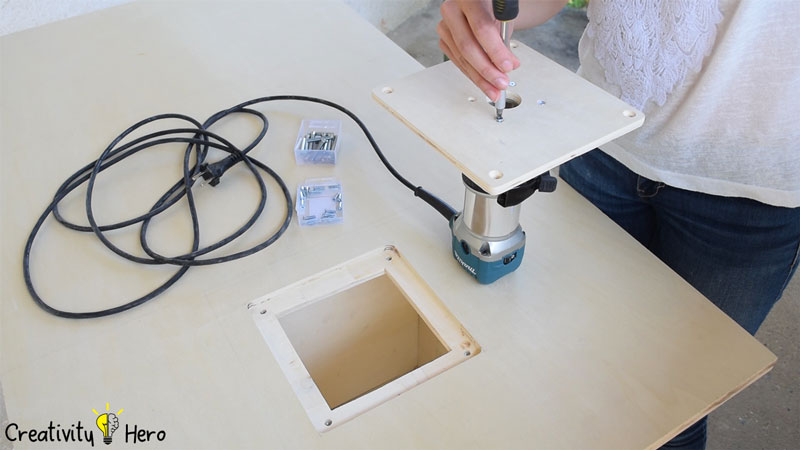
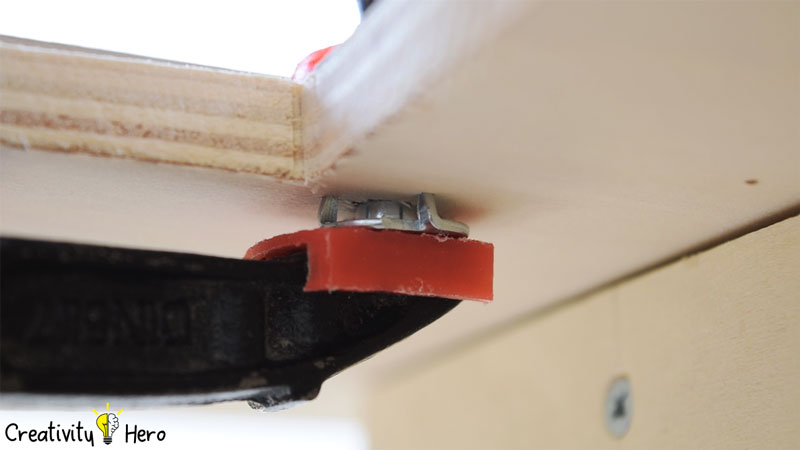
The last 4 holes I drilled with an 8 mm bit into the corners of the rabbet. I installed the T-nuts below the surface, so that I can secure the insert in place. I’m going to use a clamp which will pull the T-nut inside the wood.

And that’s it. I’ll attach the router onto the insert, and then I’ll attach the insert onto the table.

Step 4: Turning the Circular Saw into a Table Saw.

Now, I can move on to the second tool, and that’s the circular saw. Here, I need to pay much more attention to the squaring. The saw has to be squared up with the front edge of the workbench, so I need to measure twice before cutting.

4.1. Making the Opening.

Multipurpose Workbench 45

Then again, I drilled 4 holes for the jigsaw blade to pass through and made an opening as big as the circular saw. The rasp corrected all the imperfections.

Then I made a rabbet with the router, and this time I set the depth of the cut on 10 mm, so that I can remove the extra wood all at once.

Fortunately, now I have 10 mm thick plywood for this insert. So, I cut the insert to size, and rounded the edges with a sandpaper.

4.2. Mounting the Circular Saw onto the Insert.

Multipurpose Workbench 16

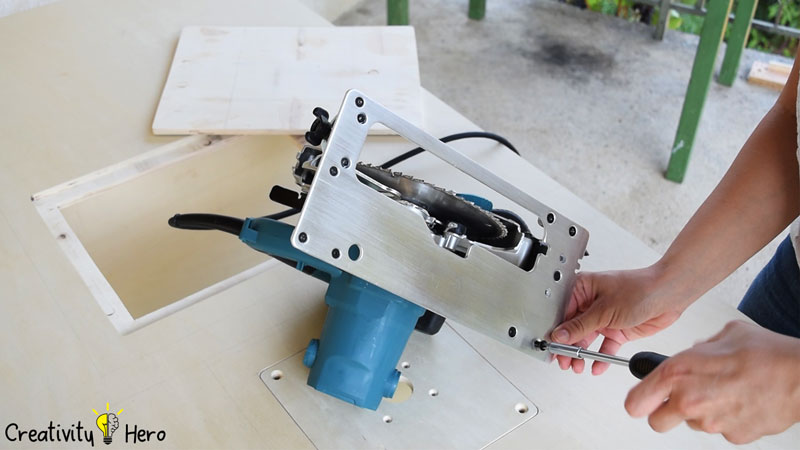
To attach the circular saw to the insert I’m going to utilize the existing holes, two in the front, and two in the back of the saw. You may have to drill new holes in your saw base if you can’t use the existing ones.

I marked the places where I need to drill holes in the insert.

After that, I drilled all the holes I needed. I’m going to use bolts with 4 and 5 mm diameter, two of each, and also I’m going to use 4 bolts with 6 mm diameter to attach the insert to the table.

I installed the T-nuts with an F-clamp, one in each corner of the opening.

4.3. Making Cuts on the Insert.

Multipurpose Workbench 18

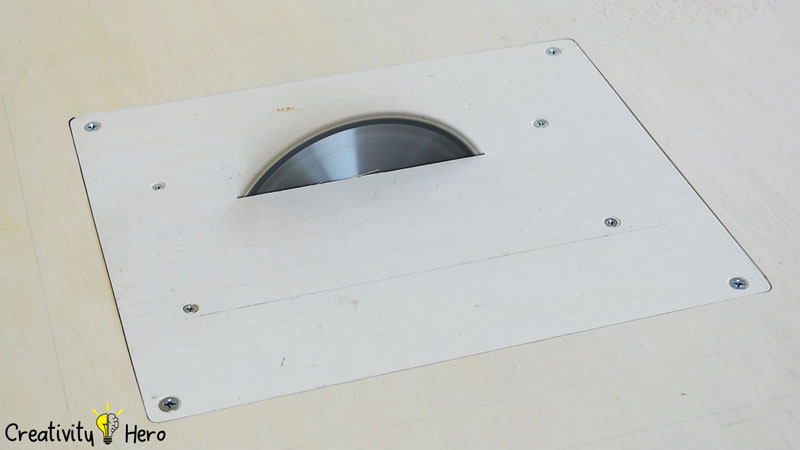
Now, I’ll place the circular saw below the top and at this point I need to make 2 cuts, one at a 90 degree angle, and another at a 45 degree angle. Before making the cut I have the blade guard clamped out of the way so that I can see what I’m doing.

So, I’ve turned the circular saw into a table saw.

Step 5: Turning the Jigsaw into Inverted Jigsaw.

Next, I can focus on the third tool, and that’s the jigsaw.

5.1. Making the Opening.

Multipurpose Workbench 48

The process is pretty much the same here. In each corner I drilled 4 holes and slowly passed the jigsaw through, following the lines. Again, all the imperfections are corrected with the rasp.

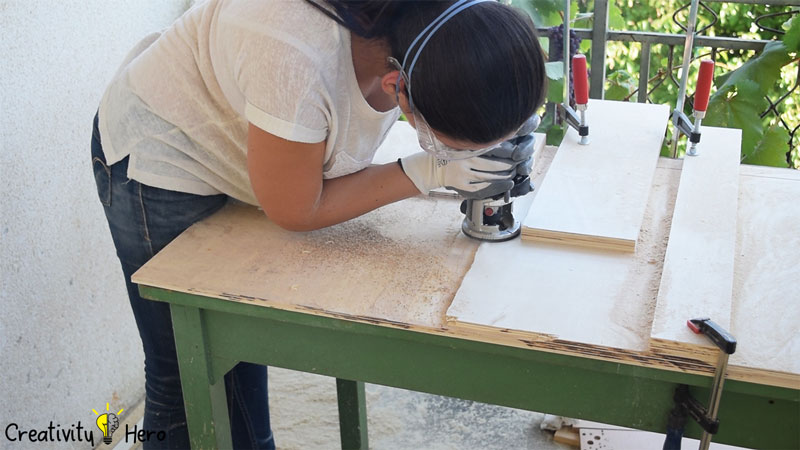
Then, I clamped down 4 pieces of scrap wood, and they will act as a guide for the router. I routed the section out with a 12 mm bit.

5.2. Attaching the Jigsaw onto the Insert.

Multipurpose Workbench 19

After that, I need to attach the jigsaw to the insert. And to do that I need to drill new holes in my saw base. I drilled two holes in the front, and two holes in the back of the jigsaw. To do this I’m using 5 mm metal drill bit.

Now that I have 4 new holes on the jigsaw, I can make the appropriate holes on the insert, and on the opening, and to install the T-nuts. Also, I made a 15 mm hole with a Forstner bit for the jigsaw blade.

I can now attach the jigsaw onto the insert, secure the insert onto the workbench and put the blade in place, to check the squaring. You may have a different jigsaw, so you may need to use a different method to attach it to the workbench.

Step 6: Making Holes for the Caster Wheels.

After I drew some lines, I can mark the points for the screws and drill 4 holes on each corner. I’m using caster wheels with brakes, because this way I can easily move the workbench, and I can secure it in place while I’m working.

Step 7: Attaching the Top to the Table.

To attach the top to the table I’m making pocket holes on each side for which I’m going to use 32 mm screws.

Then I’m applying a decent amount of wood glue and I’m driving pocket hole screws in each hole.

Step 8: Making a Frame below the Top.

Multipurpose Workbench 23

I apply wood glue on the first stripe, clamp it down and drive screws from the inside. For the rest 3 stripes I drive screws from below.

Step 9: Preparing the Doors.

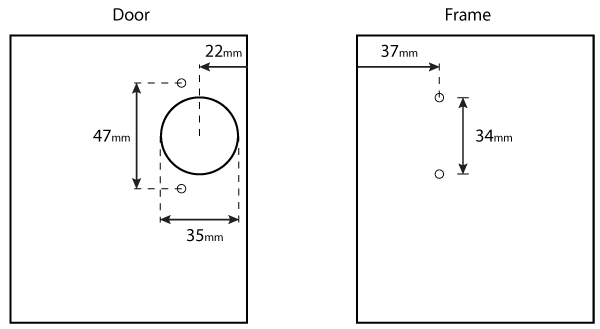
Now it is time to work on the doors. I’m marking the points where I’ll place the hinges, and I’m making holes using 35 mm Forstner bit. I’m marking the points for the screws, and then I drill the holes.

Step 10: Painting the Workbench.

Multipurpose Workbench 25

Before painting, I’m sanding the entire workbench, first with 120, and then with 220 grit sandpaper, and wipe the dust off.

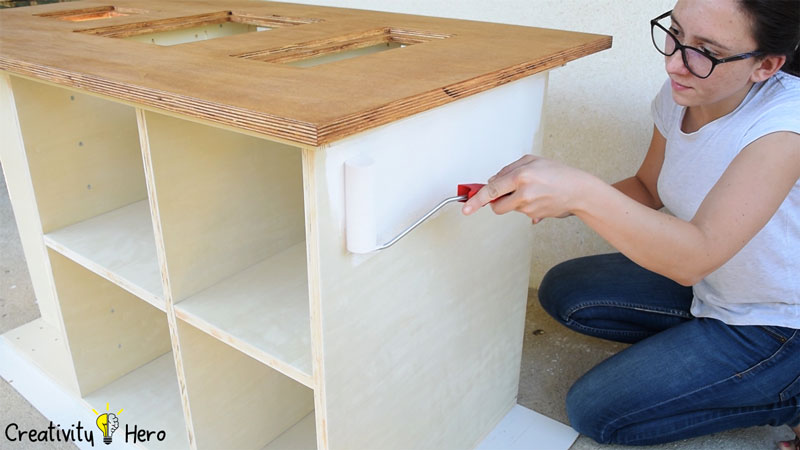
I decided to finish it with a combination of stain and paint, so I stained the top, the inserts and the doors with walnut stain, and I painted everything else with white paint.

Multipurpose Workbench 27

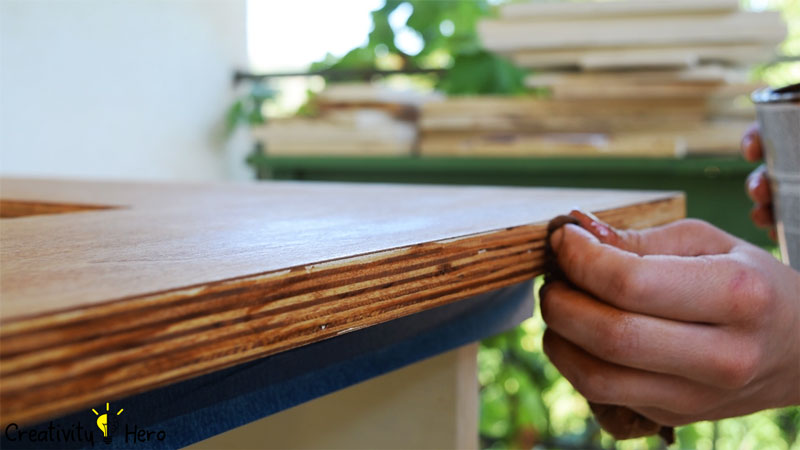
What I most like about the stain is that it emphasizes the edges of the plywood wonderfully.

Multipurpose Workbench 72

When it comes to the paint, first I applied one coat of oil-based primer, left it to dry out, and then sanded it with 120 grit sandpaper. After that, I applied one coat of white oil-based paint, and left it to dry for at least 24 hours before doing anything else.

Step 11: Mounting the Caster Wheels.

Multipurpose Workbench 30

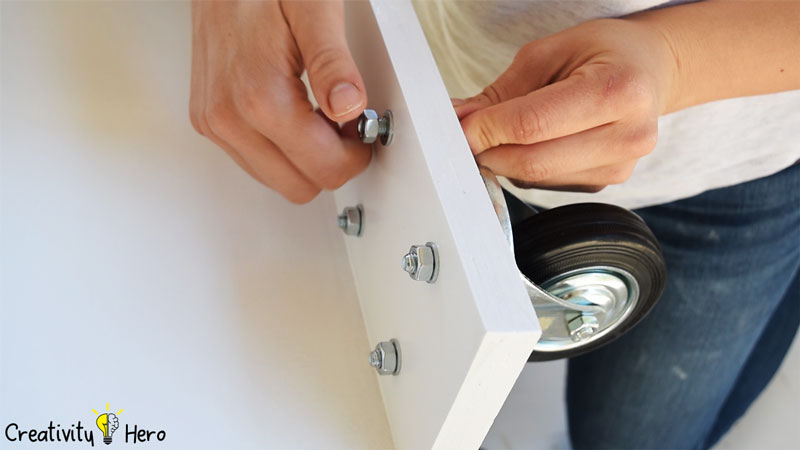
I mount the caster wheels on the bottom with 8 mm bolts, and secured them well.

You can see that the bottom isn’t painted, instead I applied transparent finish, because it dries so fast, so I didn’t have to wait another 24 hours for more paint to dry out.

Step 12: Electrical Work.

Multipurpose Workbench 41

Now, I can move on to the fun part of this project: The electrical work.

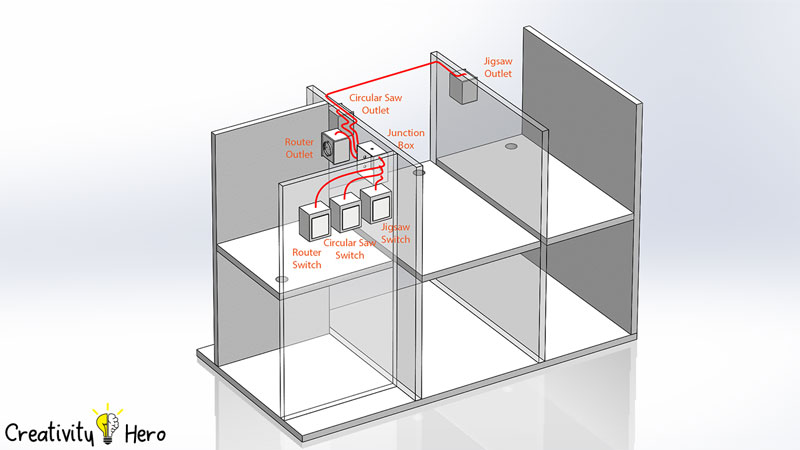
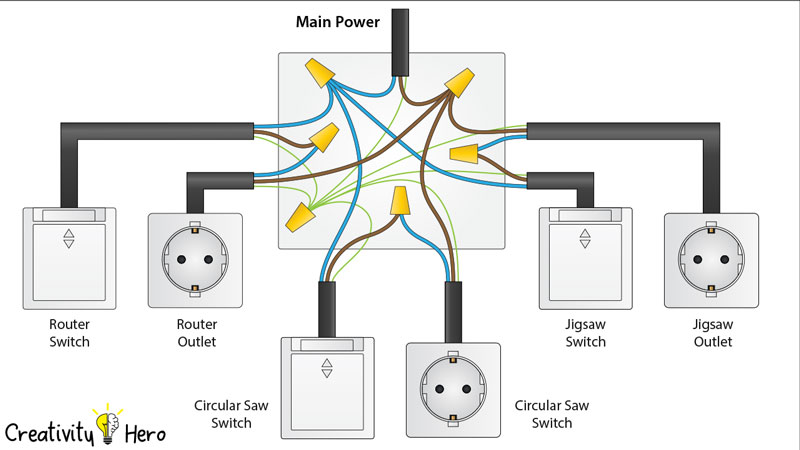
So I’ll put 3 switches in front of the workbench which will control the three power outlets for each tool, according to the circuit schematic. I’m using 3 core 1.5mm cable and I start by cutting it to size and stripping off the wires inside.

Multipurpose Workbench 40

I connected the hot and the neutral lines, in my case the brown and the blue wires, to the switch in a way that they are connected to each other when the switch is pressed, and disconnected when the switch is not pressed. I attached the switch boxes to the workbench using screws, inserted the other end of the cables through the holes where my junction box will be located and assembled the switches.

On the other side, in the router compartment, I marked the position where the junction box will be placed and attached it to the side panel using two screws.

In similar way, I connected the three power outlets with the cables appropriately, attached them in each compartment and assembled them.

What’s left is to connect the main power to the junction box. I did that by using 3 m long cable on which I attached a power plug and then brought the cable to the junction box. At the end I connected all the wires together in the junction box according to the circuit schematic.

Step 13: Dust Collection.

Multipurpose Workbench 34

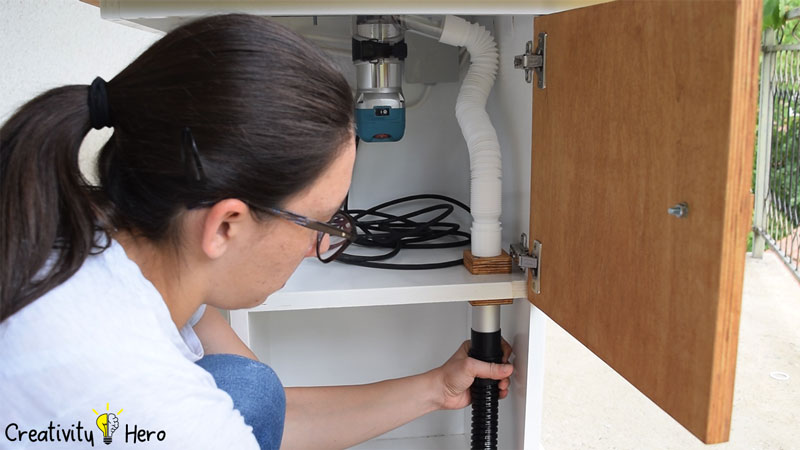
I’ve previously made squares with holes in the middle that will fit all the hoses needed for this workbench. I screwed one square above and one below the shelf, and this way I’ll connect the hoses from the tools and the hose from the vacuum cleaner.

Step 14: Attaching the Doors.

Multipurpose Workbench 31

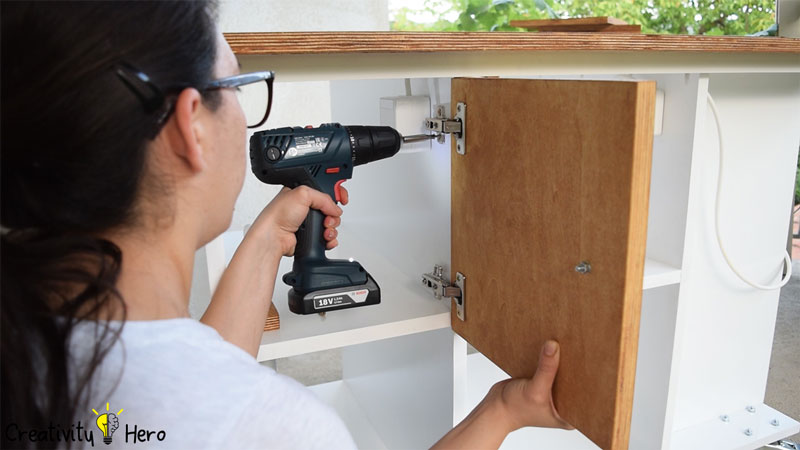
I’m using full overlay hinges. Also I made door knobs out of plywood which I mounted with screws. I kind of like the exposed look of the screws.

Mounting the doors on the workbench is easy, you just have to follow one simple rule, which you can see on the picture below.

I like the mechanism of the hinges, they are easy to install and adjustable, which is pretty good for people who are using them for the first time.

Step 15: Putting the tools in place and testing them.

15.1. Router Table

Multipurpose Workbench 36

15.2. Table Saw

Multipurpose Workbench 37

15.3. Inverted Jigsaw

Multipurpose Workbench 39

At the circular saw, you can notice that instead 4, I put 6 screws to attach the insert to the top. This is because the surface of the insert warped for some reason, which I couldn’t fix, and I thought 2 more screws in the middle will solve this problem. And I was right.

You may also like: DIY Rustic Hemp Rope Chandelier for 35$

At this point I’m done with my workbench. I’m very satisfied with how it turned out. I really like its appearance and functionality, so I think it was worth every second I’ve spent on its design and building.

If you have any questions, suggestions and ideas leave them in the comments section below. Also, if you like this video share it with your friends and subscribe to my YouTube channel.
DIY Rustic Hemp Rope Chandelier for 35$

2
How to Make a Rustic Industrial Style Hemp Rope Chandelier DIY Project 0

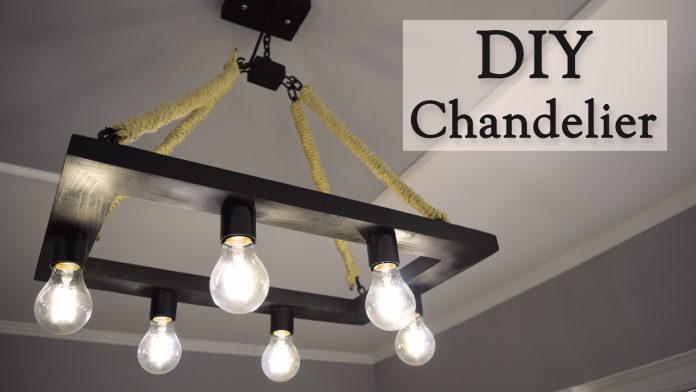
For today’s DIY project I’ll be making a rustic industrial style hemp rope chandelier. I’ve noticed this beautiful chandelier at the lighting store and I thought it would be a perfect addition to my living room.

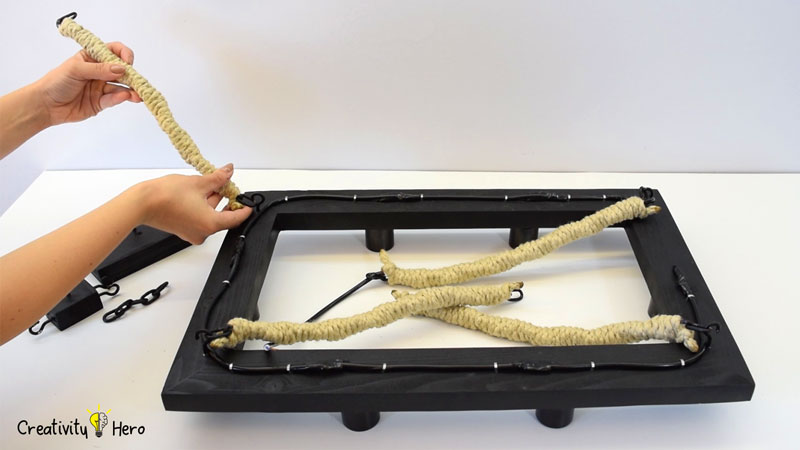
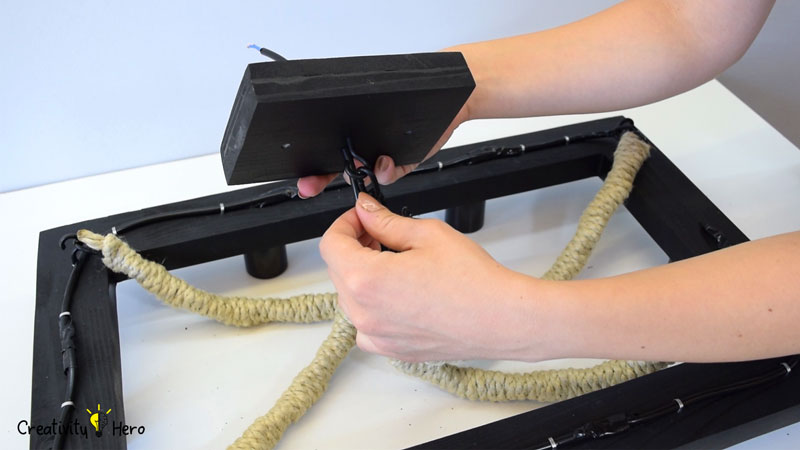
It has a rectangular wooden base with 6 lights and 4 iron chains covered by hemp rope and iron hooks to hang it up.

It cost around 300$, so I decided to challenge myself and recreate it for less than 40$. I enjoyed the process of creating this chandelier because it was on my wish list for a while, and also I like to learn new stuff. This is my absolute favorite DIY project so far.

Here are the materials I used:

Types of tools I used:

Disclosure: As an Amazon Associate I earn from qualifying purchases.

Related: How To Build A Wooden Desk Lamp | DIY Project

Step 1: Measuring and cutting the wood strip.

How to Make a Rustic Industrial Style Hemp Rope Chandelier DIY Project 2

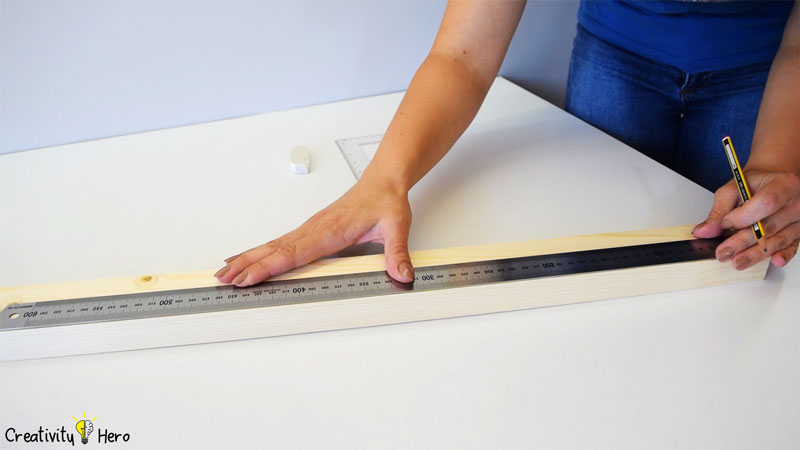
For this project I’m using 3 by 6 cm wood strip. The dimensions of the wooden frame are 55 x 35 cm, so I’ve measured and marked two pieces 55 cm long, and another two pieces 35 cm long.

How to Make a Rustic Industrial Style Hemp Rope Chandelier DIY Project 3

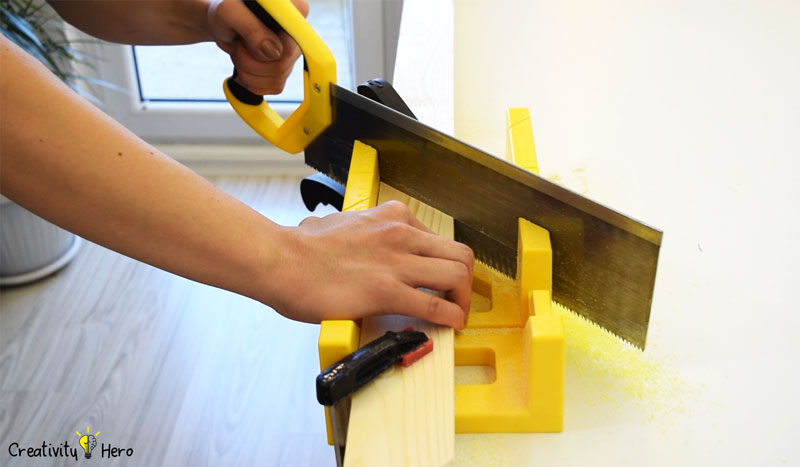
I’ve cut the wood pieces at a 45 degree angle with a handsaw and a miter box. The wood strip was pretty much thick and it took me some time until I finished with all the cuts.

Step 2: Joining the wooden pieces together.

How to Make a Rustic Industrial Style Hemp Rope Chandelier DIY Project 5

To hold this entire frame together I’m going to use dowels. I’ve marked the connection points on each corner, so that the dowels go through both pieces of wood.

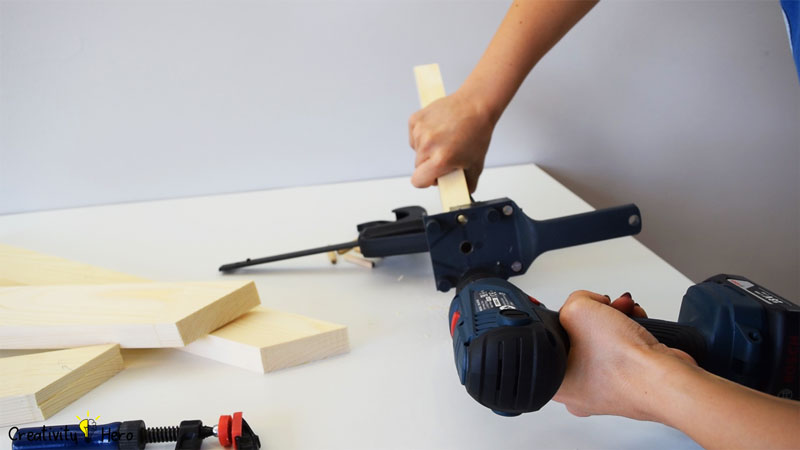
Then, I drilled holes using a drill, a guide and some clamps for more precision.

How to Make a Rustic Industrial Style Hemp Rope Chandelier DIY Project 8

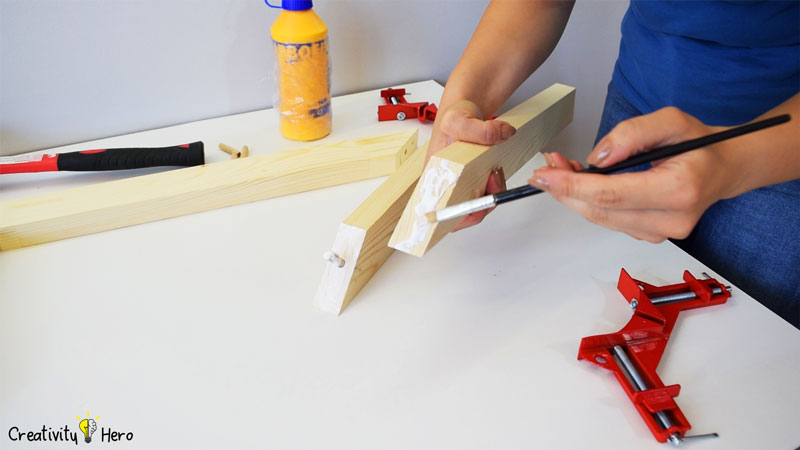
I’ve put one dowel per corner, because the chandelier weighs around 3 kg (which is less than 7 pounds). I applied wood glue and joined the pieces together.

How to Make a Rustic Industrial Style Hemp Rope Chandelier DIY Project 9

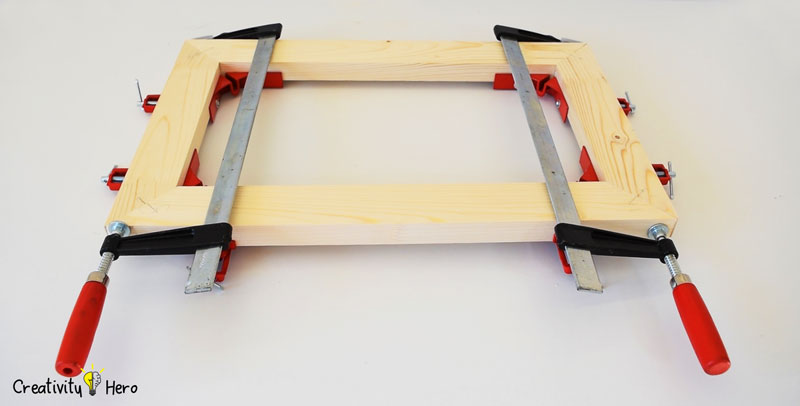
Then, I clamped down the frame with some corner clamps and F-clamps and left it to dry out.

Step 3: Applying a wood filler.

How to Make a Rustic Industrial Style Hemp Rope Chandelier DIY Project 11

I applied a wood filler to fill in all the imperfections.

How to Make a Rustic Industrial Style Hemp Rope Chandelier DIY Project 12

Also, I needed to cut another two pieces of wood with different sizes which will be used as a support for the chandelier. So, I’ve cut one piece 9 x 6 cm, 3 cm thick, and another piece 15 x 10 cm, 2 cm thick.

Step 4: Sanding the wooden frame.

How to Make a Rustic Industrial Style Hemp Rope Chandelier DIY Project 13

Once I’m done cutting and gluing, now I can move on to sanding. I was excited to try my new Random Orbit Sander, because in my previous projects I’ve spent so much time sanding by hand.

First, I’m just going to sand it down with 80 grit sandpaper, and then come back with 120, and then 220 to smooth the surface of the wood.

Step 5: Drilling holes for the light bulb sockets.

How to Make a Rustic Industrial Style Hemp Rope Chandelier DIY Project 15

The next step is marking the center points for the location of the light bulb sockets because I would like them to line up. There are a total of 6 sockets.

I used a 35 mm forstner bit to countersink holes halfway through the wood, around 15 mm, which is enough to fit in the sockets.

How to Make a Rustic Industrial Style Hemp Rope Chandelier DIY Project 16

In the center of these holes I made additional holes with 6 mm bit all the way through the wood for the cord to pass through.

Step 6: Painting the wooden pieces.

How to Make a Rustic Industrial Style Hemp Rope Chandelier DIY Project 17

Now it is time for painting. I’m going to use black spray paint in order to make the chandelier look similar to the one that I saw in the lighting store. I applied 2 coats of spray paint and left it to dry out.

Step 7: Cutting the chain.

How to Make a Rustic Industrial Style Hemp Rope Chandelier DIY Project 19

Next, I used Dremel tool to cut 4 equal lengths of chain. I cut these to 40 cm length. Also, I cut one small piece, 10 cm long.

How to Make a Rustic Industrial Style Hemp Rope Chandelier DIY Project 20

The chain and the hooks were silver, but I wanted black ones, so I painted them with a black spray paint. I actually liked how they turned out.

Step 8: Wrapping the chain with a hemp rope.

How to Make a Rustic Industrial Style Hemp Rope Chandelier DIY Project 21

The last thing I need to do with the chain is to wrap it around with a hemp rope. I wrapped one of the chains together with a cable that will actually connect the cable from the sockets and the cable that comes from the ceiling.

I thought it would be much thicker from the rest three chains, but in the end I could barely see the difference between them.

Step 9: Securing the light bulb sockets into the holes.

How to Make a Rustic Industrial Style Hemp Rope Chandelier DIY Project 22

Now, let’s go back to the installation of the lights. I used a hot glue gun to secure the socket caps into the pre-drilled holes. As you can see, the caps are round, so I needed to apply large amount of hot glue so that they can stick better onto the wood.

Step 10: Wiring lights in parallel.
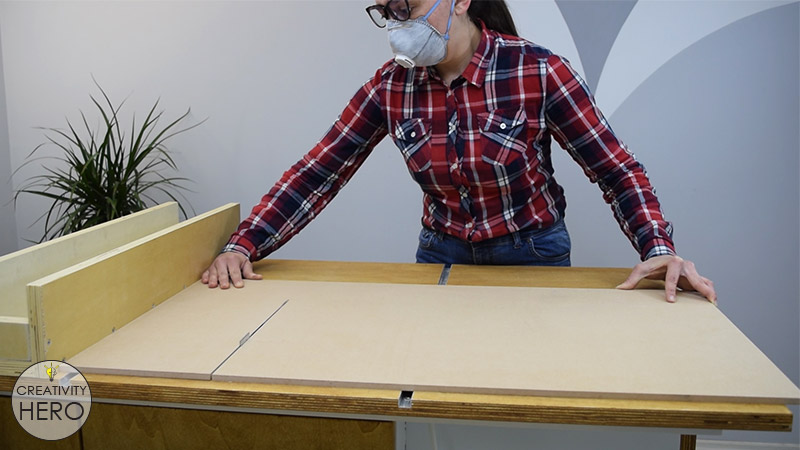
How to Make a Rustic Industrial Style Hemp Rope Chandelier DIY Project 25

Next, I’ve cut six pieces of the cable, around 5 cm long and removed the jacket with a sharp cutter.

How to Make a Rustic Industrial Style Hemp Rope Chandelier DIY Project 26

I’ve used my wire strippers to remove the insulation off of the ends of the wires. I’ll need half cm of the copper wires to show from one side, and at least one cm from the other side.

How to Make a Rustic Industrial Style Hemp Rope Chandelier DIY Project 27

Then, I’ll attach the wires into the socket interior. I’ll tighten the screws with a screwdriver to keep them in place, and then I’ll use an electrical tape to wrap the wires together. I will repeat this steps with all the remaining wires.

How to Make a Rustic Industrial Style Hemp Rope Chandelier DIY Project 28

Next, I’ll insert the wires into the drilled holes, and screw on the shells in order to complete the entire sockets.

How to Make a Rustic Industrial Style Hemp Rope Chandelier DIY Project 30

I’ve measured and cut 5 pieces of the cable. The sixth one will be the cable wrapped with the rope. Their length depends on the distance between the sockets. So, I’ve removed 2 cm of the outer jacket, and 1 cm of the wire insulation. As you can see, I joined three wires of the same color together using my thumb and index finger.

How to Make a Rustic Industrial Style Hemp Rope Chandelier DIY Project 31

Instead using connectors, I decided to connect them permanently with a soldering iron and a solder. Then, I wrapped them with an electrical tape.

Step 11: Wrapping the cable with an electrical tape and securing it with staples.

How to Make a Rustic Industrial Style Hemp Rope Chandelier DIY Project 32

In fact, I figured out that I can wrap the entire cable with an electrical tape, so it would match the color of the wooden frame.

How to Make a Rustic Industrial Style Hemp Rope Chandelier DIY Project 33

To keep everything in place, I’m securing the cable with staples and a mallet so it won’t pop up and be visible. I’ve nailed two staples on each place, because I wanted to secure them well.

Step 12: Attaching the hooks.
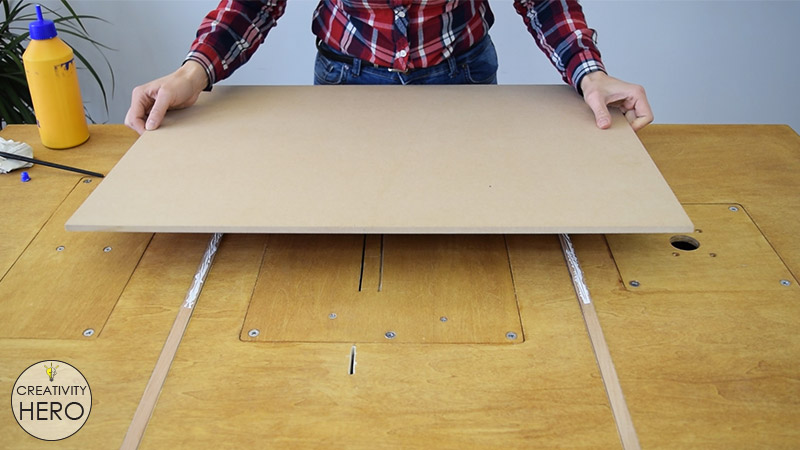
How to Make a Rustic Industrial Style Hemp Rope Chandelier DIY Project 35

I’ve drilled four holes on the corners of the frame and attached the hooks into place.

Also, I drilled five holes into the small piece of wood, and carefully attached the hooks, because it was really tight fit.

Step 13: Making a junction box.

How to Make a Rustic Industrial Style Hemp Rope Chandelier DIY Project 37

After I drilled the holes into the last piece of wood I realized that I needed to add a wooden frame to it and turn it into a junction box area for the wire connectors, the cable, and the mounting bracket. These holes are made for the screws that will hold it tight to the ceiling, and those in the middle are for the hook and for the cable.

Then I attached the hook in the middle of the junction box.

Step 14: Putting all the parts together.

How to Make a Rustic Industrial Style Hemp Rope Chandelier DIY Project 38

Finally, I can put all the parts of the chandelier together and see if everything is OK. I attached the chains onto the hooks, and pulled the cable through the junction box.

How to Make a Rustic Industrial Style Hemp Rope Chandelier DIY Project 39 The total length of the chandelier is 55 cm, but you can adjust the dimensions depending on your taste and needs.

Step 15: Mounting the chandelier to the ceiling.

Now it is time to mount the chandelier to the ceiling.

Everything needs to be done carefully. If you’re not comfortable doing this, then ask a friend to help you, or hire a professional. I asked my boyfriend to help me, because I didn’t want to make a mistake that could ruin all the work I’ve put into this project.

Remember, the first thing you need to do is to go to the electrical panel and turn off the circuit breaker before installing the light. Use a circuit tester to ensure that the power is off before you touch any of the electrical wiring.

How to Make a Rustic Industrial Style Hemp Rope Chandelier DIY Project 40

Attach the mounting bracket to the ceiling using provided screws and a screwdriver. Make sure the bracket is snugly attached and rests level.
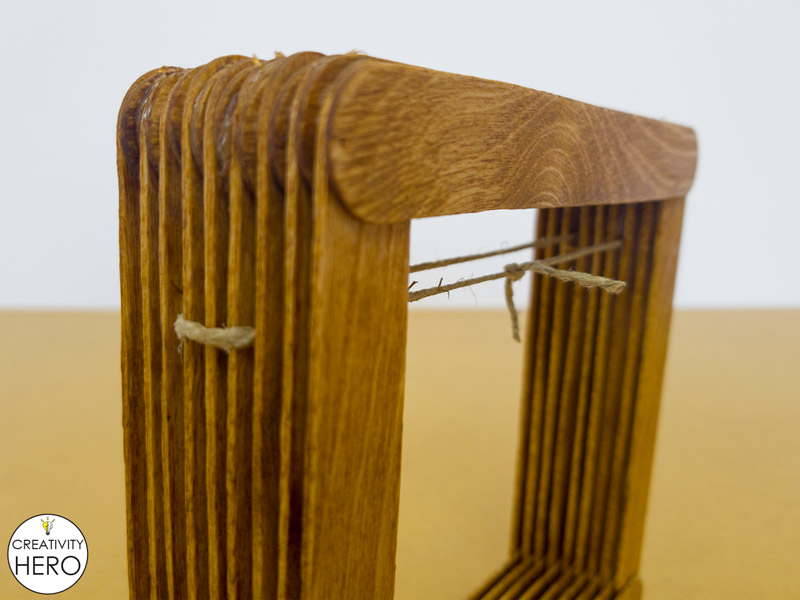
Three wires are visible: two for power and the third wire is used as an electrical ground.
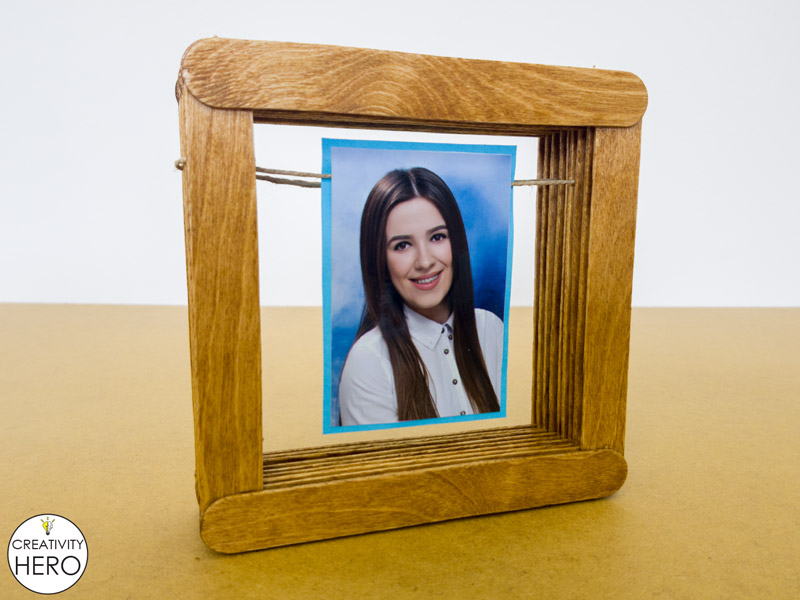
On my fixture, I also have two wires for the power with the same color. So, I need to connect the wires with connectors. I want to make sure that the blue wire is connected to the blue wire, and the brown wire is connected to the brown wire.

How to Make a Rustic Industrial Style Hemp Rope Chandelier DIY Project 46

So, once I’m done with that I slide the junction box into place and tighten the other screws that go below the box.

How to Make a Rustic Industrial Style Hemp Rope Chandelier DIY Project 43

The final thing I need to do is to screw in the light bulbs. I’ve chosen to install LED Vintage Filament light bulbs to fit in its rustic style. And that’s it. Now that I’m done, I’ll turn the power back on, turn my new chandelier on and enjoy the light. I know it will be the center of attention no matter if it’s on or off. I just love it.

How to Make a Rustic Industrial Style Hemp Rope Chandelier DIY Project 45

Let me know what you think in the comments down below. Thank you so much for watching and don’t forget to share, like and subscribe to my YouTube channel.