


Today I’ll show you how to make a mid-century modern side table or end table with three legs.
The purpose of this project was to make a fairly simple DIY project that seems a lot more complex than it really is to build.
In the video below you can see how I built this side table:
Recommended: How To Build A Wooden Desk Lamp | DIY Project
Here are the materials I used:
- Plywood (your local hardware store)
- Pine strip (your local hardware store)
- Wood glue
- Masking tape
- Dowels
- Wood filler
- Palisander stain
- Oil based paint
Types of tools I used:
- Circular saw
- Random orbit sander
- Cordless drill
- Doweling jig
- Clamps
- Rubber mallet
- Sanding block
- Paint roller kit
Disclosure: As an Amazon Associate I earn from qualifying purchases.
Step 1: Cutting All the Pieces to Size.
I started by cutting all the pieces to size on my table saw. In fact, I used my table saw for all the cuts in this project.
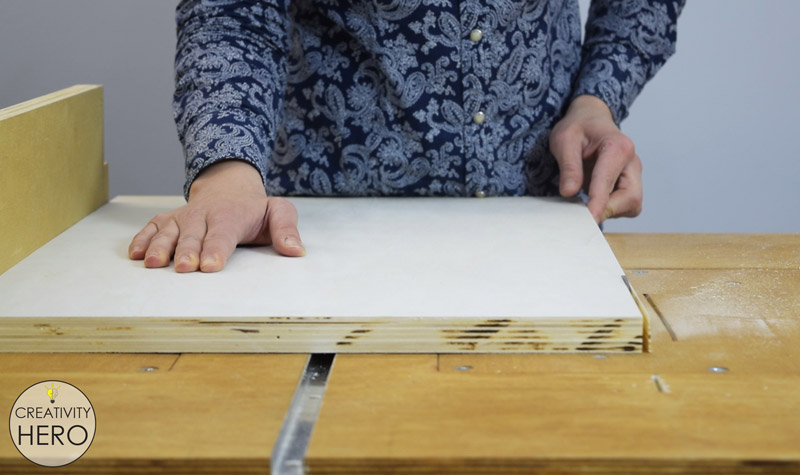
First, I needed to cut larger plywood pieces, so I used a table saw fence for that purpose. This large plywood board was really heavy, and was a bit difficult to handle when making the first cuts.

Then, I made all the cross cuts with my new crosscut sled. It is one of the most useful accessories I have in my workshop. You can check the articles on how I built the crosscut sled and the fence if you want to build them yourself. FREE PLANS are included in these articles.
All the cuts that I made were repeated, and a stop block is a MUST-HAVE to make that possible.
Most of the pieces were 50 cm long, which is more than my sled can handle, and I wasn’t able to use the original stop block for those cuts.
So, I attached the fence at the left edge of the table and clamped a scrap wood on it that will serve as a stop block itself. This way I could cross cut longer pieces of wood.
The rest of the repeated cuts I made using the original stop block which I made for my sled.
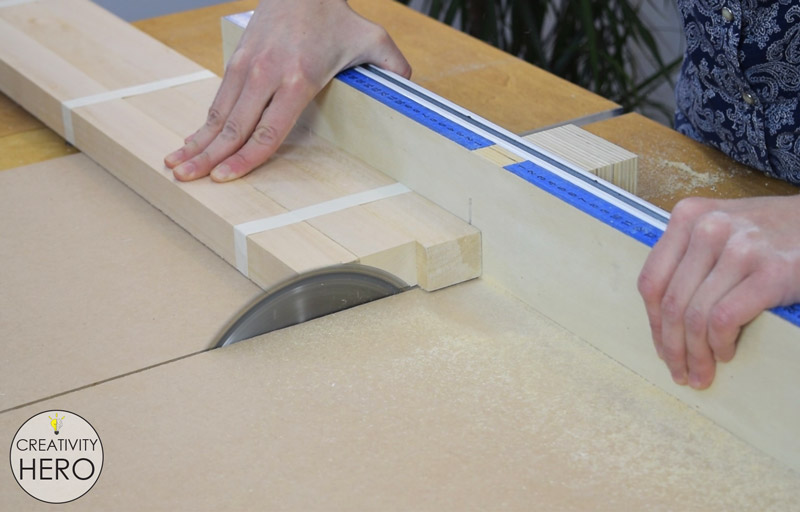
For the legs I used a 2 meters long pine strip. I cut it into three pieces, and fastened them together with a tape in order to cut them all to the same length. I wanted to get maximum length for the legs out of that single strip, so I cut just as little of them as possible.
Plan for the Side Table / End Table:
Step 2: Fine Sanding.

Once I’m done cutting, I can sand all the pieces with my orbital sander using 220 grit sandpaper to make them nice and smooth. Now everything is sanded and ready to be assembled.
Step 3: Drilling Dowel Holes for the Frame with a Doweling Jig.
There are so many ways to put wood together but for this project I’m using only wood glue and dowels. It is very clean and fast way to join everything together. In my opinion these joints are going to be plenty strong.
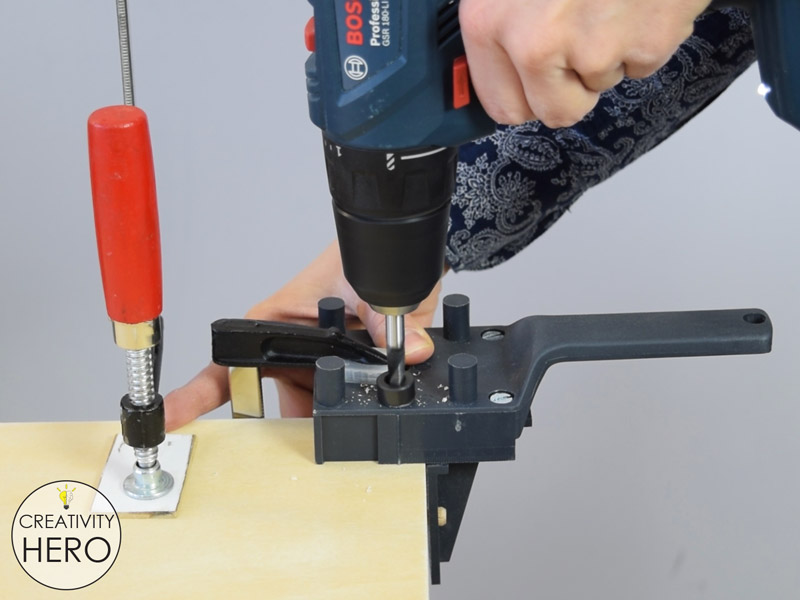
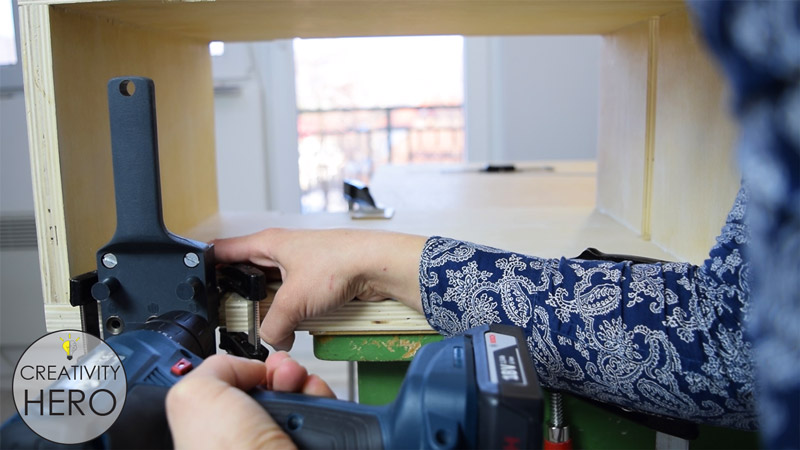
Now I’m making the frame. You can notice that I use this doweling jig to drill all the holes in this project. This is a very useful jig that will help you drill perfectly straight holes for dowels without a drill press.
First I marked all the points where I’ll insert the dowels and drilled all the holes into both sides of the frame.
Then I inserted dowels without forcing them too much into the holes. I did this because the dowels along with the doweling jig will help me drill holes into the top and the bottom of the frame exactly on the same position as you can see here. This will later lead to a perfect 90 degree joint.
I made 4 holes on one side of the frame because there I’ll have a dado for one of the legs, so I wanted to make a stronger bond here.
This was my approach and worked great for me. If you have any other suggestions on how to join with dowels, leave them in the comments below.
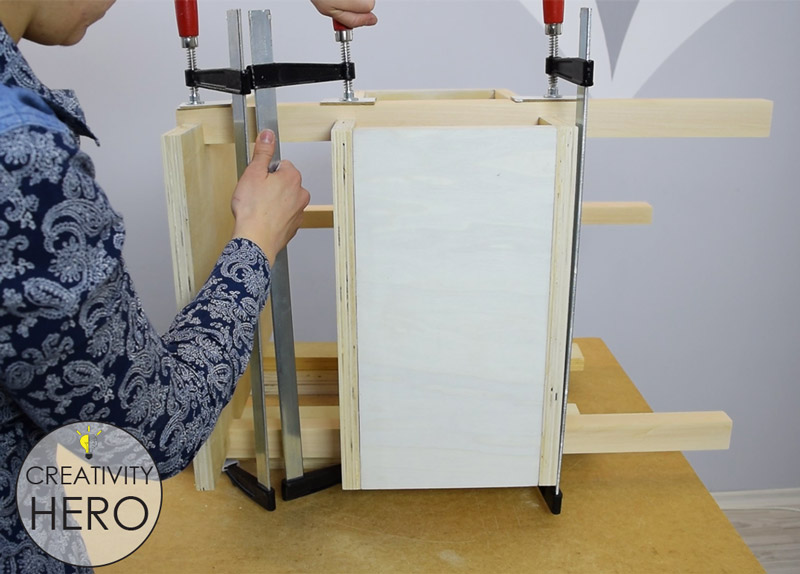
Step 4: Assembling the Frame.

All the holes are made, so I can assemble the frame. I applied a generous amount of wood glue on the side. Then I inserted dowels in each hole with a mallet. After that I attached the bottom at a 90 degree angle and taped with a rubber mallet until both pieces touch each other making a strong connection.
I used a scrap of wood to tap with the mallet so that I don’t damage the surface.

Everything is square, so I can secure the frame with a bunch of clamps and leave it to dry out.
Recommended: 5 Types of Wood Glue: How to Use Them and How to Choose the Right One
Step 5: Making Dadoes for the Legs.
The trickiest part of this project is making dadoes for the legs because actually I need to make three dadoes at the same time for each leg. They can be made in the exact same way as box joints.
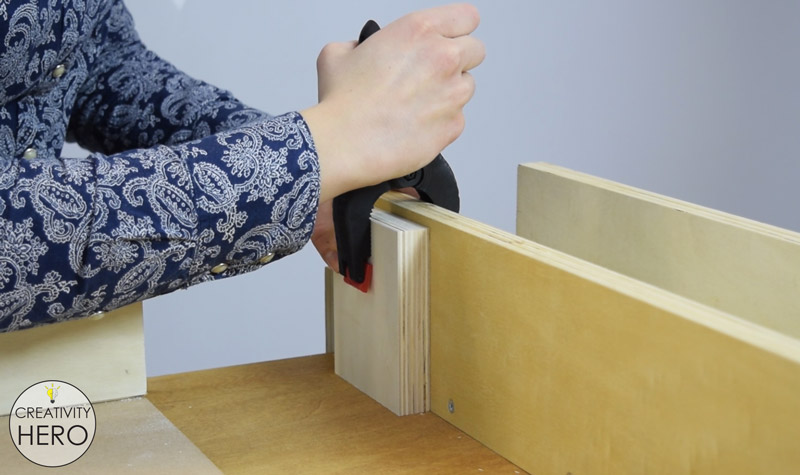
I don’t have an appropriate router bit, or a dado blade on my table saw, and in order to avoid any mistake I was thinking a lot before making those dadoes. And I came out with a simple, but time consuming solution. The most suitable way was to cut them on my table saw with the regular blade.
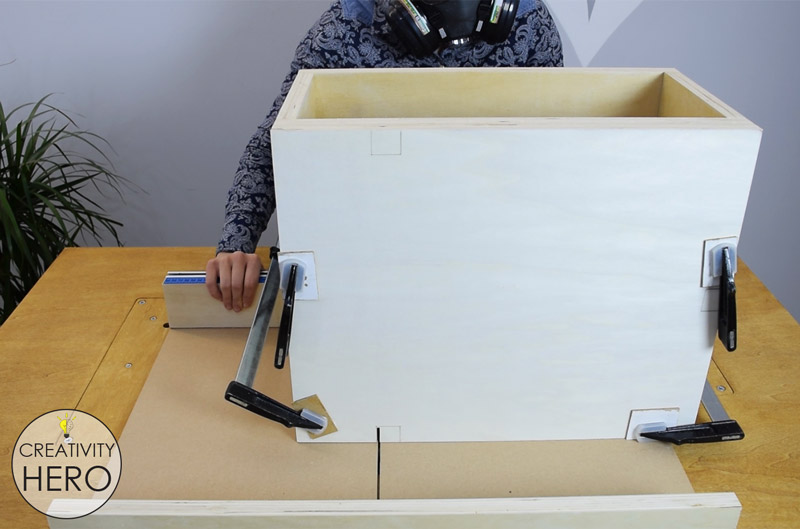
So, on the top of the table I marked the three points where I needed to make the dadoes, clamped it along with the frame onto the sled, set my blade at around 25 mm height and started cutting. This was a very slow process, because after each cut I needed to move the frame just a little and secure it with clamps until I get 3 cm wide dado. This means that I moved the frame and clamped it back to the sled around 50 times.
Anyway, it was worth the time and effort. The dadoes were a tight fit for the legs, so I successfully finished this step.
Step 6: Drilling Dowel Holes for the Legs.
The legs are most important here because they will support the table, and this means I need to be careful and make the holes for the dowels on the same distance on each leg.
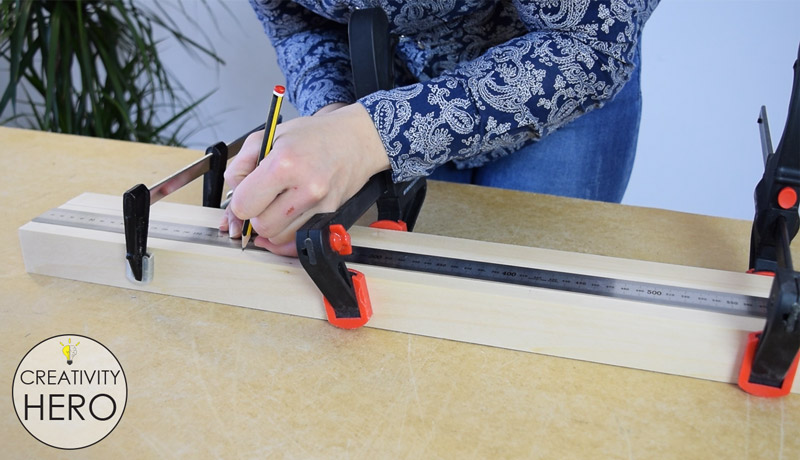
I secured them together, measured and marked all the points, making sure they’re all at the same distance.
After that, I drilled the holes with the doweling jig. I did the same with the plywood pieces, but here I used more clamps to keep the jig in place.
Now that I have drilled all the holes I can attach the legs to the table, and that would mean that I’m done with the assembly.
Step 7: Attaching the Legs.
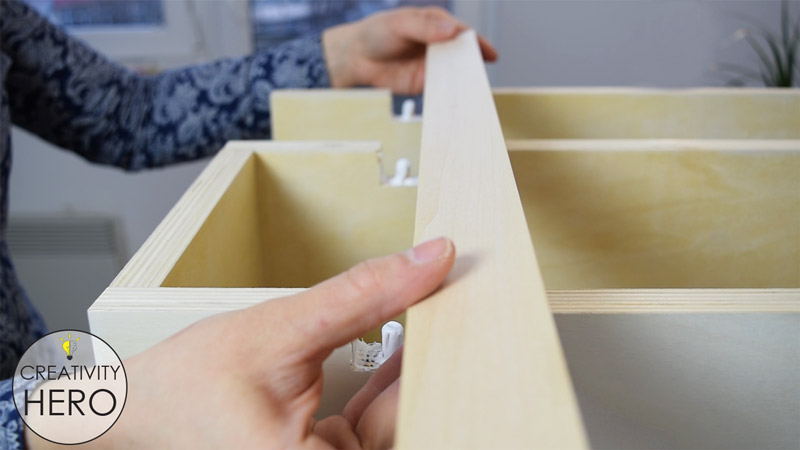
Each leg perfectly matches the dadoes which is great. I applied a wood glue, inserted the dowels, and carefully attached the legs. I tapped them with a rubber mallet and clamped them in place.
Then I left them to dry out.
Step 8: Filling the Gaps with a Wood Filler.
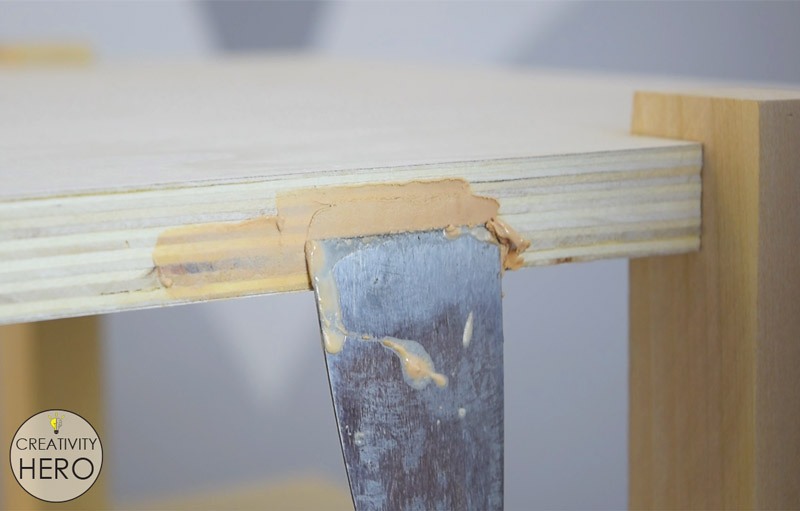
Once everything is dry, I can fill the gaps into the plywood edges with some wood filler. I wanted to avoid any gaps into the table when I apply paint.
Step 9: Applying a Finish to the Table.
Now I can add some finish to the table. I started with the legs and stained them with a palisander stain.
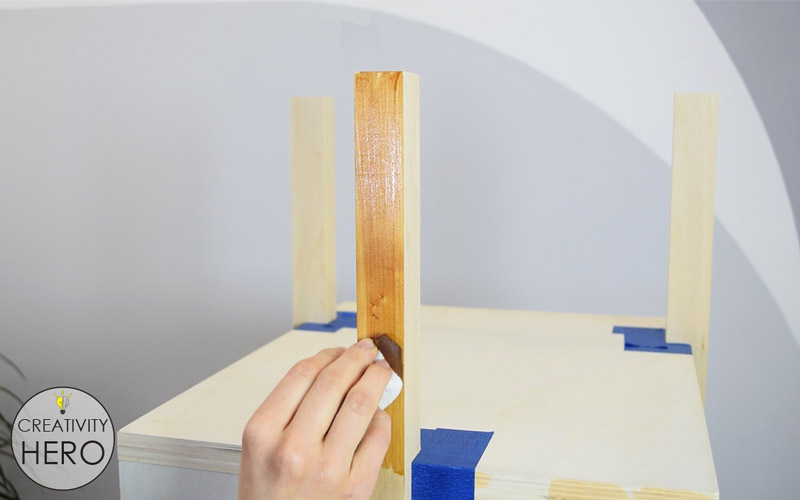
Before staining I covered the parts of the table that touch the legs with a masking tape, to protect them from the stain.
This stain is really nice. It would help me achieve a great contrast with the body of the table which I’ll paint white.
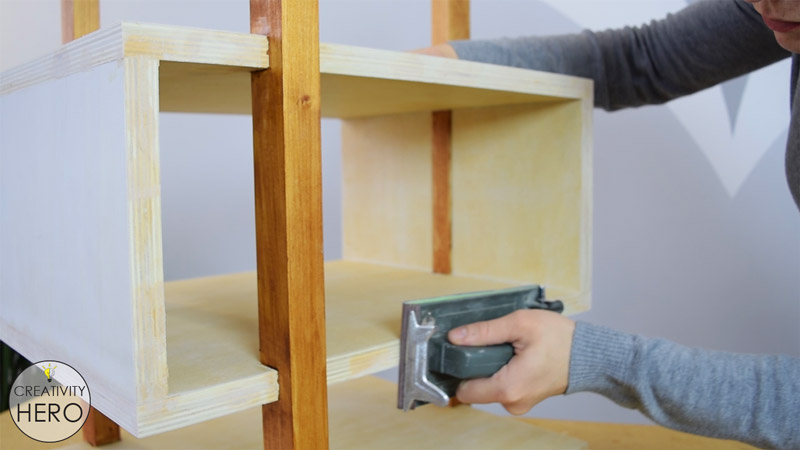
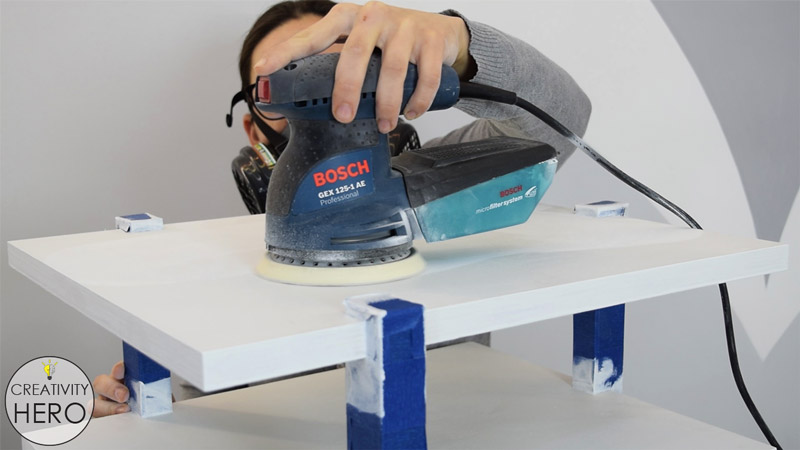
I sanded the plywood because previously I applied a wood filler and I wanted to make it nice and smooth before painting.
This time I covered the legs with a masking tape to make sure I don’t make a mess with the paint.
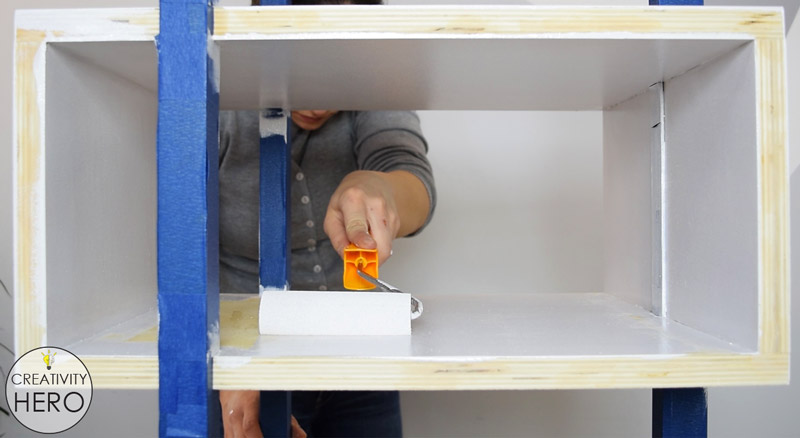
Then, I applied white oil based primer on the body of the table, used a brush for the corners that are hard to reach, and a roller for the flat surfaces. I left it to dry overnight.
Once it’s completely dry, I can do a quick sand with a 120 grit sandpaper. Then I can move on to the paint.

I decided to go with a white oil based paint because it perfectly matches the stain.
Recommended: How to Paint Wood Furniture: A Beginner’s Guide
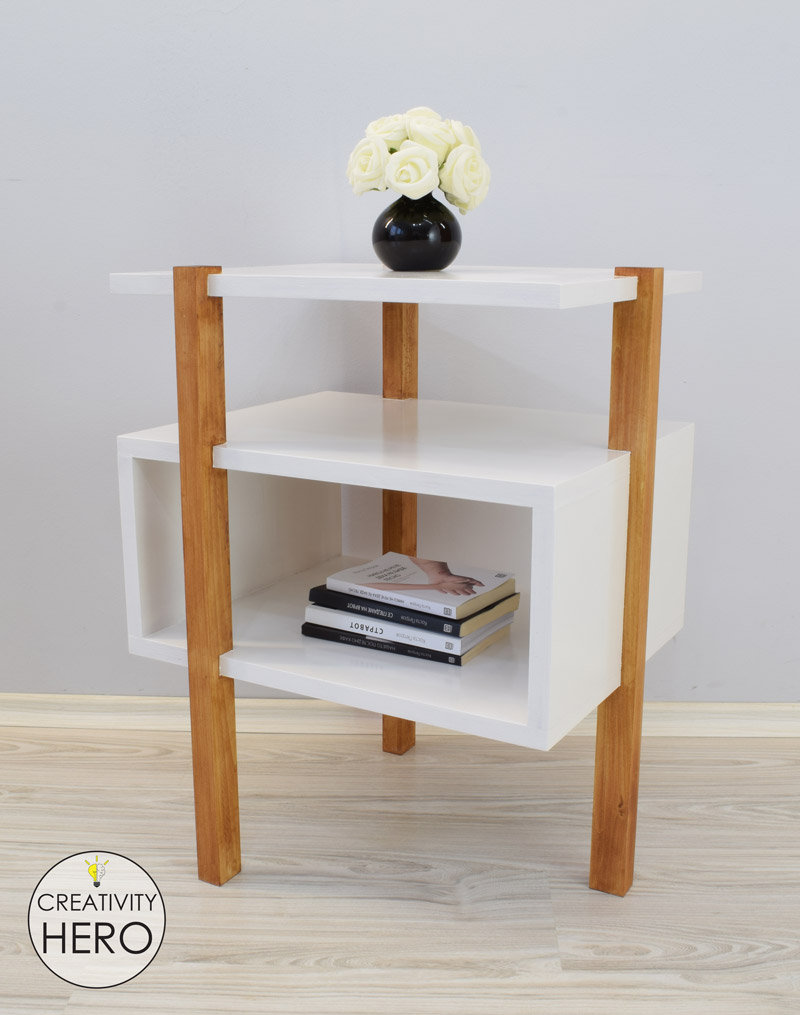
With this done my mid-century modern side table is complete. I’m very happy with the end result. This table has a wonderful design and color, so it would be a perfect addition to my room.
Be sure to watch the video, like, share and subscribe to my YouTube channel.

Marija that’s a beautiful table I will build for my house. I have a question. What’s the thickness on that plywood? It looks very thick. Thanks
Thank you so much! The thickness of the plywood is 21 mm. But, you can use plywood with another thickness, it’s up to you. 😀
Thanks for the info. That’ts like 1″ in the USA so I will look for that thickness because it looks really elegant. Two more questions. Why didn’t you cover the raw edges with veneer and why did your assemble first and stain later? Were you looking for a particular aesthetic perhaps?
Well, I haven’t used veneer so far, but I’ll definitely try in my next projects. That’s why I only used a wood filler. I painted and stained the table after assembling it, because I could do a mess with the wood glue, and it wouldn’t look that good. This way was really slower, but it turned out perfect.
Hi,
I can’t open the project file.
Could you tell me the measurements of the various parts?
Thanks and sorry for my English
Hi Luca! Here are the dimensions of the side table:
Body of the table:
-50 x 40 cm – 3 pieces
-20 x 40 cm – 2 pieces
Legs:
-65 x 4 x 3 cm – 3 pieces