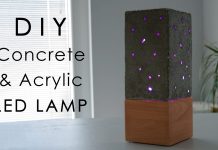
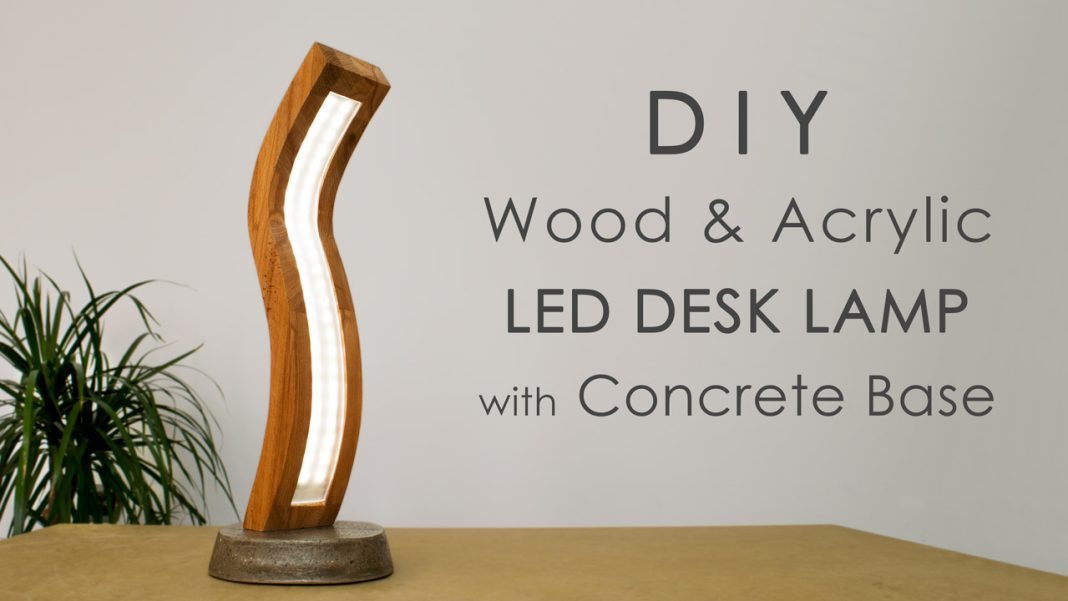
In this DIY project I’m going to show you how to make a curved wood and acrylic LED desk Lamp with concrete base.
Combining these three materials was a bit challenging, but the end result was beyond my expectations.
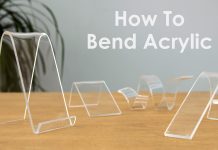
Here you’ll learn some tips on how to make a concrete form, how to shape wood, and most interesting: how to bend acrylic.
I’ve already built a wooden acrylic LED lamp, where I actually engraved the acrylic, but this time I decided to go much further, and try something new.
Watch the video below for detailed explanation on how I built this LED desk lamp:
Materials:
- Beech wood
- Acrylic
- 12V DC power connector
- Power switch
- Spray paint
- Shellac
- LED strip
- Masking tape
- Silicone pads
- Wood glue
- Epoxy
Tools:
- Jigsaw
- Circular saw
- Cordless drill
- Random orbit sander
- Sanding block
- Soldering iron
- Metal ruler
- Rasp
- Protective gloves
- Masonry drill bit set
Disclosure: As an Amazon Associate I earn from qualifying purchases.
Alright, now let’s get into the build!
Related: How To Build A Wooden Desk Lamp | DIY Project
Concrete Base
I started with the concrete base. As a mold I’m going to use a plastic ice-cream container with a good size and shape.
To keep the concrete from sticking to the mold I poured cooking oil into the container and spread it all over the surface with a napkin.
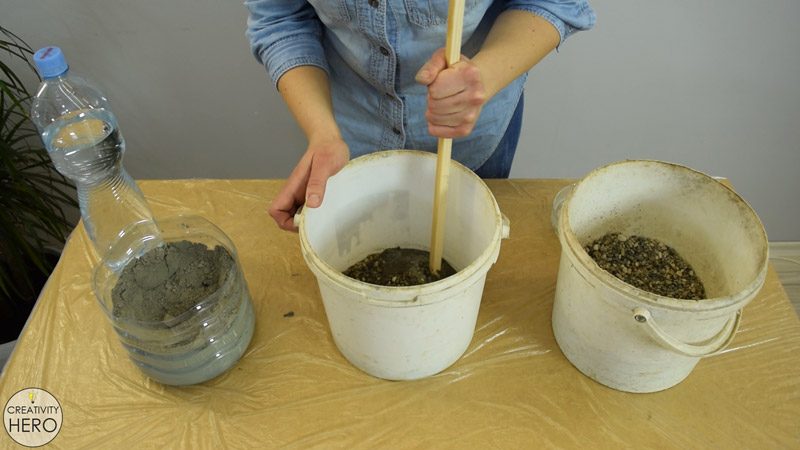
I have coarse sand, cement and a bottle of water, so I can mix up some concrete.
Into an old bucket I’m pouring one part cement with one part sand, and slowly adding water. I’m mixing with a stick until I get nice, thick consistency. Using coarse sand will result in very interesting texture of the base.
Once I’m done mixing, I can pour the concrete into the mold until it reaches about 3 cm height.
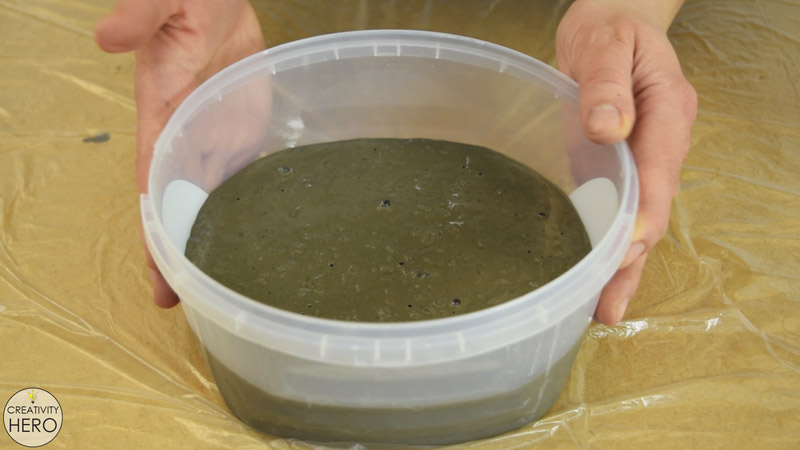
Then I removed the air bubbles by vibrating the container by hand. You should see air bubbles rising to the top. The more bubbles you relieve from the form, the smoother your form will be.
I let the concrete cure for 2 days before removing the mold. That should be enough time for 3 cm thick concrete form to cure.
Removing the mold was extremely easy, I guess the cooking oil helped a lot. There are still some air bubbles on the surface, which I think look awesome.
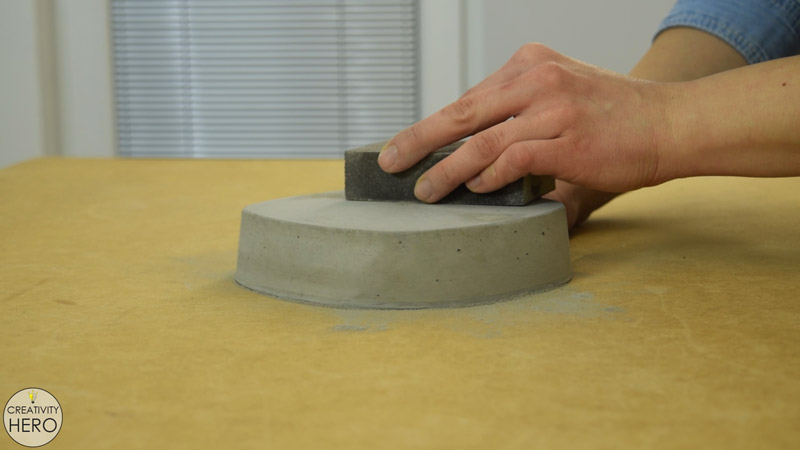
Sanding the entire surface with a 220 grit sand paper made a huge difference, as it revealed the beautiful texture of the base.
Body of the Lamp
At this point I’m done with the base, so I can move on to the body of the lamp for which I chose hard wood.
This time I wanted to experiment a little, and make a curved shape which requires a little more time and effort to achieve.
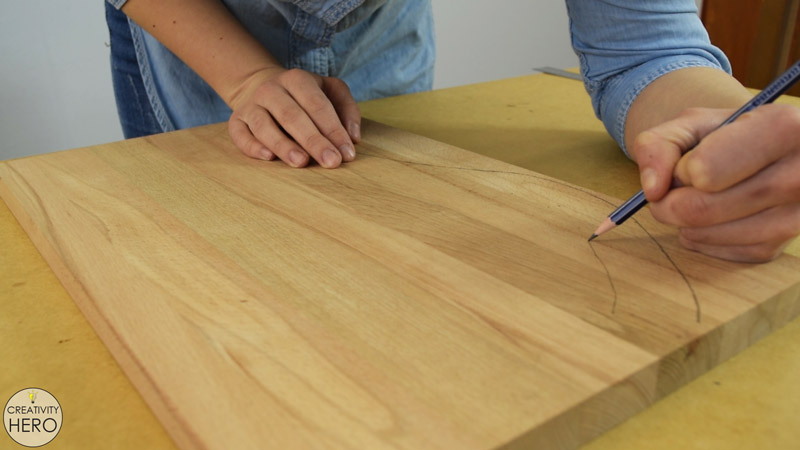
First I’m drawing a curve onto an wooden board.
Then I took a ruler, placed it perpendicular to the curve and marked some dots at 3 cm distance along the curve. By connecting all the dots I’m drawing another curve which is at a constant 3 cm distance from the first one.
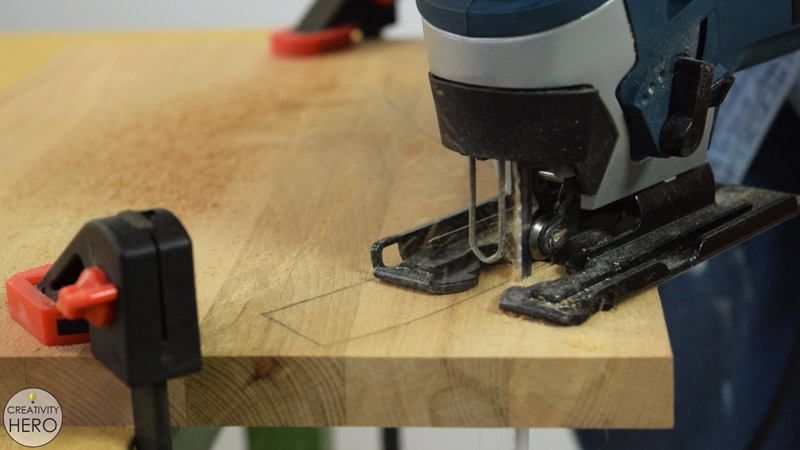
This way I drew an object that I’m going to cut with a jigsaw. So, I clamped down the wooden board and started cutting, making sure I’m as close to the line as possible. Anyway, I’ll make some adjustments with a rasp at the end.
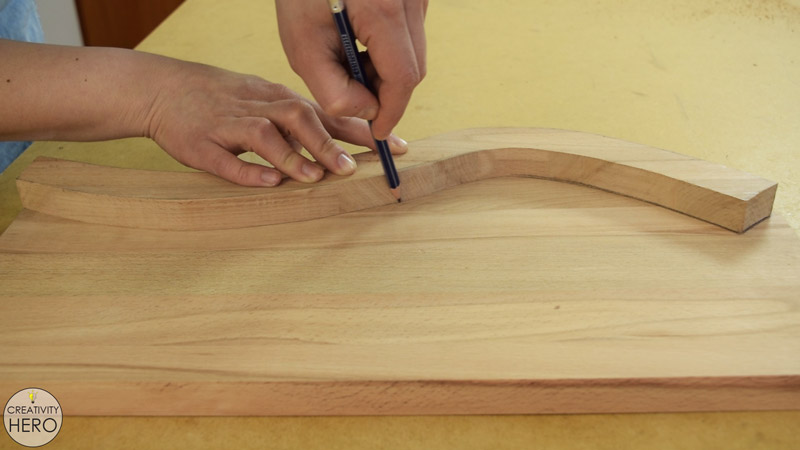
Once I’m done with the first piece, I placed it onto the board and traced its outline with a pencil. Then again, I cut the second piece.
I repeated this step for two more pieces. In fact, I need to cut 4 identical pieces that will be glued together.
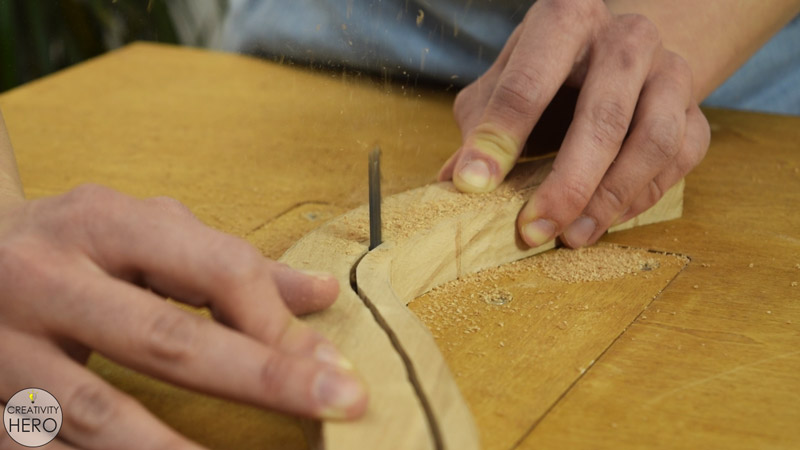
From the two middle pieces I need to remove 1 cm of their width, but still leaving around 3 cm on both ends. This space I’ll use for the LEDs and for the acrylic.
I thought I could do this with a coping saw, but after a few minutes I gave up, since it was too slow. However, this is a hard wood, and I need to figure out a faster way of making those cuts.
The only solution I could think of was to cut it with an inverted jigsaw which I made myself. You can check my video on how I built my multipurpose workbench.
So, I installed the jigsaw onto the workbench and started cutting. Cutting without a guide for the jigsaw is not 100% accurate, but I don’t mind, because later I’ll make some adjustments. Moving slowly and carefully I made the cuts.
Then, I clamped down those two pieces and took a rasp to even them out before the assembly.
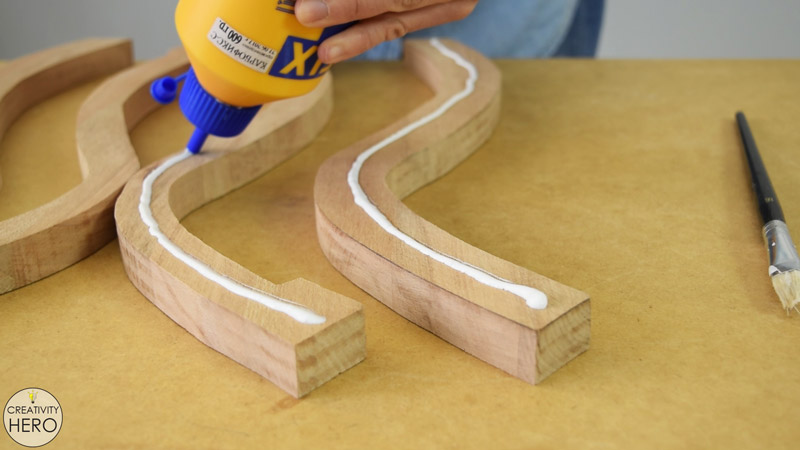
Now, all four pieces are ready to be joined together. To hold everything together I decided to use only a wood glue. I applied a large amount of wood glue to make strong connection between the pieces.
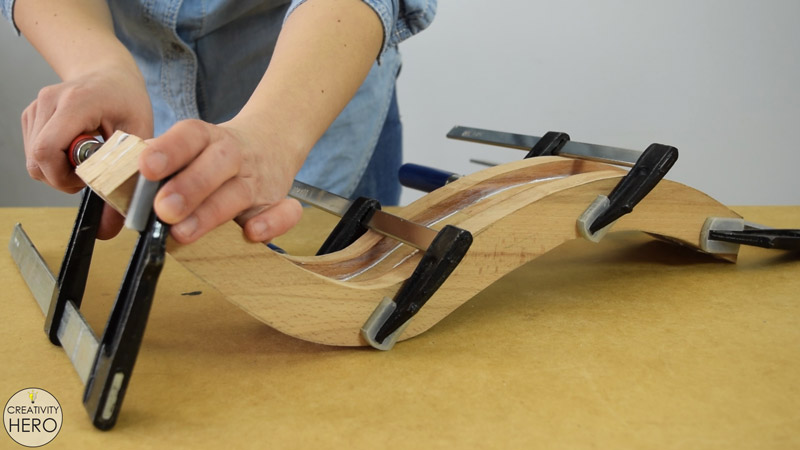
After that I secured it with a few clamps, and left it to completely dry. Once it has dried I noticed a lot of imperfections all over it, so I took a rasp again and evened out the entire surface.
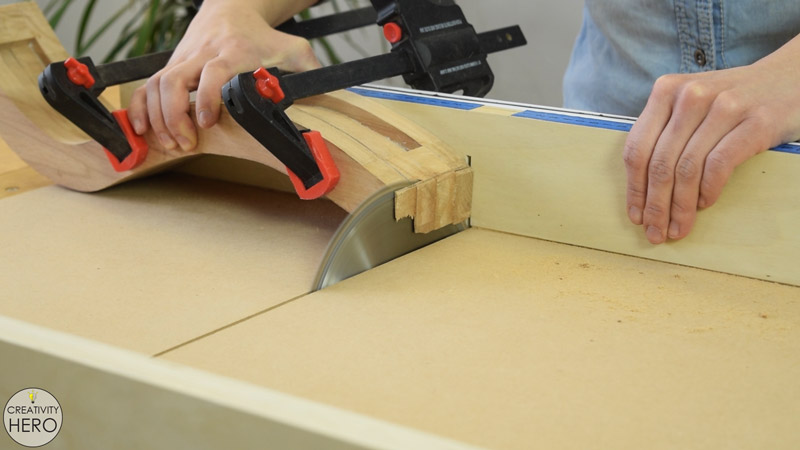
To flatten the top and the bottom of the body I clamped it onto the crosscut sled and made two cuts, removing just a little of the length.
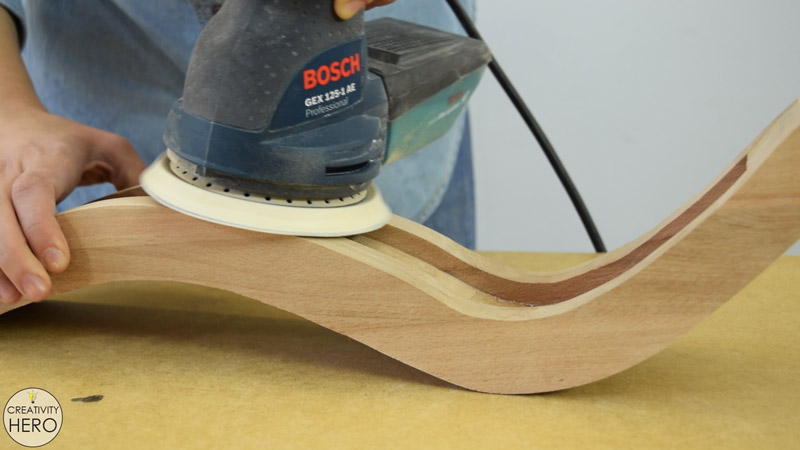
All the cuts are made, so I can move on to sanding. A drum sander would be perfect for sanding curves, but I don’t have one, so an orbital sander and a sanding block are good alternatives.
To speed up the sanding process, I used my orbital sander as much as I could, but for the spots that it couldn’t reach, I used a sanding block.
Related: DIY Interactive LED Coffee Table
Bending the Acrylic
The body of the lamp is finished, and the next thing I need to do is to make a light cover out of acrylic.
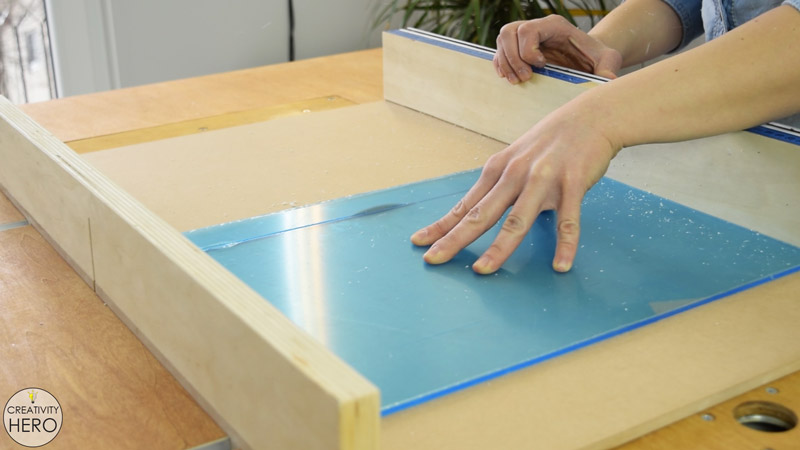
Its width needs to be 4 cm, and in order to determine its length, I used an LED strip because it is flexible, and I can easily measure the space inside the body.
I cut the acrylic on my table saw, using the crosscut sled. Then, I peeled off the protective film, and prepared the acrylic for bending.
The most appropriate way of bending acrylic actually doesn’t require any special tools. This simple technique anyone can try at home.
Here’s how I did it:
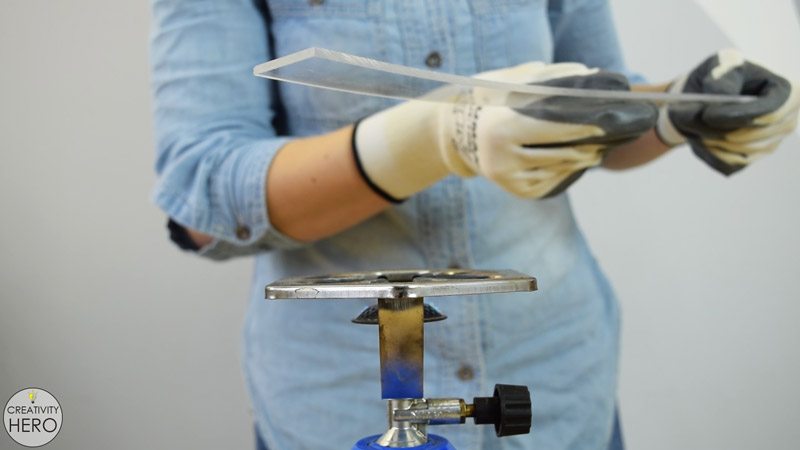
I took a portable gas stove, a lighter, protective gloves, the body of the lamp, a wooden piece that I previously cut out of the middle, and an empty can that will help me shape the acrylic.
Then I turned the gas stove on, and reduced the heat as much as I could.
After that, I took the acrylic, and placed it above the gas stove. The distance between the acrylic and the flame should be at least 15 cm in order to avoid air bubbles into the acrylic.
By slowly moving the acrylic back and forth for about 3 minutes I heated half of its surface. Once it reaches the appropriate temperature, you can notice that it starts bending without even touching it.
So, I placed it above the body of the lamp and I bent it with the help of the can. Bending acrylic is actually very easy and satisfying process of making different shapes.
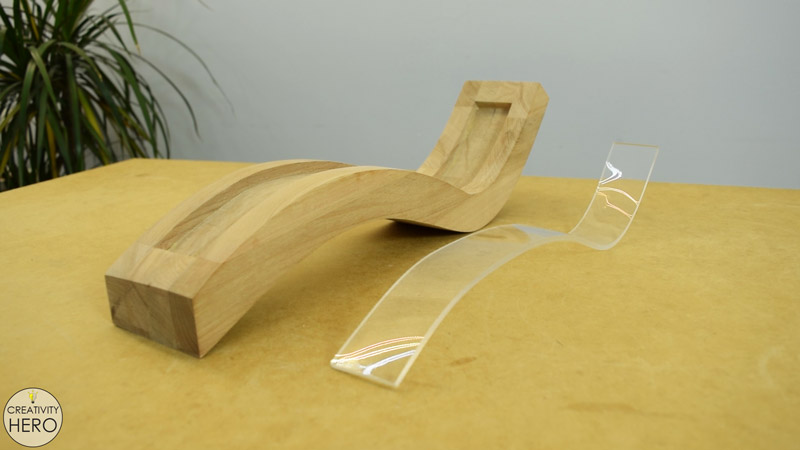
I repeated the same with the other half of the acrylic piece, and finally got the desired shape that fits the body of the lamp perfectly.
Drilling Holes into the Concrete and the Wood
Now, let’s go back to the concrete base.
I’m going to have two bolts going through the concrete base and into the wood. So, I positioned the body of the lamp onto the base to trace its outline. Then marked the points where I need to drill holes for the bolts.
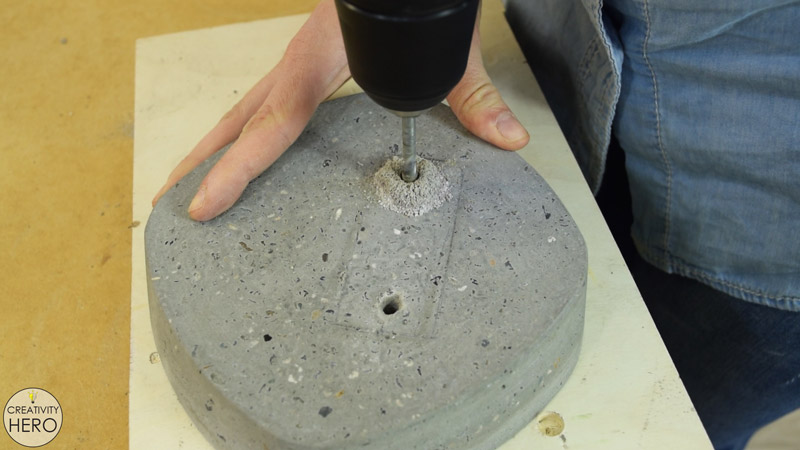
To drill the holes I inserted a masonry bit into my regular drill, because I don’t have a hammer drill which is meant to drill into concrete.
Anyway, it wasn’t that difficult to make those holes.
Then, I inserted screws into the holes to mark the points where I need to drill into the wood.
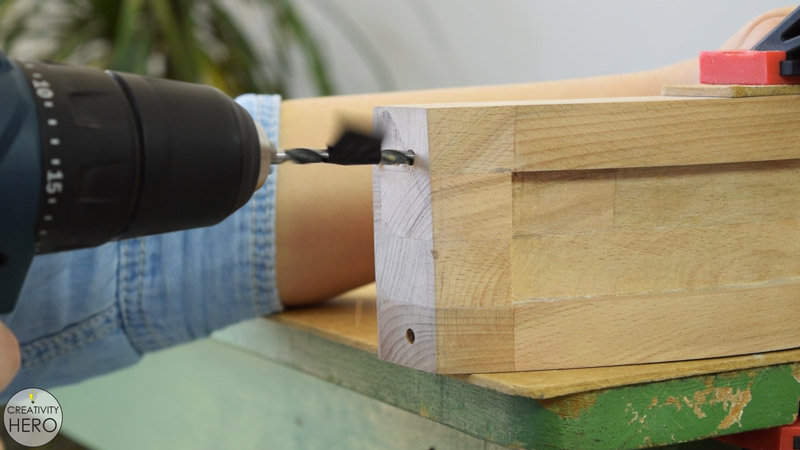
After that, I replaced the screws with bolts in order to determine the exact direction of the bolts. Hence, I drilled the holes, making sure I follow the lines.
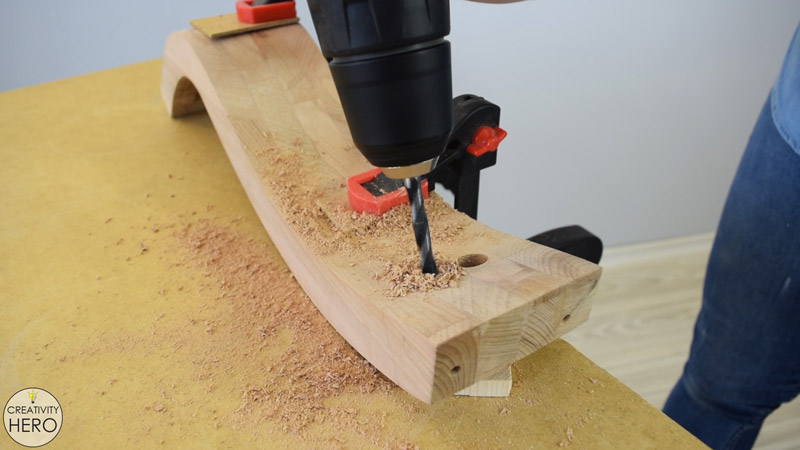
On the back side of the lamp I’ll have the power switch and the 12V DC power connector. The holes that I’m drilling should be within the opening for the LEDs and the acrylic.
Related: How To Create A 3D Paper Cut Light Box | DIY Project
Applying Finish
Now that I’m done cutting, drilling and shaping, I can apply finish to each part of the lamp.
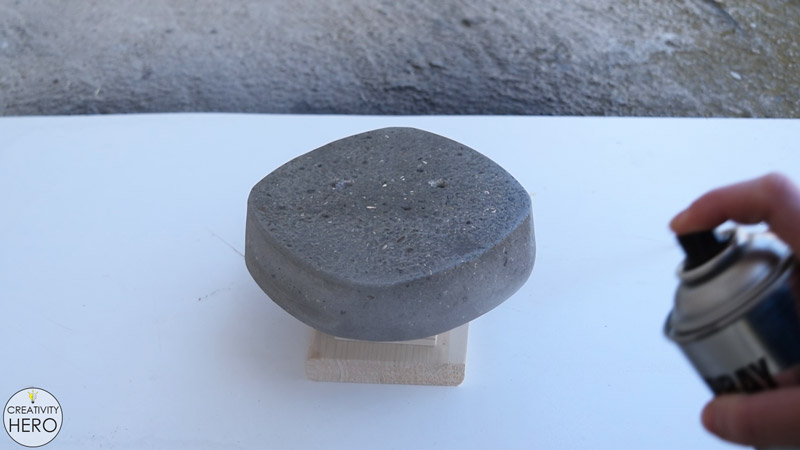
To protect and seal the concrete I spray painted it with a transparent spray paint for concrete.
It emphasized the texture of the concrete, made it smooth and most important – dust free.
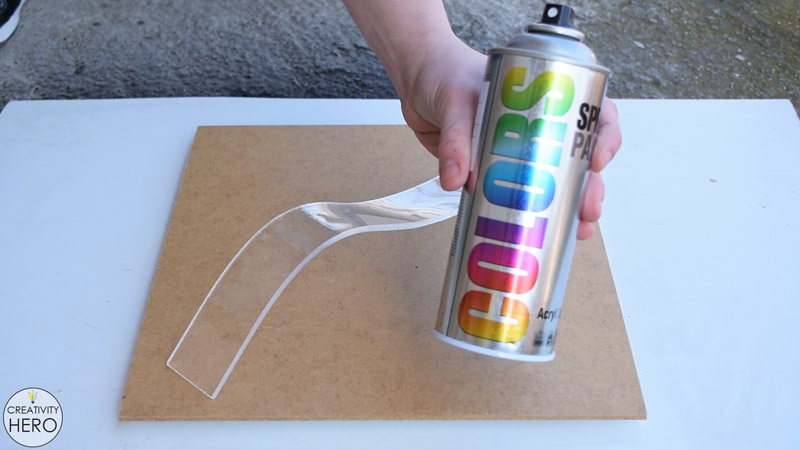
I added some frosting to the acrylic to help conceal the LEDs, by applying 3 coats of transparent spray paint with satin finish.
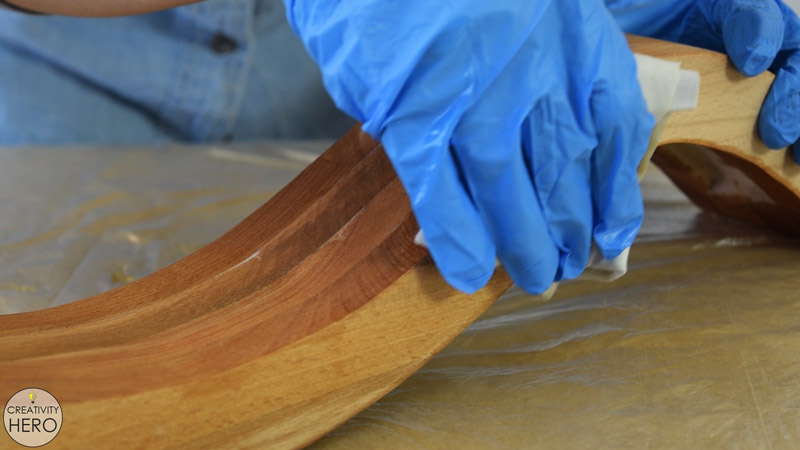
Finally, onto the wood I applied a transparent finish as well. The goal here is to protect the wood and to emphasize the natural wood grain as well.
Installing the Light
Now, let’s install the light.
I cut 2 LED strips 42 cm long at the predetermined cut points, and since they’re waterproof, I needed to remove the coating from the copper pads to be able to solder some wires.
I cut a few pieces of red and black, or positive and negative wire, and strip off the insulation of their ends. Then, I soldered the positive and the negative onto the power connector.
Onto the switch I soldered only the positive wire, because later I need to connect the switch to the power connector.
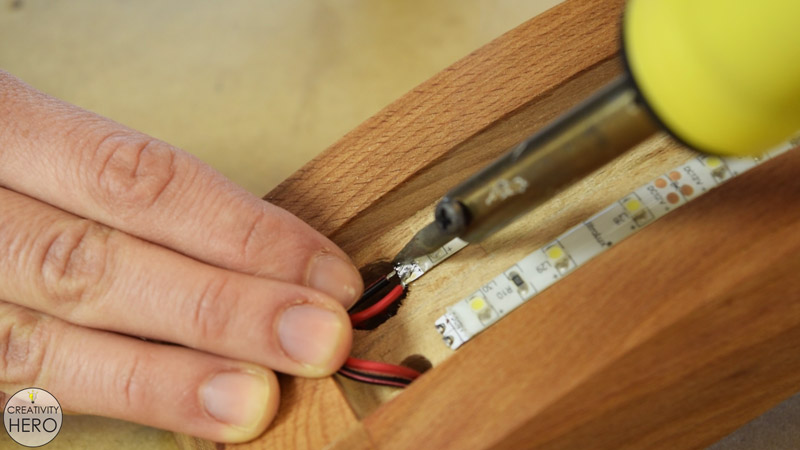
After inserting them onto the back of the lamp, I pulled out the wires and soldered the red wire from the conector to the switch.
Once I peeled off the tape cover on the back of the LEDs, I stuck them onto the lamp. Then I connected the red wire to the positive pad of the LEDs, and the black wire to the negative pad of the LEDs.
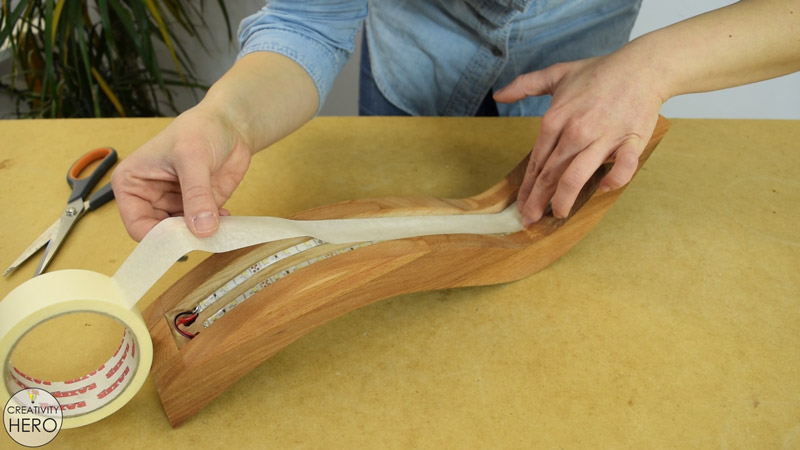
Now I can test if it works properly. I inserted the plug into the connector, turned the light on, and placed the acrylic above the light.
Although I tried to frost the acrylic by applying 3 coats of spray paint, I can still see the LEDs and the wires. So, to make them less visible, I covered the LEDs and the wires with white tape.
Finishing Touches
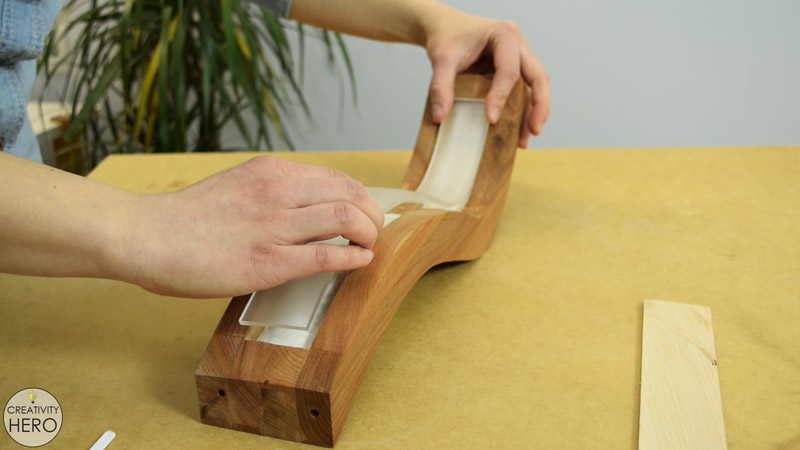
To secure the acrylic into place I used 5 min epoxy. Just a little epoxy on the top, bottom and the middle is enough to hold the acrylic in place.
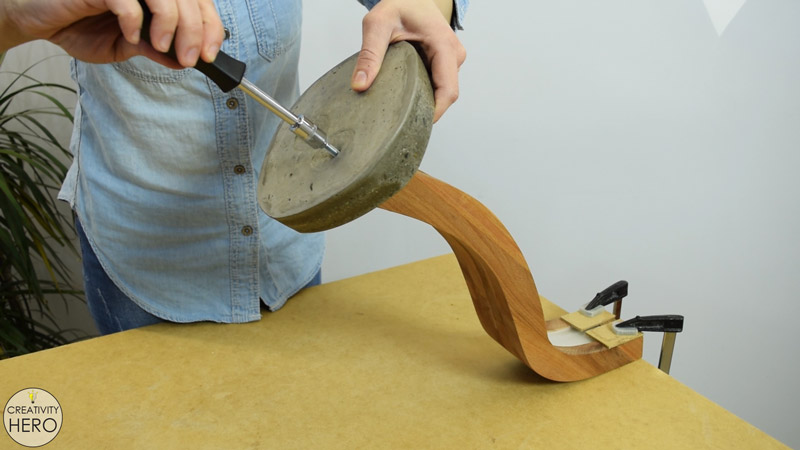
Lastly, I clamped the body of the lamp onto the table, and attached the concrete base by screwing two bolts.
To protect the surfaces from scratching I attached some silicone pads.
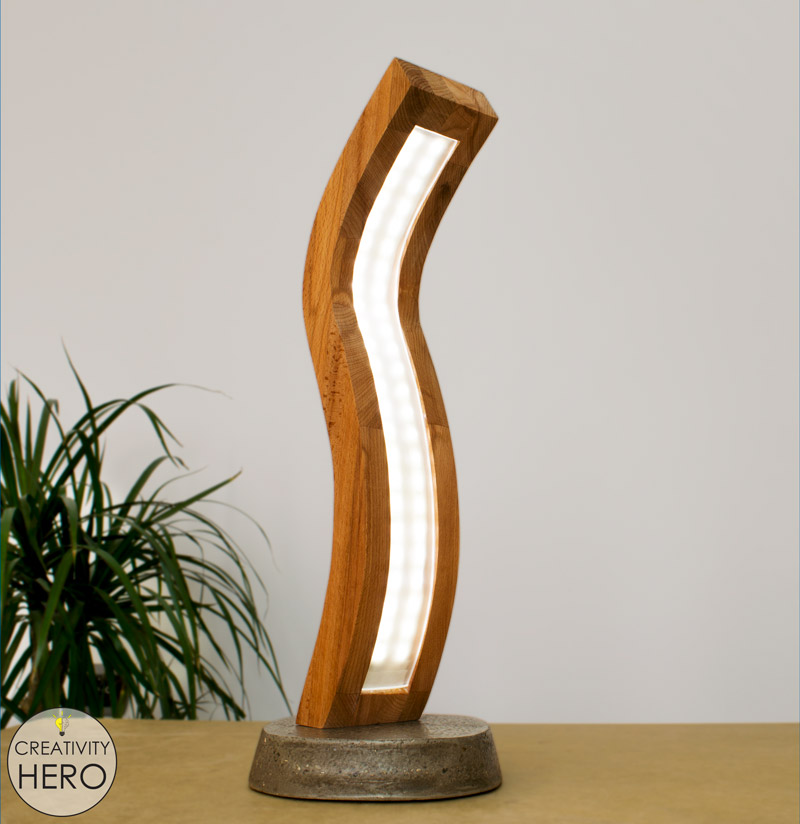
And that’s it! Simply plug the power cord in and turn the light on from the power switch.
Related: DIY Rustic Hemp Rope Chandelier for 35$
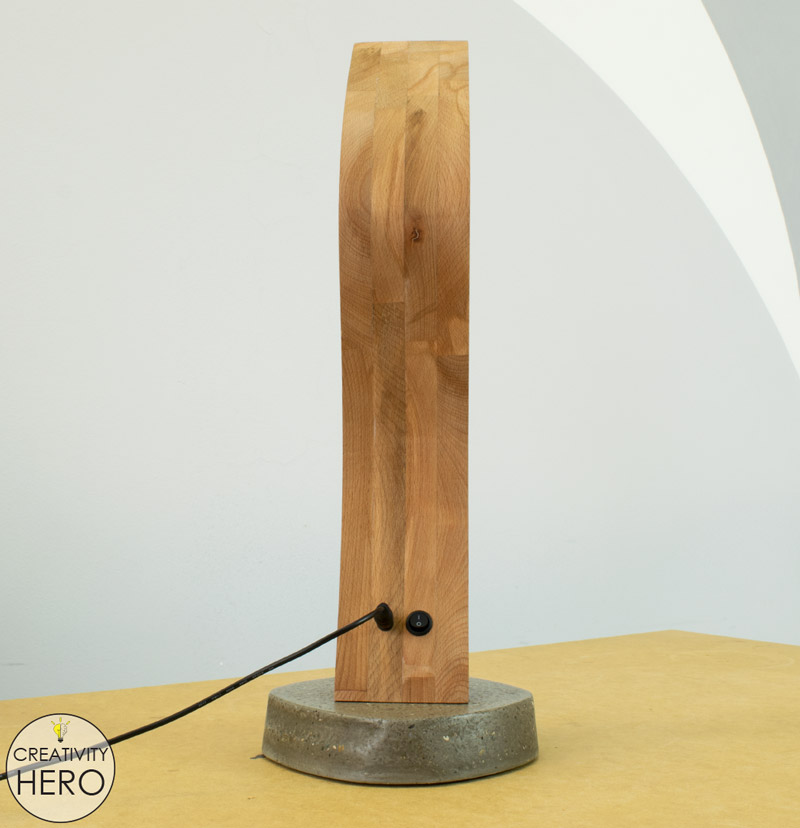
This LED desk lamp came out beautiful!
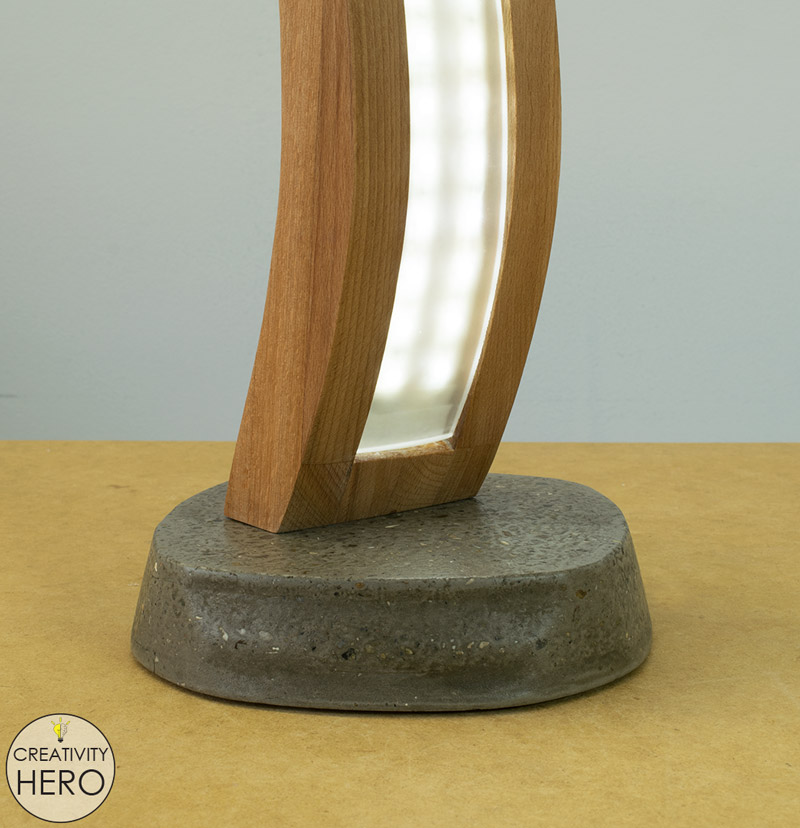
I really like the combination between concrete, wood and acrylic, and I can say that I’ve learnt so much through the process of creating such lamp.
If you enjoyed this build be sure to like, share and subscribe to my YouTube channel.


