


Today’s project on Creativity Hero is a wood and acrylic color changing LED lamp. The combination between wood, acrylic and light is a perfect match between materials that complete each other.
I think it came out wonderful!
Check out my YouTube video on how I made this LED lamp:
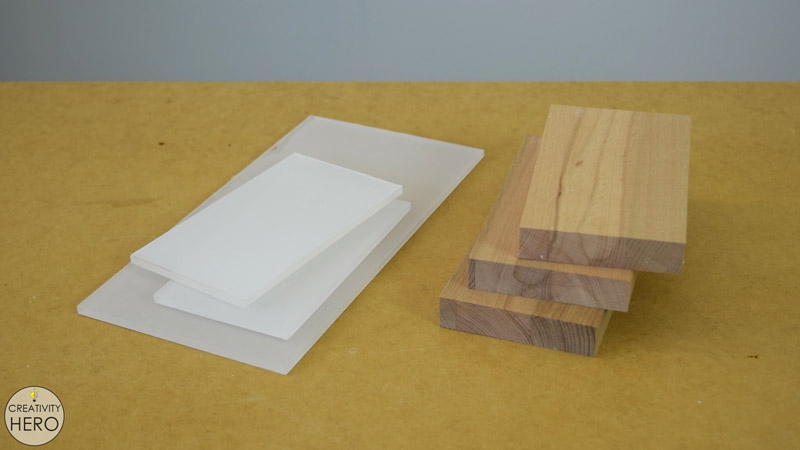
Here are the materials I used:
- Beech wood (your local hardware store)
- Acrylic (your local hardware store)
- RGB LED strip light
- Epoxy
- Transparent finish
- Felt pads
Types of tools I used:
- Dremel high performance rotary tool kit
- Cordless drill
- Soldering iron
- Wire strippers
- Coping saw
- Hole saw bit
- Rasp
- Chisel
- Metal ruler
- Scissors
Disclosure: As an Amazon Associate I earn from qualifying purchases.
Now, let’s begin.
Related: DIY Interactive LED Coffee Table
Step 1: Cutting the Wood and the Acrylic to Size.
First of all, I started with setting up the table saw by placing the crosscut sled and adjusting the stop block and the blade in order to be able to make all the cuts.
For this project I used a 20 mm thick beech wood, and 5 mm thick acrylic. The base of the lamp is 16 by 9 cm, which means that all of the cuts are repeated.
Only one piece of acrylic needs to be larger, around 28 by 14 cm, which will be placed vertically, on the top of the base. While cutting the acrylic I noticed that when I cut slower, the acrylic started to melt, so I needed to move the sled faster in order to get nice and clean cuts.
Step 2: Preparing the Acrylic Top for Engraving.
After I made all the cuts I moved on to the larger piece of acrylic that will stay on top of the lamp.
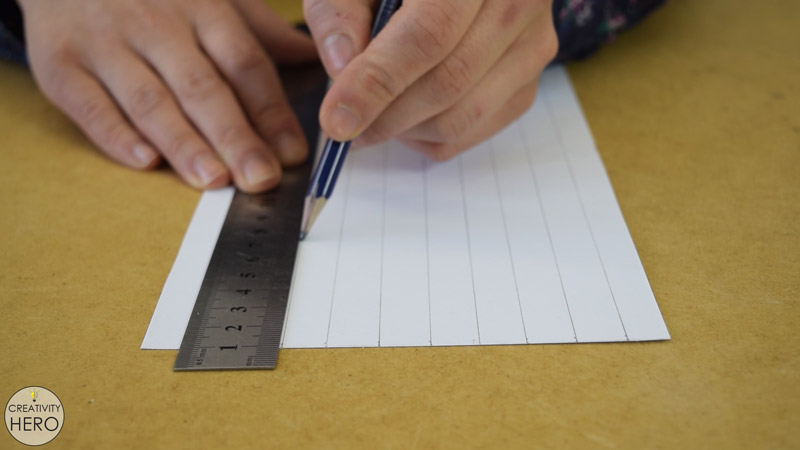
I placed it on a piece of paper, traced the outlines with a pencil and cut it following the lines. Then, I took a ruler and drew some lines.
As a result, I wanted to get a pattern which consists of stripes with the same width, but different length.
I made all the cuts, and I got a nice pattern that I’ll transfer to the acrylic.
To attach the paper on the acrylic I removed the protective film on one side and used a tape to secure it in place.
On the side that I’m going to engrave I didn’t remove the protective film because the acrylic scratches easily.
Step 3: Engraving the Acrylic with Dremel Rotary Tool.
Acrylic engraving is a technique that I’m going to try for the first time, that’s why I chose this simple pattern which will help me achieve modern and clean design of the lamp.
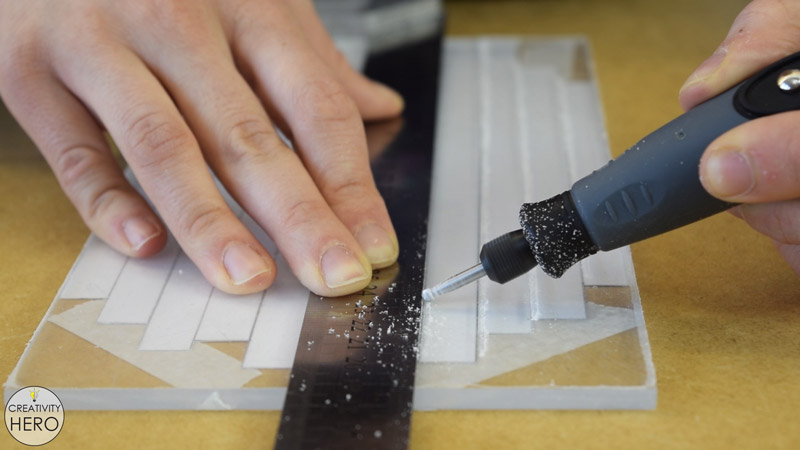
To engrave the acrylic I decided to use my new Dremel rotary tool. I won this multi tool as a grand prize on Instructables contest Workshop Hacks Challenge.
The package includes so many accessories and attachments that can be used in any project, which is awesome for makers and DIYers.
For this project I attached the flex shaft extension and inserted an engraving bit which makes engraving much easier and accurate.
Now I’m ready to start. A metal ruler can help a lot in making perfectly straight lines, I highly recommend using one for this purpose.
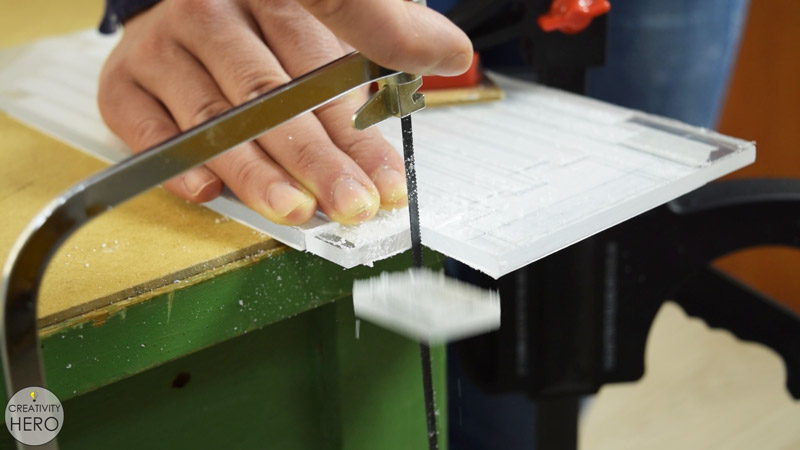
Once I’m done engraving, I can make all the additional cuts with a coping saw. All the cuts should to be done at a right angle, so I need to be careful here.
At this point I’m done with the larger acrylic piece, so I can move on to the base.
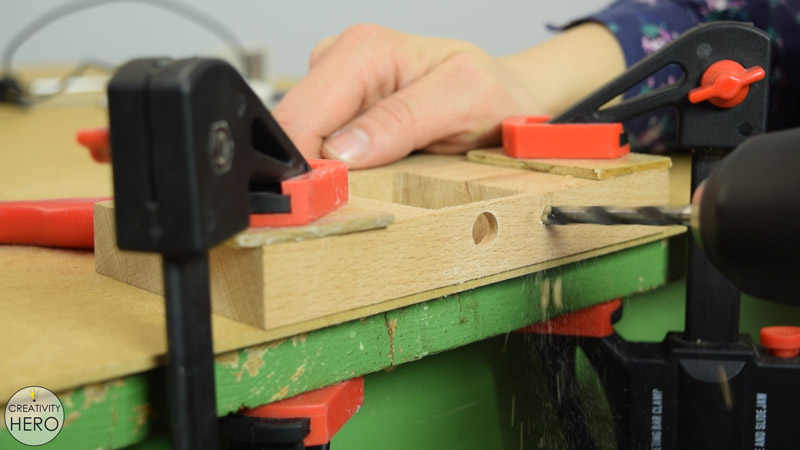
Step 4: Making Holes in the Middle of the Lamp Base for the LEDs.
I marked the center points of these pieces of wood and acrylic that will be placed in the middle of the base.
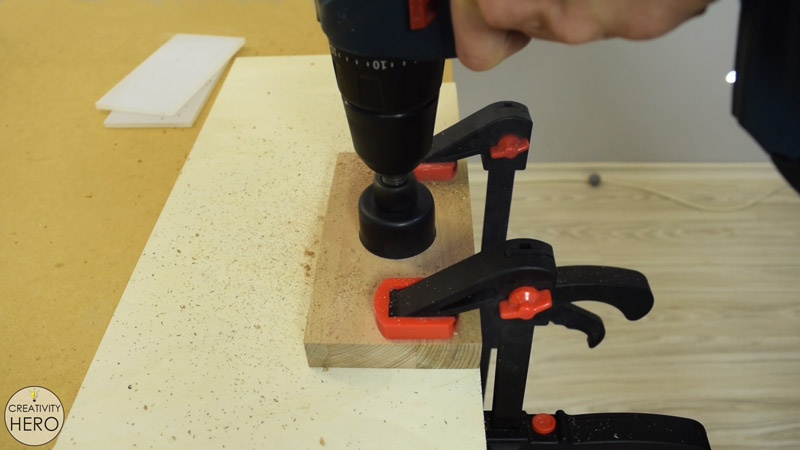
The openings for the LEDs I made using a 35 mm hole saw bit that I attached onto the drill.
A scrap wood underneath is a great way to protect the table surface from damage.
Related: How To Build A Wooden Desk Lamp | DIY Project
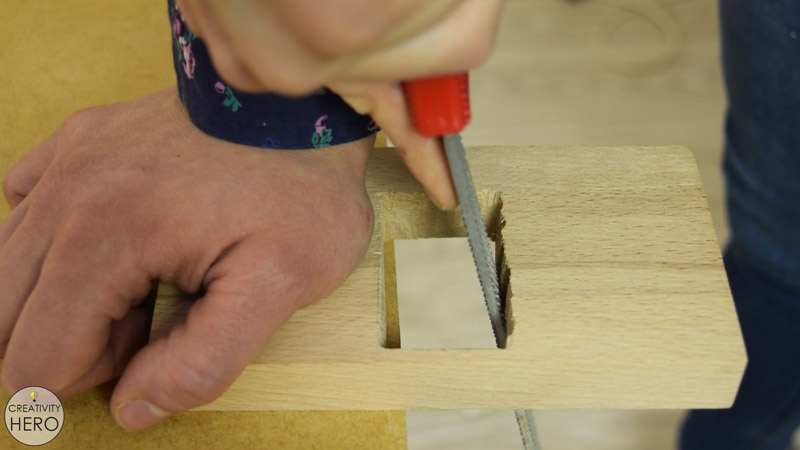
Step 5: Making a Slot on the Top of The Base for the Engraved Acrylic Piece.
On the top of the lamp base I need to make an opening large enough to fit the engraved acrylic piece. Placing the acrylic vertically in the middle I traced its outline with a pencil. So, I drilled as many holes as needed inside the outline, and after that removed the excess with a rasp.
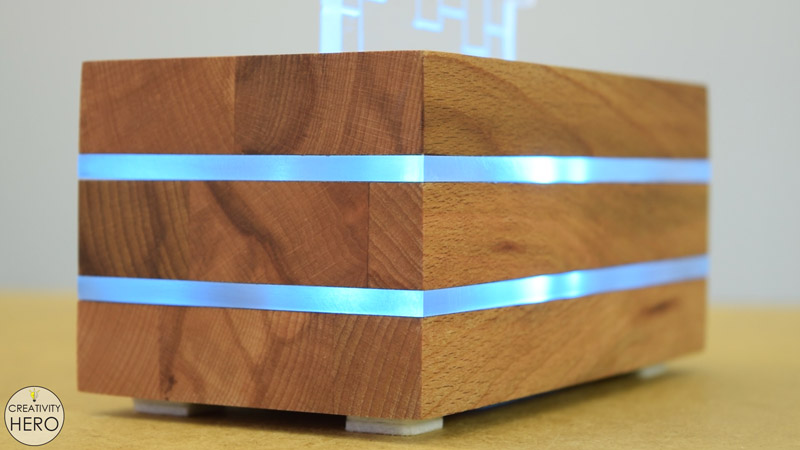
LEDs will be placed right below the acrylic, so I need to make a space for them by chiseling out a groove around 10 mm wide and 4 mm deep.
Step 6: Working on the Bottom of the Lamp.
The LED controller I’ll place into the bottom of the base. Even though it is quite big, I must find a way to insert it into the bottom.
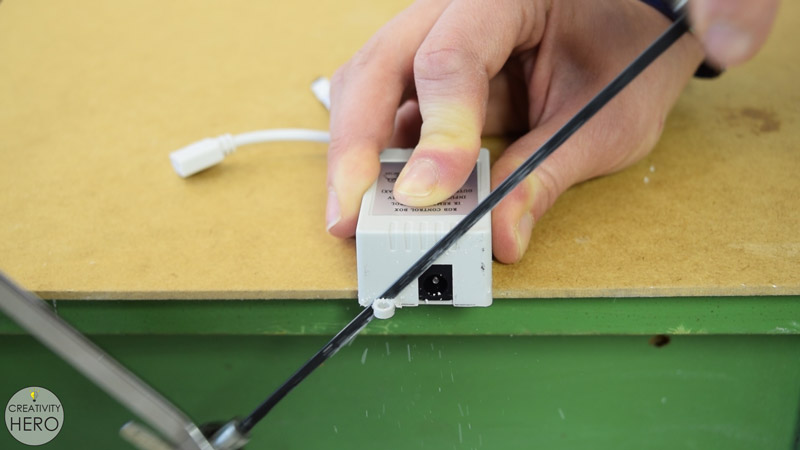
Instead of mounting it with some screws, I’ll attach it with a hot glue only, so I’m cutting of these mounting holes in order to flatten the box.
On that wooden piece I need to make a large opening for the controller. To make the opening I drilled a hole with 12 mm bit, and then inserted a coping saw into the hole to make the cut. Using a rasp I made some adjustments.
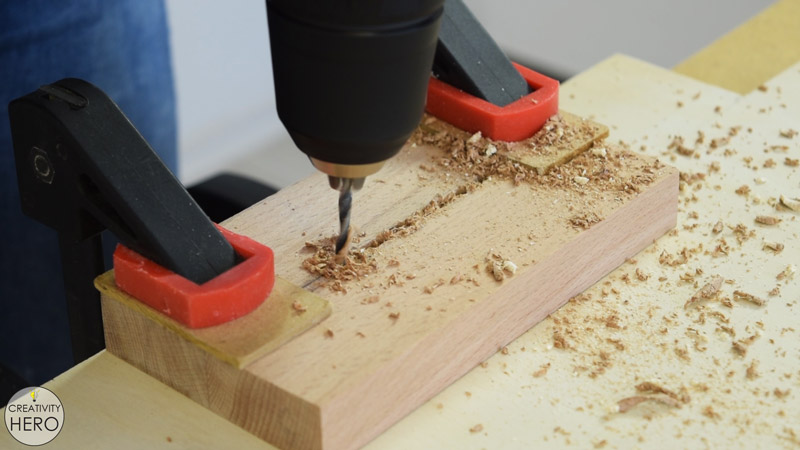
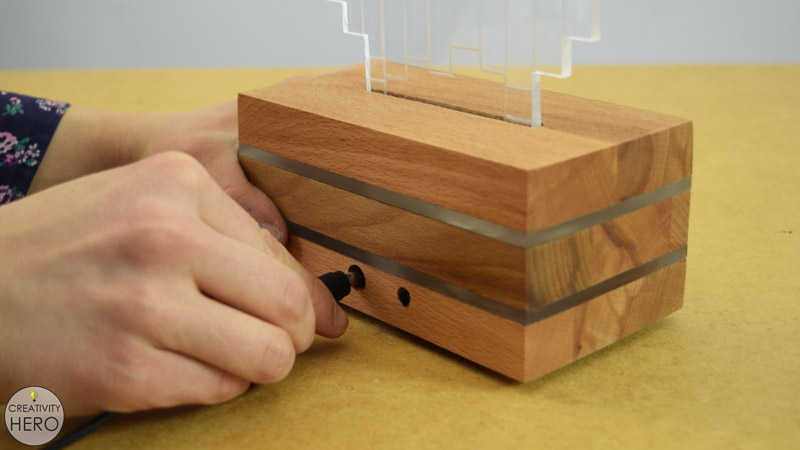
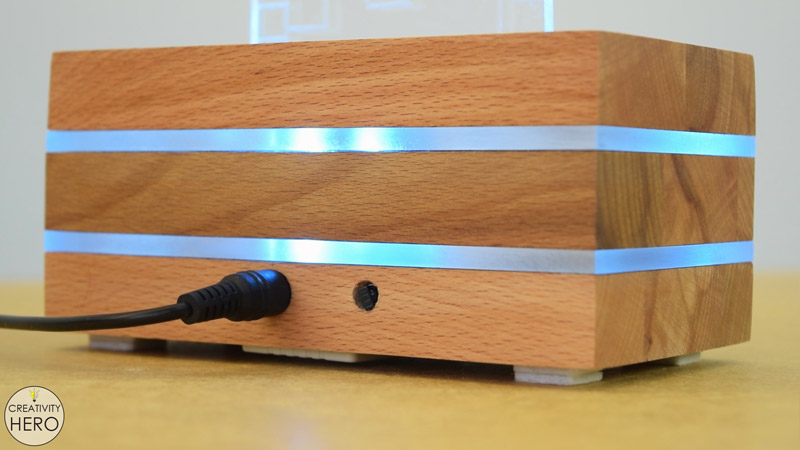
Now I’m drilling 2 holes on the back side of the bottom, one larger for the adapter, and another smaller for the Infrared receiver.
Step 7: Cutting the LED Strip.
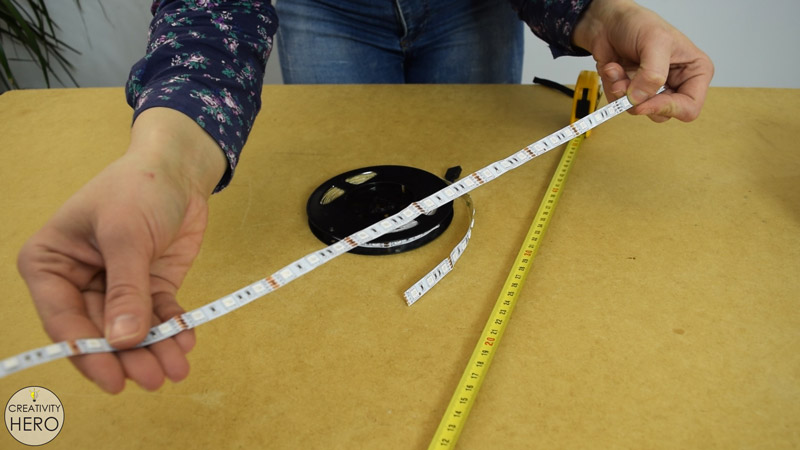
The lamp base can fit 50 cm long LED strip, so I’m carefully cutting with scissors along the designated lines, in between the copper pads.
The last step before putting all the parts together is removing the protective film from the acrylic.
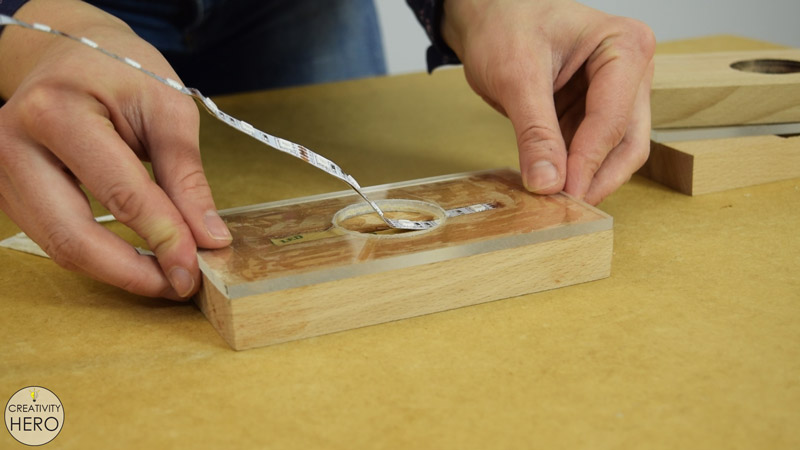
Step 8: Assembling the Lamp.
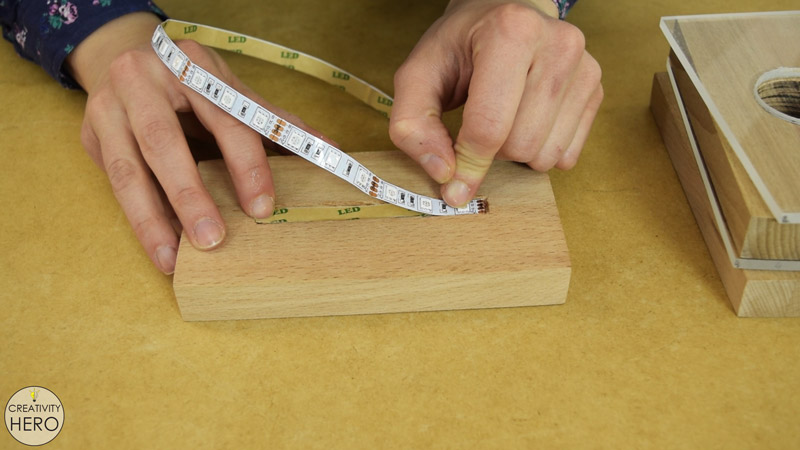
To assemble the lamp I started from the top and glued the LEDs into the groove that I previously made with an epoxy.
Then continued gluing the other pieces with an epoxy making sure I don’t damage the LEDs. Epoxy is the one of the best adhesives for gluing acrylic to wood and I highly recommend it.
Once I put all the parts together I clamp it down and wait until it is completely dry.
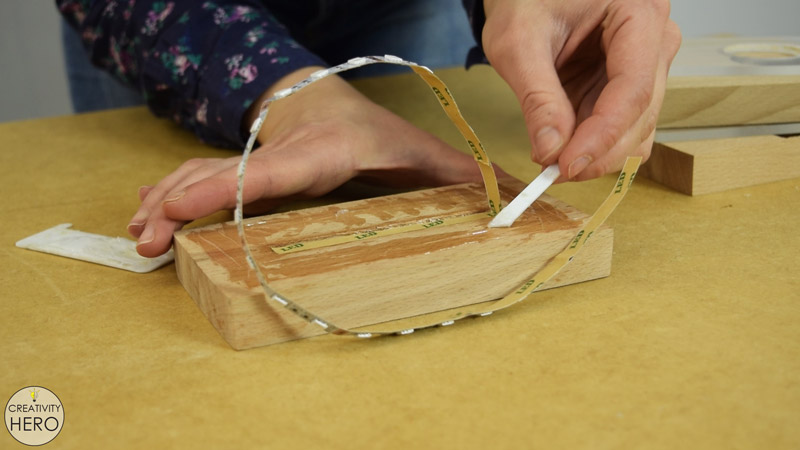
Step 9: Sanding and Applying Finish onto the Base.
I temporarily put the LEDs inside the hole, protecting them with a masking tape in order to be able to sand the base.
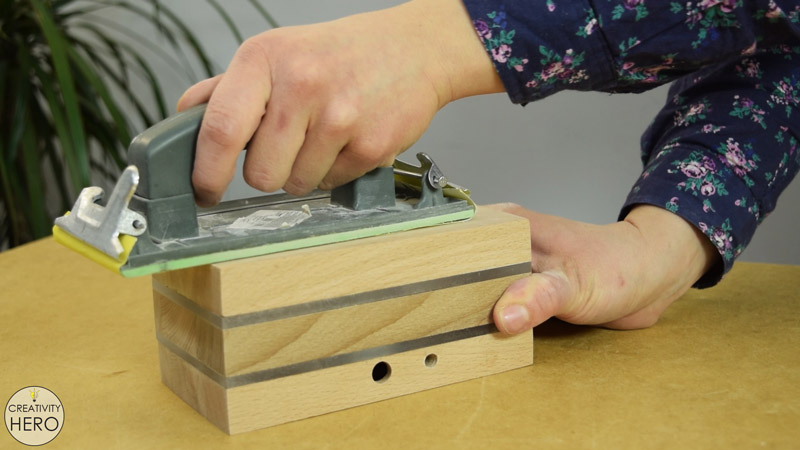
Then I lightly sanded the entire base to make it nice and smooth.
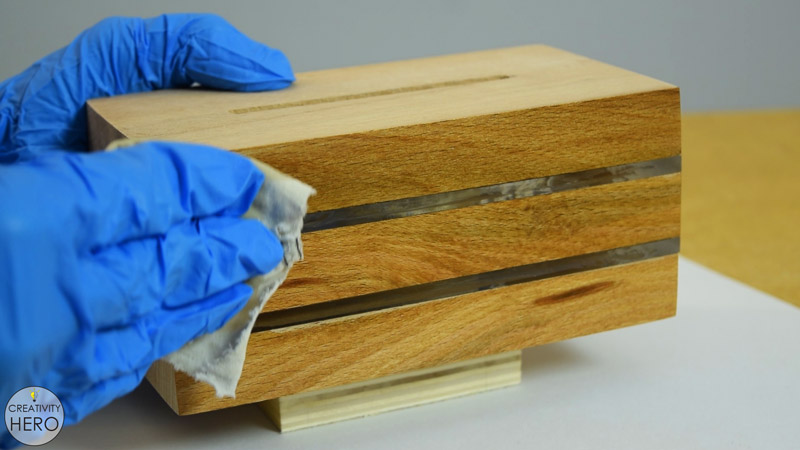
With that done I can apply a transparent finish to emphasize the natural beauty of the wood.
Step 10: Installing the Lights.
Now let’s move on to the controller installation.

Since the cable on the controller is a little long I need to cut it off. I cut half of its length and removed around 1 cm of the outer insulation. It consists of 4 wires, 1 common positive and 3 negative wires for each of the 3 channels.
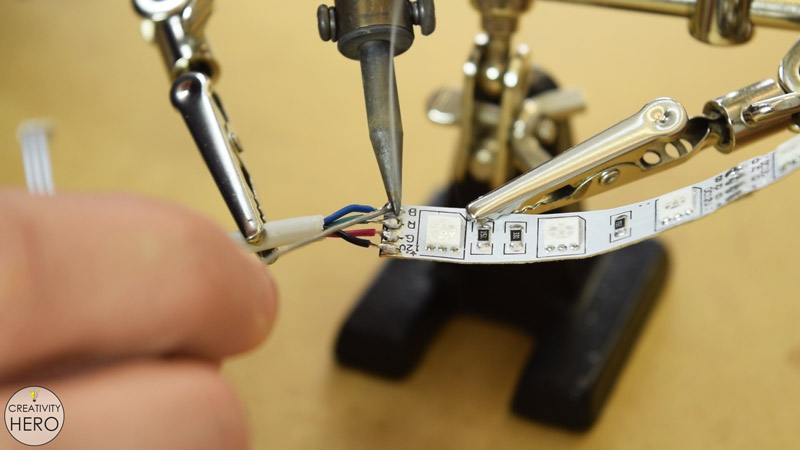
I exposed the ends of the wires using wire strippers and then soldered them onto the coper pads of the LED strip. Here you can notice that although the colors of the wires are in order, they don’t match the letters on the coper pads. The green wire I solder onto the R, and the red wire onto the G.
To check if they work properly I plugged the 12V adapter into the controller.
Everything works great, so I can glue the controller on the bottom of the base with a hot glue.
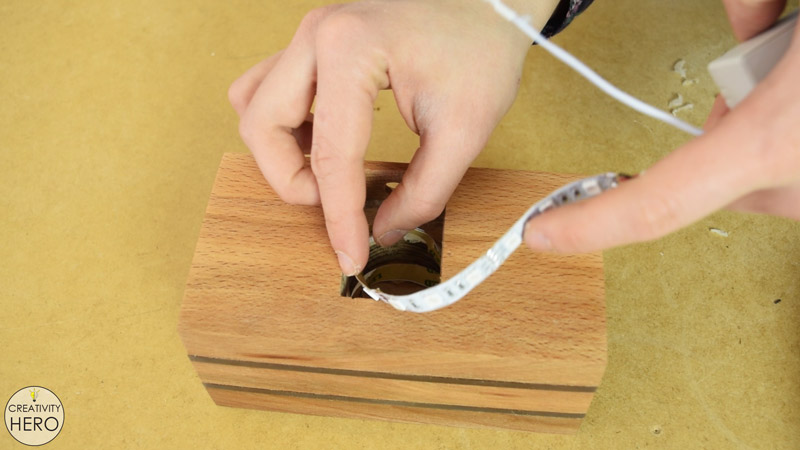
Hence, I carefully placed the LEDs inside the base. Then inserted the IR receiver into the hole, and finally secured the controller in place by hot gluing it.
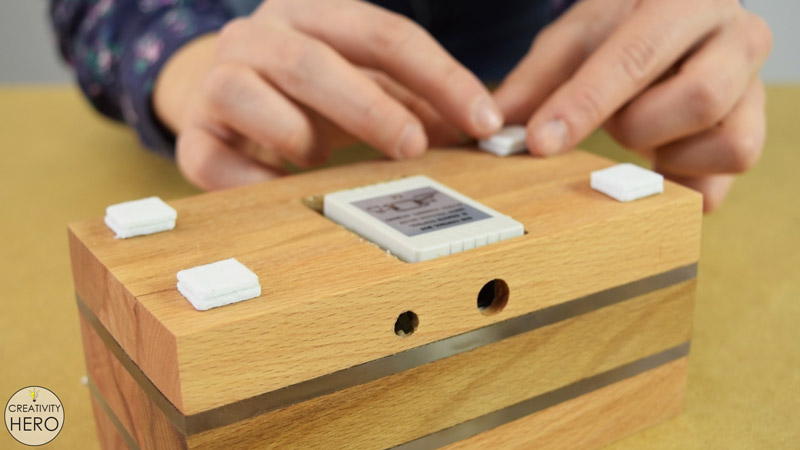
To make sure the bottom doesn’t scratch the table surface I’m cutting out some squares out of felt for feet. 2 squares in each corner will make enough space for the controller.
Related: How To Create A 3D Paper Cut Light Box | DIY Project
Step 12: Securing the Engraved Acrylic Piece into the Slot on the Top.
Lastly, I removed the protective film from the engraved acrylic piece and used an epoxy to secure it into the slot.
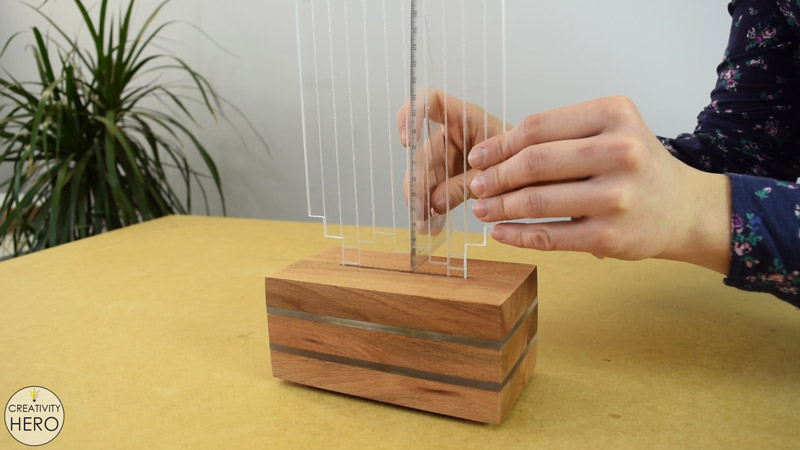
Using the right angle ruler I’m making sure that it is positioned correctly and leaving it to dry.
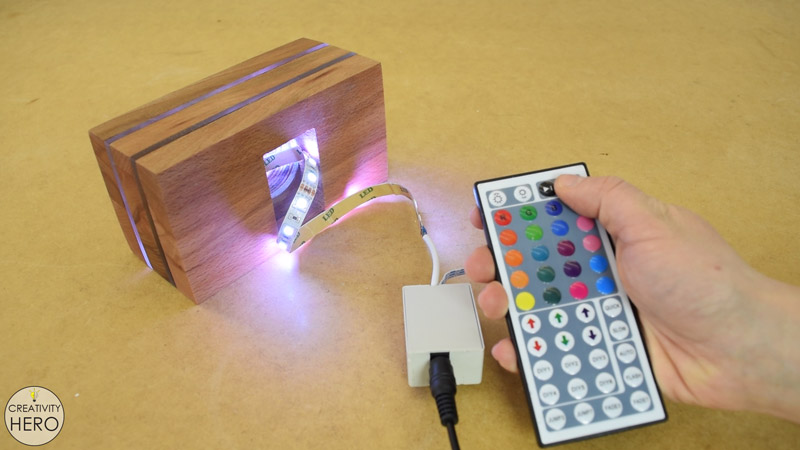
This means that the LED lamp is complete.
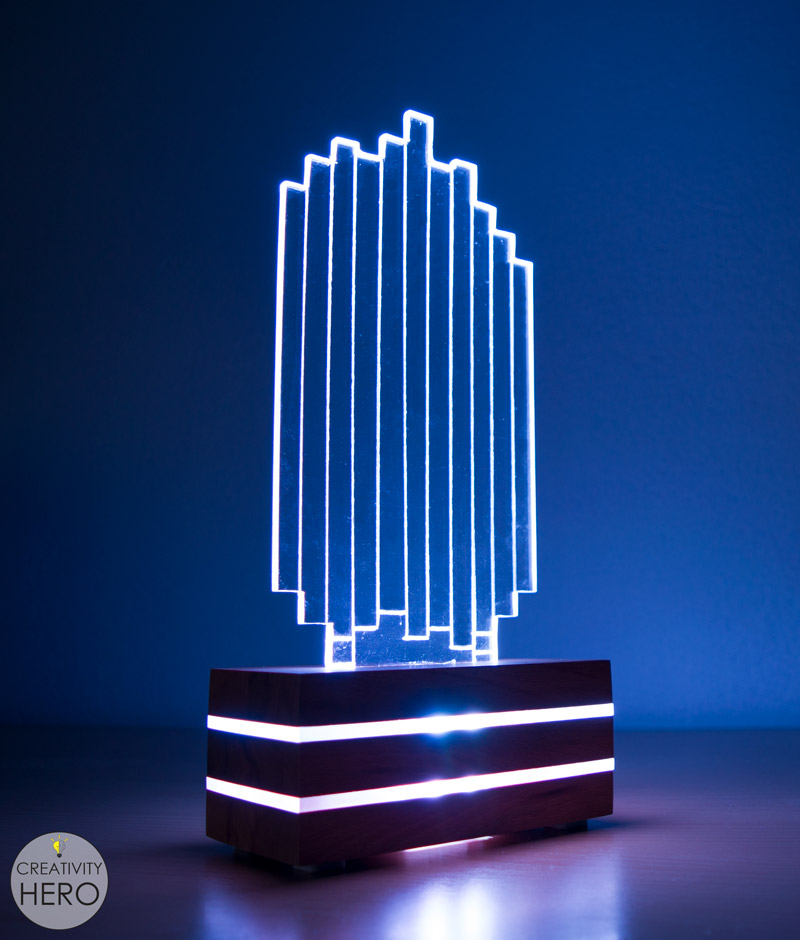
Now I can turn it on and enjoy this amazing color changing lamp.
It is very simple and modern, and I think it would make a perfect accent in a living room.
This was a really interesting and fun process of creating such lamp. I hope you like it. If you do please like, share and subscribe to my YouTube channel.
