


In today’s tutorial I’m going to show you how to bend acrylic, which opens a whole new world of possibilities for DIY projects.
Also, I’ll share with you a few useful tips I’ve learned along the way that will help you make clean and professional-looking shapes out of acrylic.
Watch the video below, where I get into more details about this method of bending acrylic.
Materials:
Tools:
Disclosure: As an Amazon Associate I earn from qualifying purchases.
Bending acrylic is one of the coolest things I’ve learned recently.
There are so many different methods of bending acrylic. Some of those methods include using a strip heater, a heat gun, a soldering iron, or a propane torch. Some people are even using their kitchen oven or hair drier for this purpose. However, all these methods have one thing in common, which is heat bending. It is actually the process of heating acrylic until it softens enough, and then bending it into different shapes.
The method that I chose works on the same principle, but it is very cheap, simple, and it doesn’t require power tools, which means that everyone can try it at home. Now, I’m going to show you how to make different shapes out of acrylic with some practical examples.
So, let’s get into it!
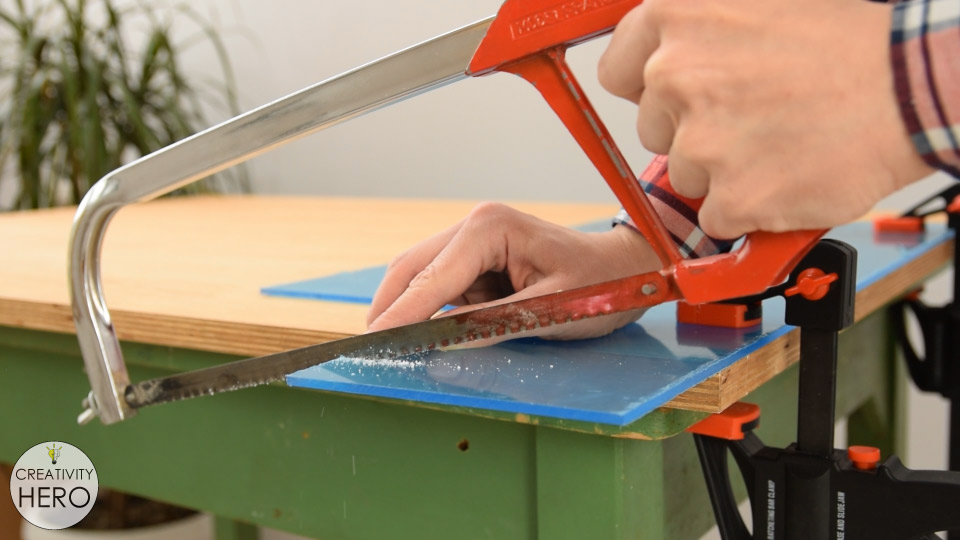
I have 5 mm thick acrylic sheet, so I’ll cut a few pieces with a hacksaw. I’ve cut different sizes, in order to show you how the size of the acrylic affects the process of bending.
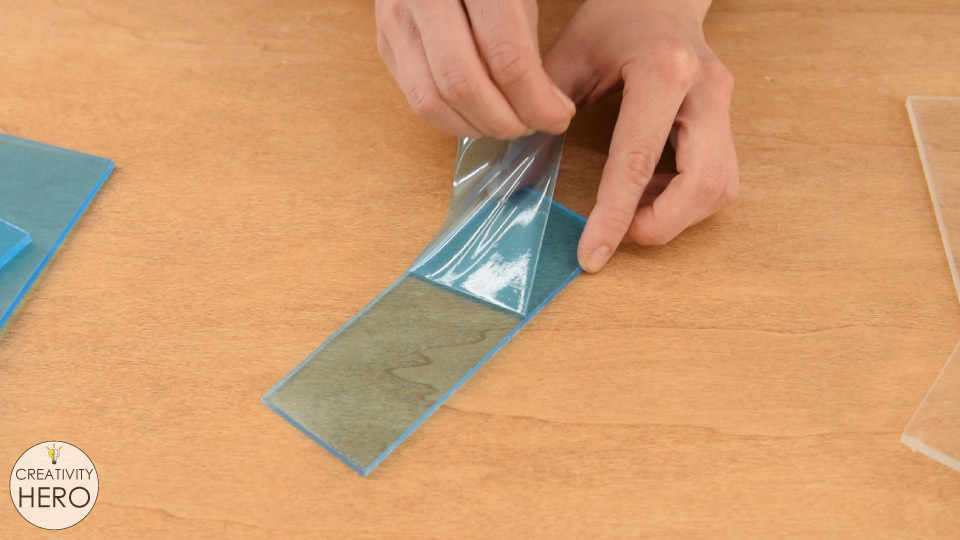
Before heating up the acrylic, I peeled off the protective film on both sides. If you do not remove the film, it will melt and will be nearly impossible to remove it from the acrylic.
Then I wiped the dust off of the surface, because when exposed to heat it can stick to the acrylic.
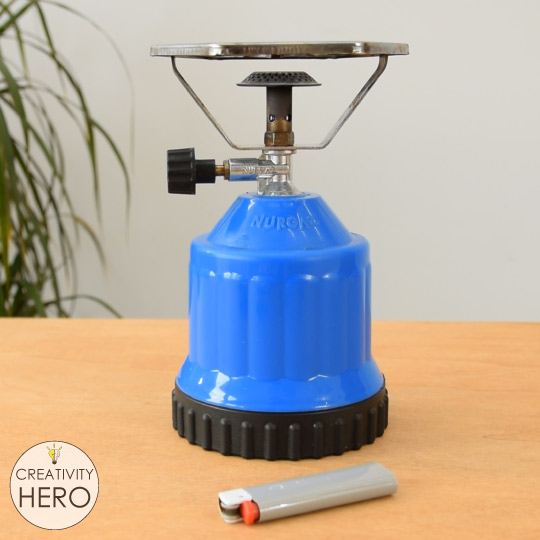
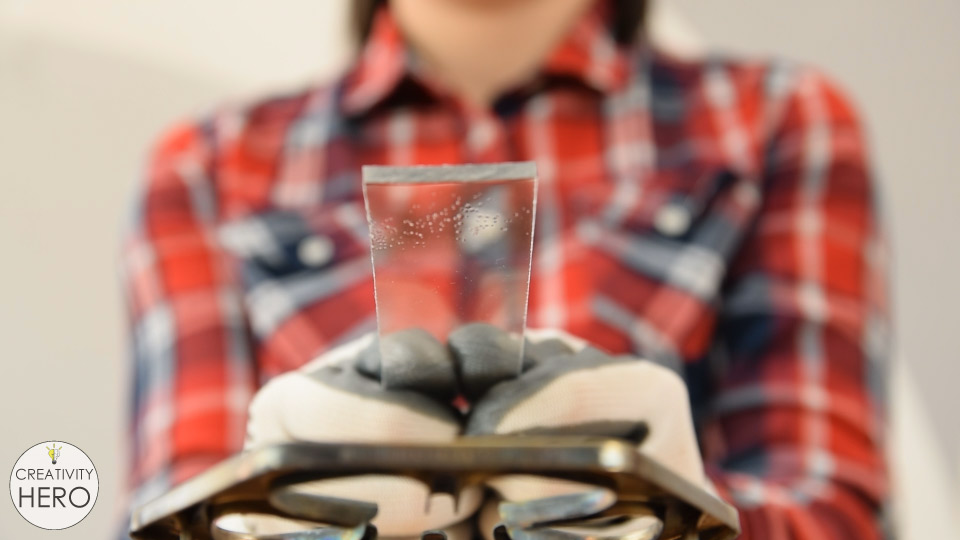
The heat source that I’m using is a portable gas stove. This is common heat source in almost every household, and it can be very useful for small-scale DIY projects. It is recommended for outdoor use, but you can use it indoors as well if you provide adequate ventilation.
Remember to wear heat-resistant gloves for protection against flames or heat. You could also wear a mask to limit your exposure to fumes.
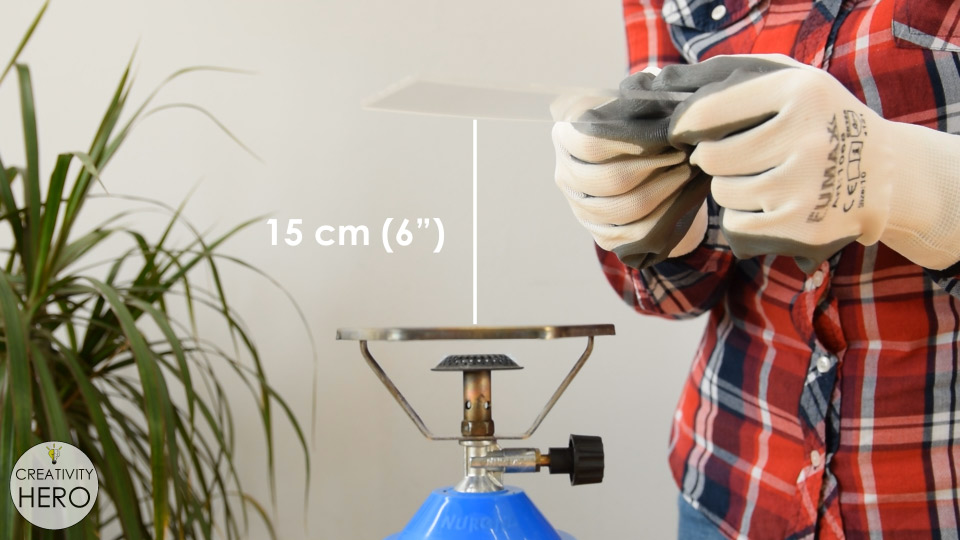
So, I turned the gas stove on and reduced the heat as much as possible. Then, I took one acrylic piece and placed it above. The distance between the acrylic and the heat should be at least 15 cm (or 6 inches).
Here, I tried to apply even heat along the bend line and waited for about 3 minutes until the acrylic softened enough. You know that it is time to bend the acrylic, when it starts to bend by itself without applying any pressure to it. And this happens once it reaches around 130°C.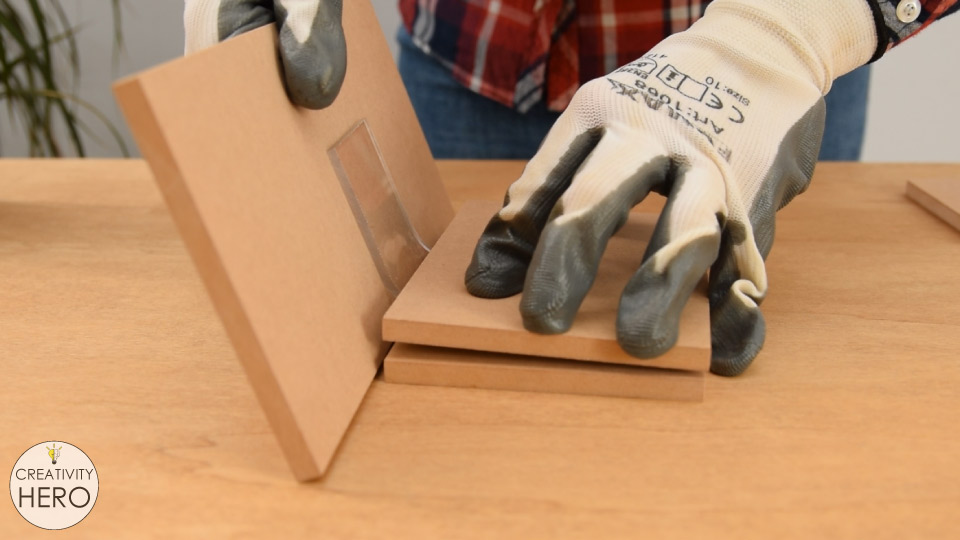
Now I can bend the acrylic piece away from the heat source. To make straight bend, I used 2 scrap wood pieces to hold the acrylic in place, and one piece to apply pressure and make the proper bend.
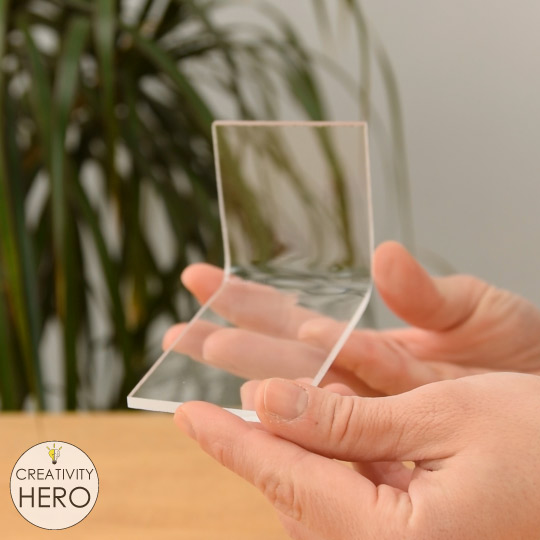
So, I made a very simple 90-degree angle. If you have additional bends to make with the same piece of acrylic, repeat the process.
When you’re done bending, allow the bend to completely cool before doing anything else, so that you do not lose its new shape.
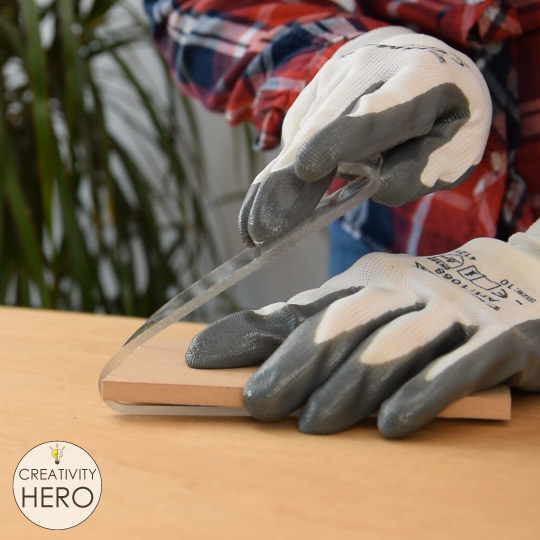
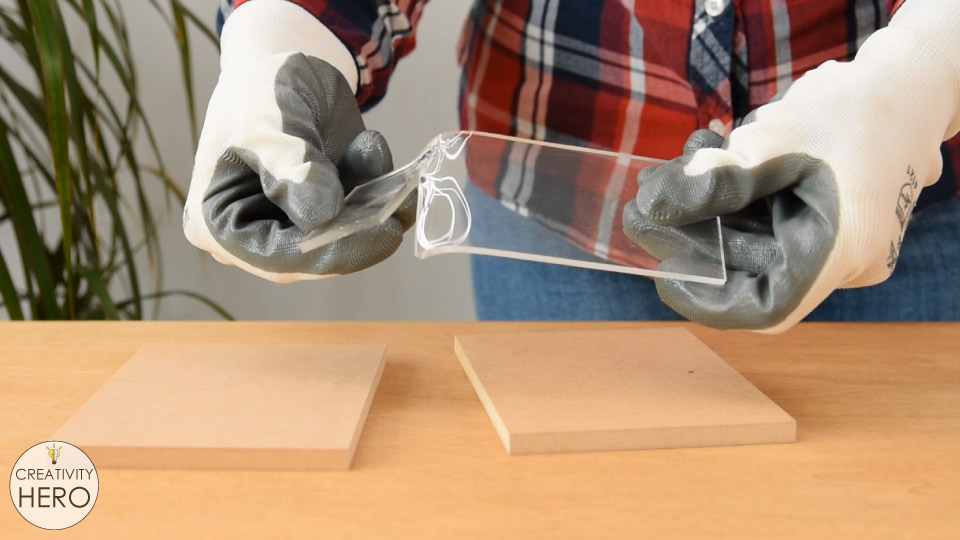
To make a phone stand I took larger acrylic piece. In this case I need to make two bends. This is much larger surface, so it took me around 5 minutes for each bend until the acrylic softened enough.
Heating is a slow process, and requires a lot of patience. But, you really need to make sure that you get a straight bend, which is in fact your final goal. The softening time depends on the thickness of the acrylic, as well as the size of the surface that we need to bend.
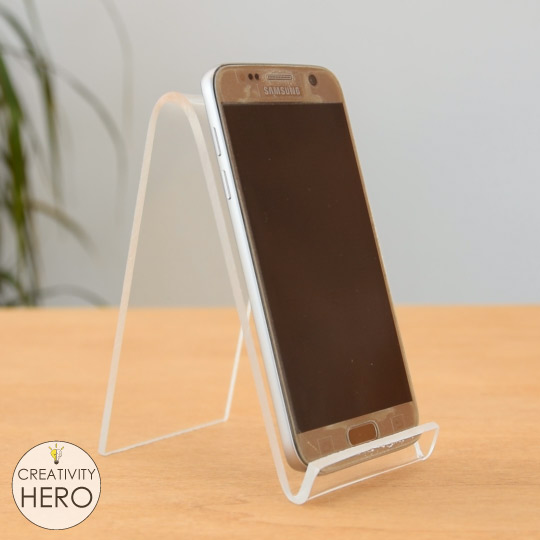
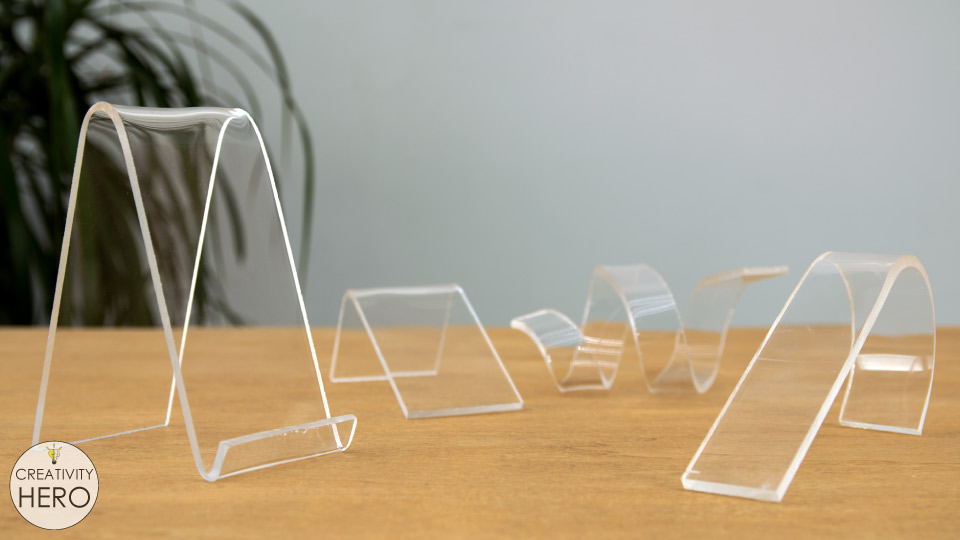
With these two bends I created a phone stand in less than 15 minutes, which is pretty awesome.
Why you need to keep 15 cm distance between the acrylic and the heat source?
The answer is very simple: to avoid air bubbles which could damage the acrylic. In the picture you can see how those bubbles look like. In the beginning, I kept the acrylic too close to the stove, and you can notice that after a few seconds a lot of bubbles appeared on the surface, and the acrylic softened a lot more than needed.
Also, if you stay in one spot for too long it means you don’t apply heat evenly to the bend line. This will again create bubbles into the acrylic that cannot be removed, which is something you really don’t want to happen.
And if you don’t apply heat evenly to the bend line, you won’t get a straight bend, or in the worst case, you’ll break the acrylic.
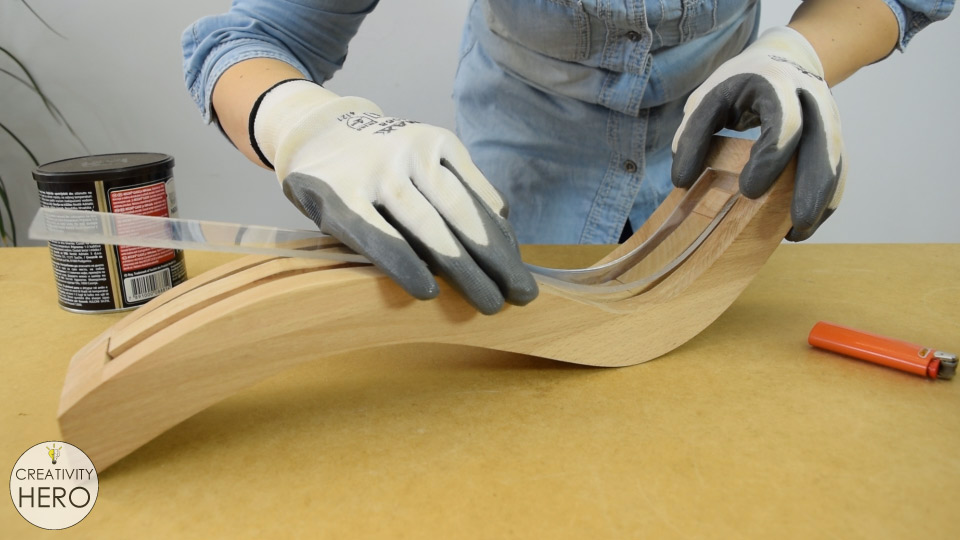
I’ve already used this method of bending acrylic in two of my previous videos. In the first video I’ve made Curved Wood and Acrylic LED Desk Lamp with Concrete Base, where I’ve bent one large piece of acrylic that needed to be a perfect fit for the wooden body of the lamp.
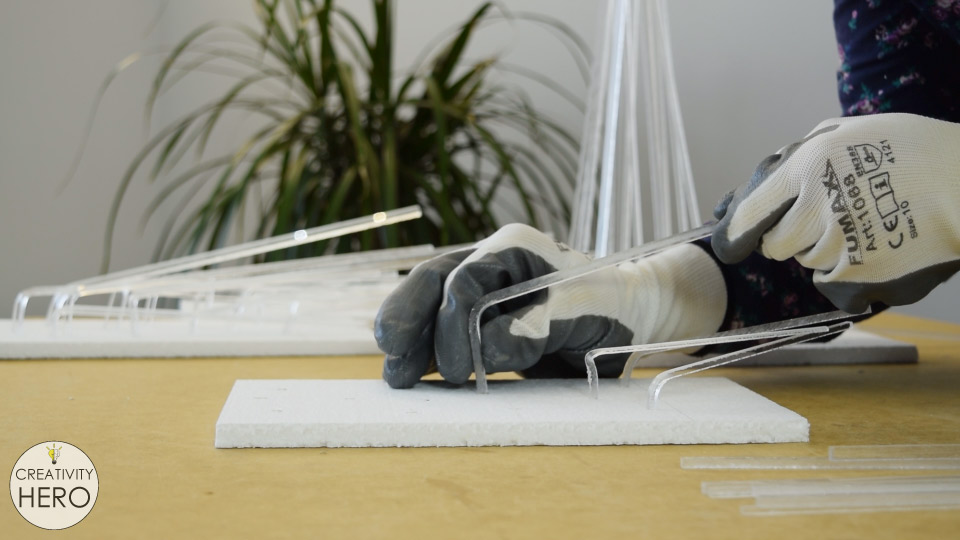
In the second video I’ve made Concrete and Acrylic LED Lamp with a Wooden Base, where I’ve bent tiny acrylic pieces which then I inserted into the concrete. So, you can check those videos out for more details.
If you want to make round shapes, for example circle, you actually have much larger surface for bending, so to soften the whole surface, you need to slowly move the acrylic piece back and forth for longer period.

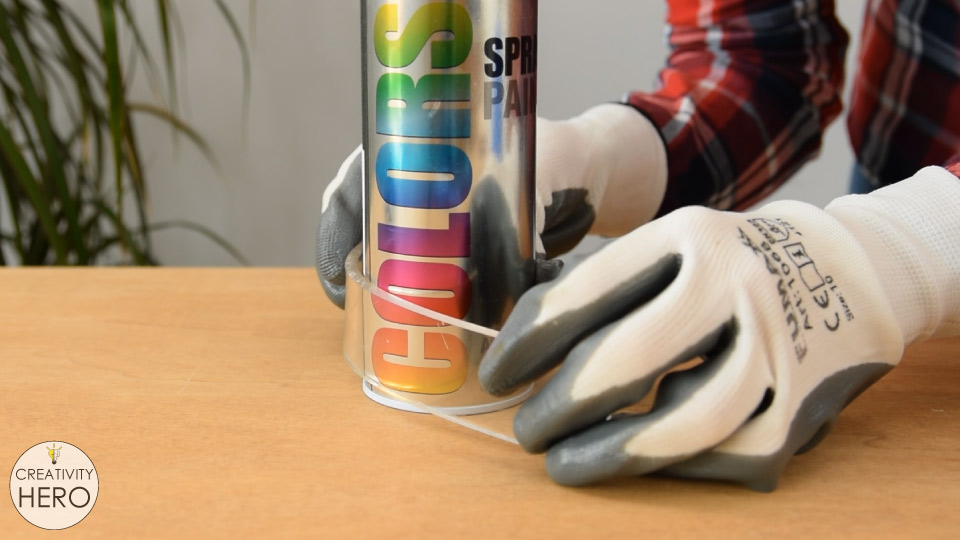
I suggest using a can or something similar, and when the acrylic piece is soft enough, wrap it around the can.

Using the can, I slightly bent another long acrylic piece, and added a light source underneath. This way, I made a cool looking lamp.
You can also make different shapes freehand. I’ve made a bow out of a tiny acrylic piece and a spiral out of a larger one. I think they turned out pretty good.
This method might not be useful for larger pieces of acrylic, or for making some complex shapes and angles. However, if you don’t have an appropriate bending tool, it is definitely worth trying.
There are so many different DIY projects you can make using this simple method of bending acrylic. Plus, you can combine different materials like wood, concrete and some LED lights to bring your projects to a whole new level. Just use your creativity and make something amazing.
I hope you find this tutorial useful and you learned something new. If you have any questions or suggestions leave a comment down below. Don’t forget to like, share and subscribe to my YouTube channel.
