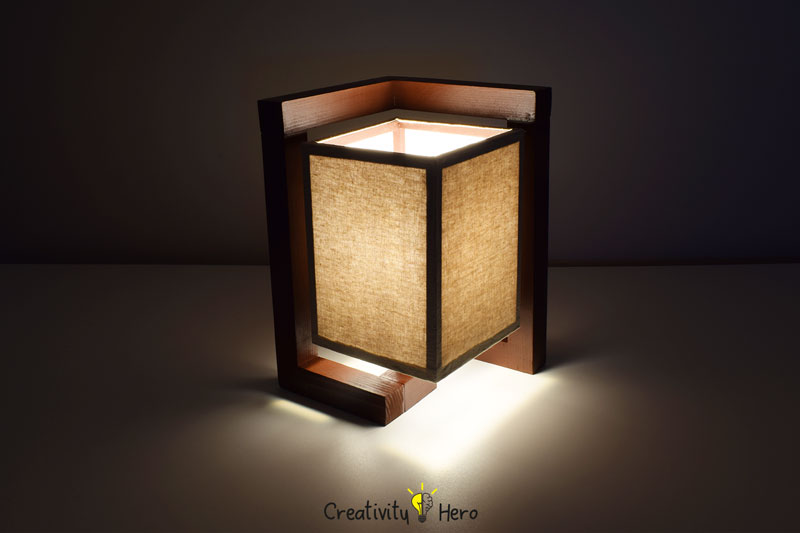
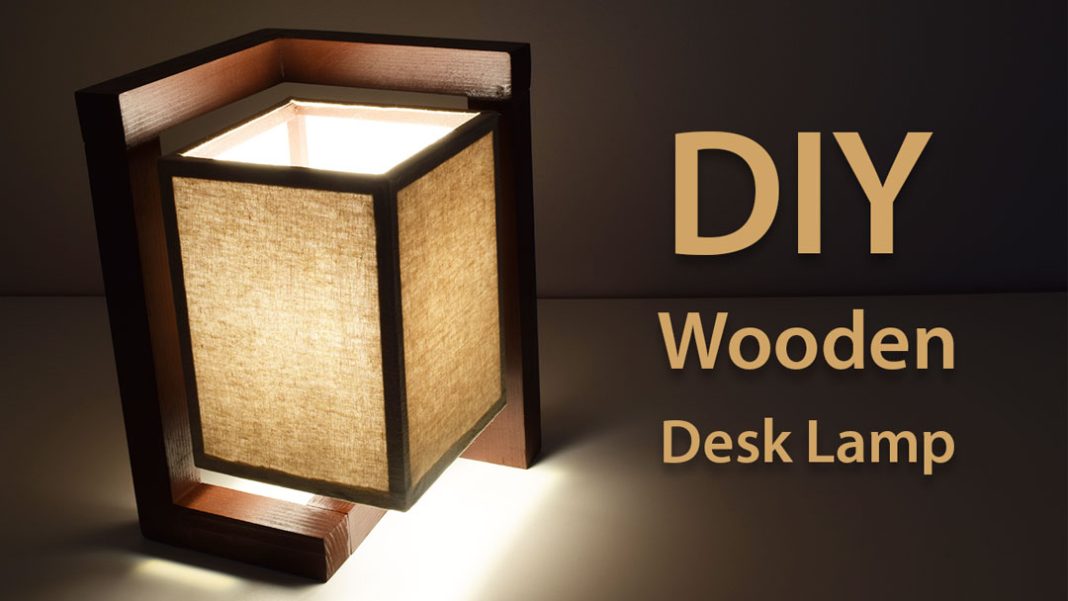
Today I am going to show you how to make this gorgeous looking wooden desk lamp using simple hand tools.
Here are the materials I used:
- Wood board 3 cm wide and thick (your local hardware store)
- Wood board 1 cm wide and thick (your local hardware store)
- Wood board 5 x 13 cm (your local hardware store)
- Brown spray paint
- Wood glue
- White paper
- Linen fabric
- Light bulb socket with cord
- LED Light bulb
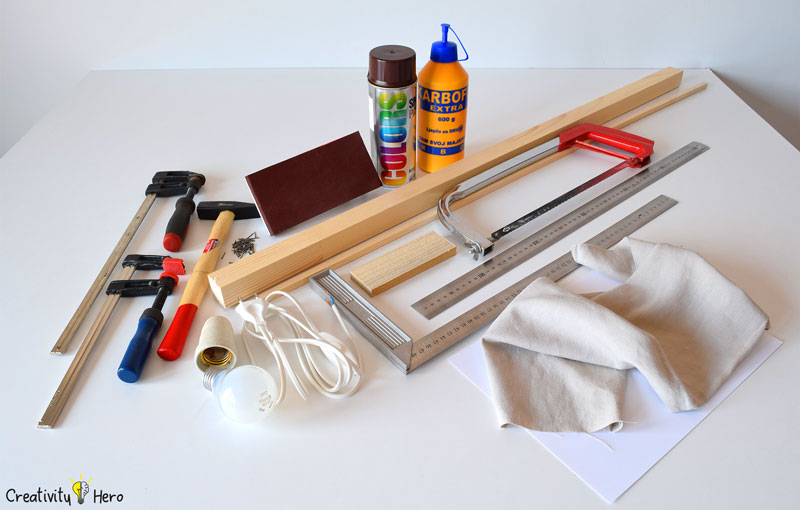
Types of tools I used:
Disclosure: As an Amazon Associate I earn from qualifying purchases.
Related: How To Make A Modern Wooden Clock | DIY Project
Step 1: Marking and cutting the board using a handsaw.
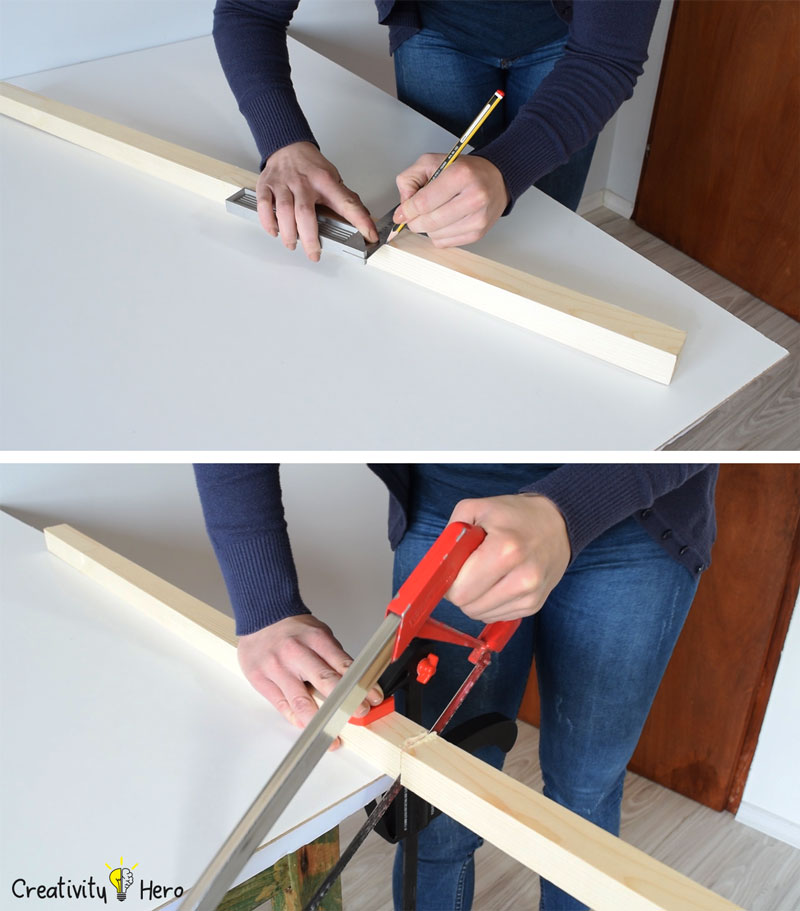
First, I marked all the dimensions needed for the lamp base.
It is a solid wood board 3 cm wide, 3 cm thick with following dimensions:
– 2 x 27 cm
– 1 x 20 cm
– 1 x 17 cm
– 1 x 11 cm
– 1 x 8 cm
– 1 x 6 cm
– 1 x 3 cm
Then, I cut the board using a handsaw.
Step 2: Sanding the edges and gluing all the pieces together.
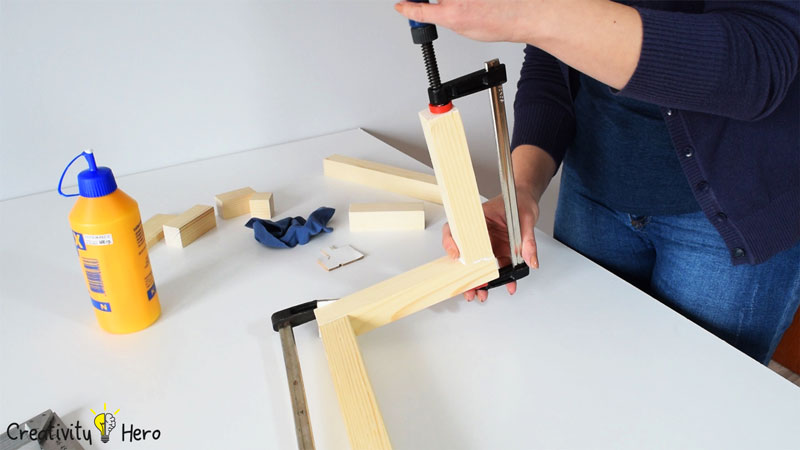
Next, I’m sanding the edges of the pieces that I’ve cut to make them even, so it would be easier to work with the glue.
To get the desired shape I glued all the pieces of wood together using a wood glue, a square ruler and some clamps. You need a lot of patience because you can’t glue all at once, but it’s definitely worth the time.
Step 3: Drilling a hole for the cord.
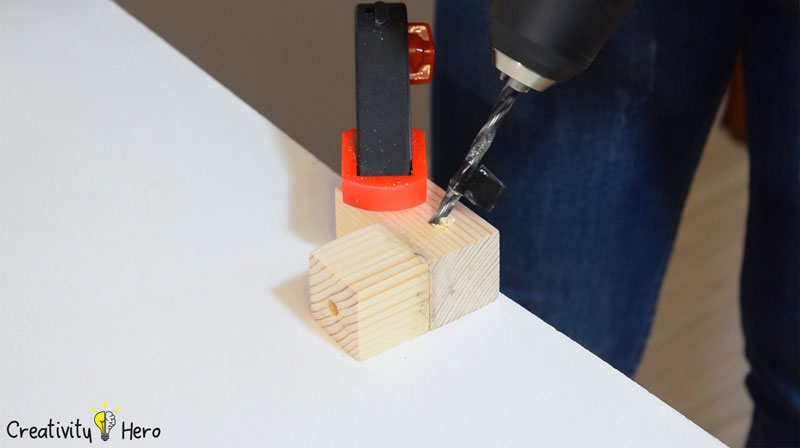
Before gluing the last piece of wood I marked the center point of the lampshade and drilled a hole for the cord 4,5 cm deep using 6 mm bit.
I extended the hole from the back side of the same piece of wood at a 45 degree angle so it would be much easier for the cord to pass through.
Then I glued up this last piece of the lamp base.
Step 4: Marking and cutting the second board.
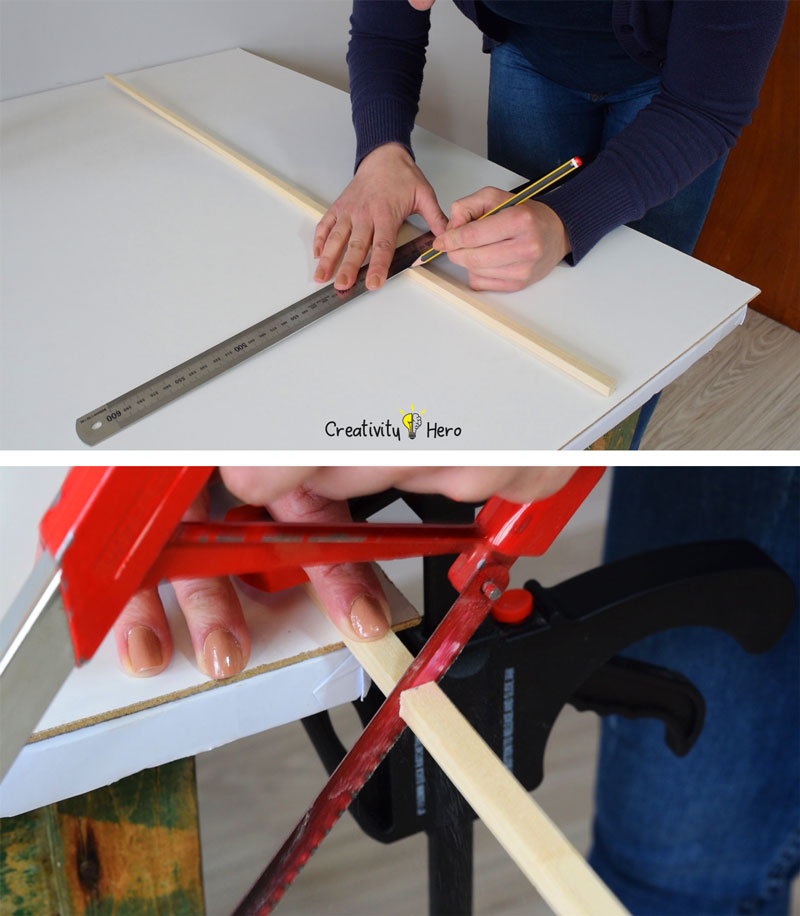
Now, let’s move on to the lampshade frame.
I marked the dimensions of the second board. It is 1 cm wide, 1 cm thick. I made a cuboid frame, 20 cm high and 15 cm wide, so I cut 4 pieces 20 cm long and 8 pieces 13 cm long.
The last and most important piece of wood is the frame support with size 5 x 13 cm. I used a 30 millimeter bit to countersink a hole 1 centimeter deep.
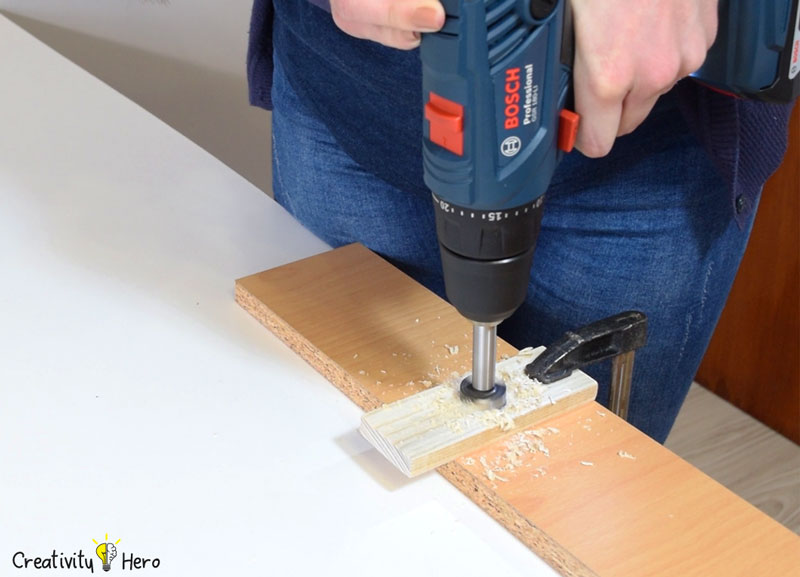
Then I used 6 millimeter bit to drill a hole all the way through so that it perfectly matched the center of the base.
Step 5: Building the lampshade frame.
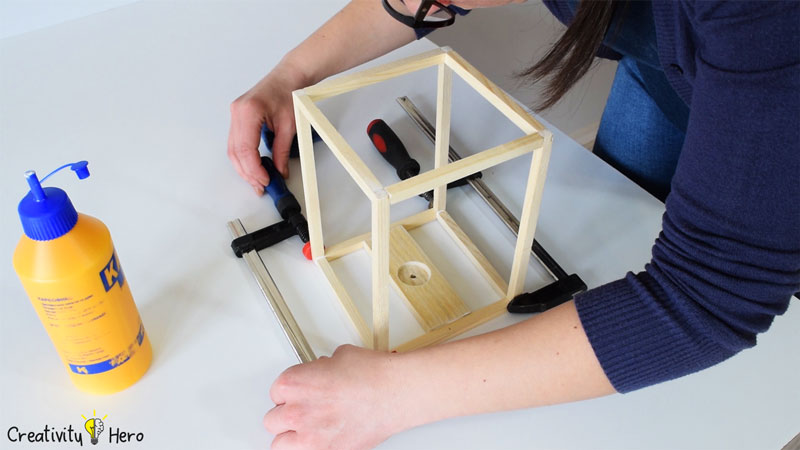
The next step is building the cuboid frame. I glued all the pieces together and used square ruler along with the clamps to make a perfect right angle.
Step 6: Sanding all the pieces.
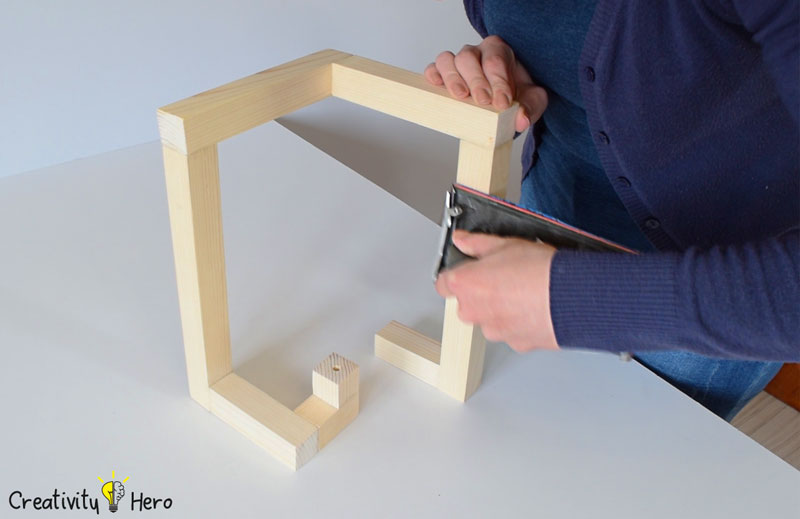
To make everything nice and level I am going to hit with a 120 grit sand paper which should make a quick work of all the unevenness.
Step 7: Spray painting the base and the frame.
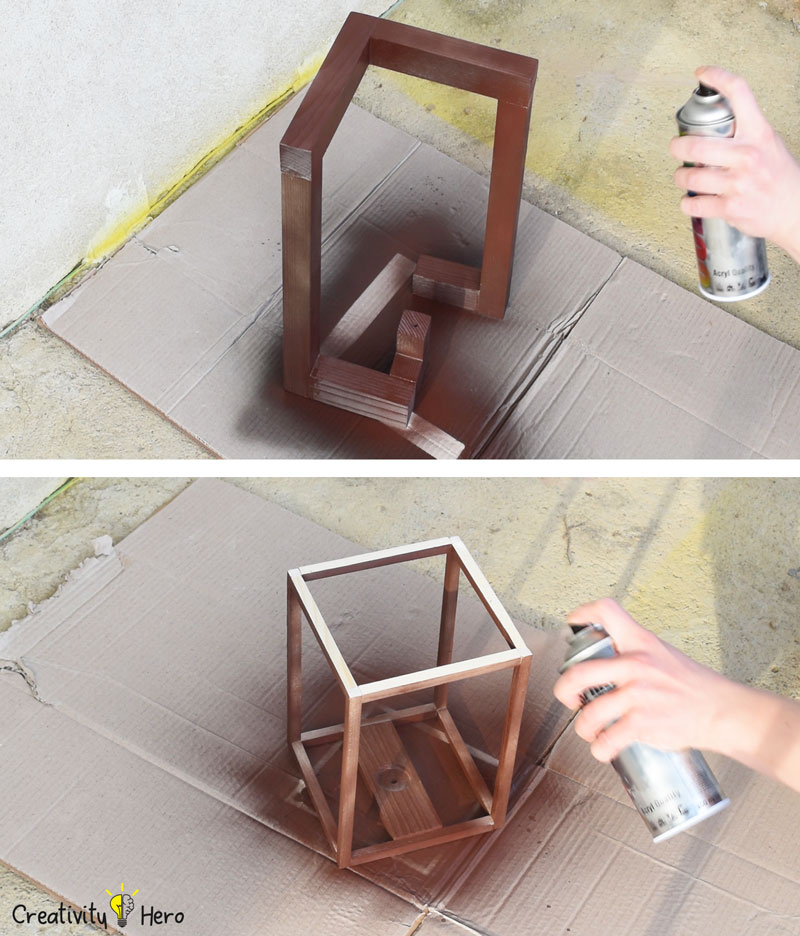
Then, I finished it off with a spray paint.
I painted both the base and the frame with a chocolate brown spray paint because I wanted to create more contrast between them and the lampshade.
I applied 2 coats of spray paint and left it to dry out.
Step 8: Making the lampshade.
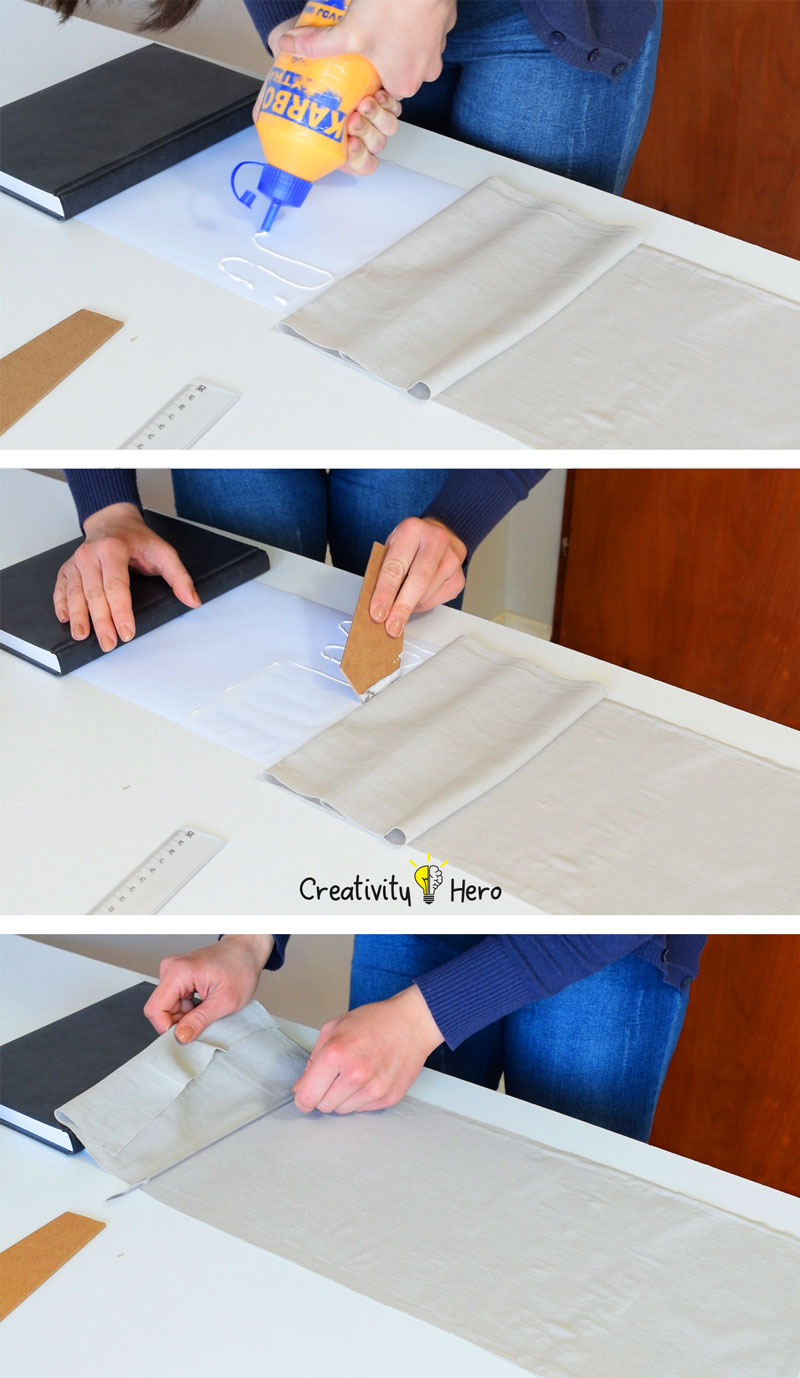
After that, I moved on to making the lampshade.
I used a paper roll and cut 62 by 21 cm of it. I also cut the linen fabric 63 x 23 cm so that I could easily glue it to the paper and fold the edges to get nice and smooth look.
It took me some time until I finished gluing the fabric to the paper, because I wanted to make sure everything was lined up.
I decided to use a wood glue and it actually turned out quite well. The glue wasn’t drying too fast, so I had some time to adjust the fabric to the paper with a ruler.
Step 9: Gluing the lampshade to the frame.
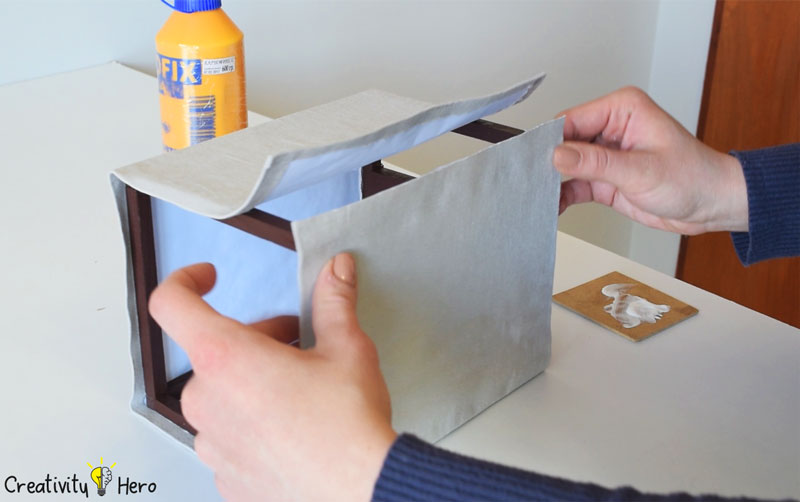
I glued up the lampshade to the frame. It is very important to do this carefully, one side at a time, because you need to align the edges of the frame with the edges of the shade.
I folded the fabric on the top of the frame to get the desired look, but you can skip this step simply by cutting the paper 20 cm wide at the beginning.
Step 10: Putting all the pieces together.
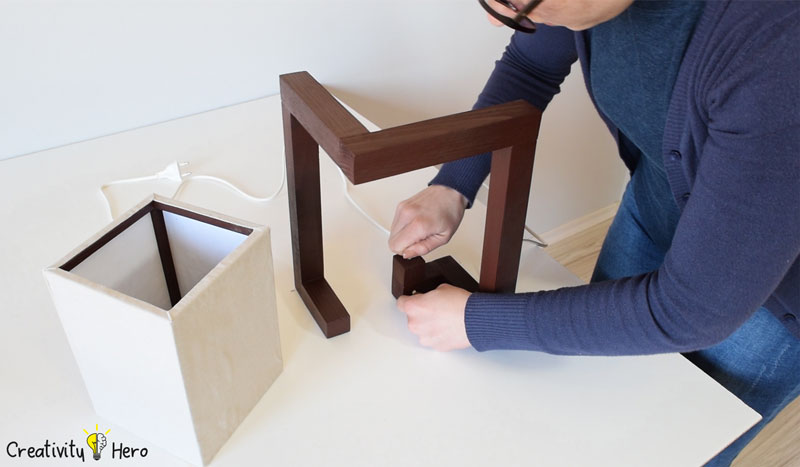
Now I can finally put all the pieces together.
I’m mixing up some 5 minute epoxy to stick the socket.
I made sure everything was lined up and then used wood glue to stick the lampshade to the base. I held it with finger pressure for only a few minutes until the glue started to harden.
I suggest using LED light bulb because it produces a very small insignificant amount of heat.
Thank you so much for watching and if you enjoyed this video hit the like button and also subscribe to my YouTube channel.








Lovely lamp and I’m planning to build a pair of them for my sister’s birthday present. I was hoping to find the length dimensions for the 3cm base wood pieces but I don’t see those anywhere. Can you post that info please?
Thanks a lot,
Tony
I’m really sorry for the late reply.
It is a solid wood board 3 cm wide, 3 cm thick with following dimensions:
– 2 x 27 cm
– 1 x 20 cm
– 1 x 17 cm
– 1 x 11 cm
– 1 x 8 cm
– 1 x 6 cm
– 1 x 3 cm
Marija
Thank you very much.
I really like the lamp and plan on making this soon. Can you tell me what is the thickness of the lamp base piece that is 5cm x 13cm, thank you
Wow, that’s awesome! The lamp base piece is 12 mm thick, or 1/2 inch. I’d love to see some pictures once you’re done with the lamp! 🙂
Thanks Marija, I used a scrap piece of wood that I had laying around so the base is thicker but will still work, here is what I have done so far, I have ordered the light bulb socket and need to buy some LED bulbs
https://drive.google.com/open?id=1iZjCJhiKUFtMo2yOg6dbbKOtT3mnoJEXww
https://drive.google.com/open?id=1i7SWl7reqrCnPR7JhtmvBoP6czKu1o_NjA
https://drive.google.com/open?id=1ajhw1PwzYrZKRGt8NzSipVrVryk1GZK2jQ
Wow, you made my day! I’m so happy to see someone else creating this lamp. I’m using this lamp all the time, it is my favorite object in my room. I know that you’ll like it too. You did a great job!
Finally completed here is the finished product
https://drive.google.com/file/d/1kNCvRAZNAm74iBqO1bfg0cqvjt0uyx-b/view?usp=drivesdk
https://drive.google.com/file/d/1fbuL4Lt0yfh7fV8g_-iOa3K6Rcje1_qf/view?usp=drivesdk
Wow, your lamp is absolutely amazing! Great job Mark! 😀
Thanks for the inspiration Marija, I am looking forward to creating more of your projects
I’m glad I inspired you to create something for your home. 🙂
Wooow great tutorial 🙂 thanks Marija
I’m glad you like it! 😀
Thank you so much for this amazing idea and the great instructions!
I built my own version of your lamp for Christmas this year and wrote a bit about it here – it turned out sooooo awesome: https://marcosprojects.wordpress.com/2017/12/26/led-lantern-style-lamp/
Your lamp is amazing. I really like your photos and the written article. I’m glad I inspired you to make this lamp. 😀