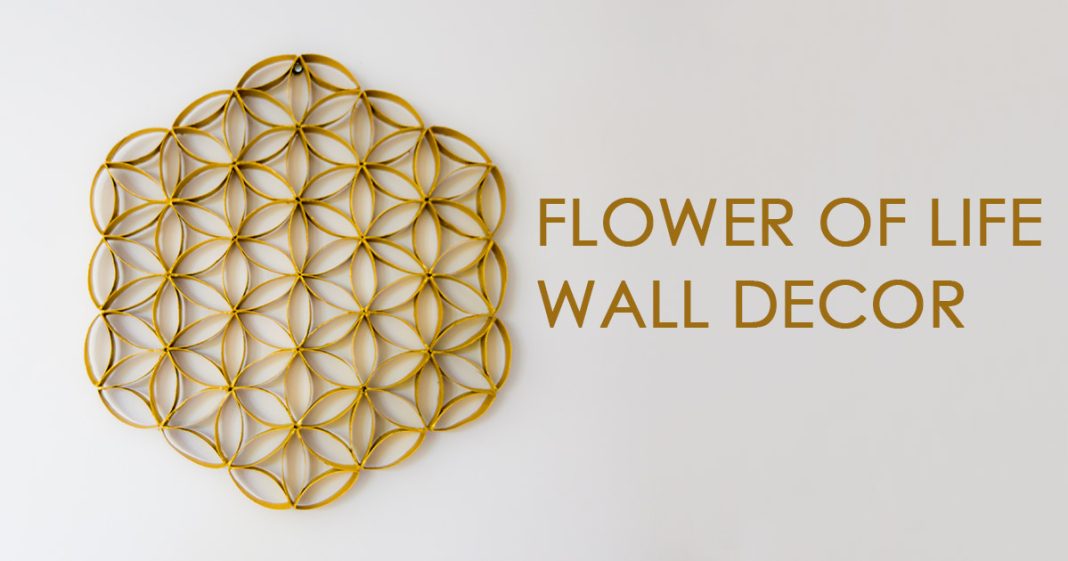
Who knew toilet paper rolls could turn into beautiful wall art!
There are so many things to do with toilet paper rolls, from interesting crafts, to useful life hacks that will improve your home, the possibilities are endless.
This project is very flexible and easy to make, so don’t be afraid to get creative with it!
Why I chose toilet paper rolls for this craft?
What makes paper rolls so popular to craft with is their ability to bend in any shape you want. Additionally, they are all the same size, which makes things much easier. Remember the more you save the larger your craft will be. Toilet paper rolls can be painted any color you want, or you can keep them in its natural color for more rustic look.
It’s such a simple craft that will really give a special touch to your house. So, this is something worth keeping your toilet paper rolls for.
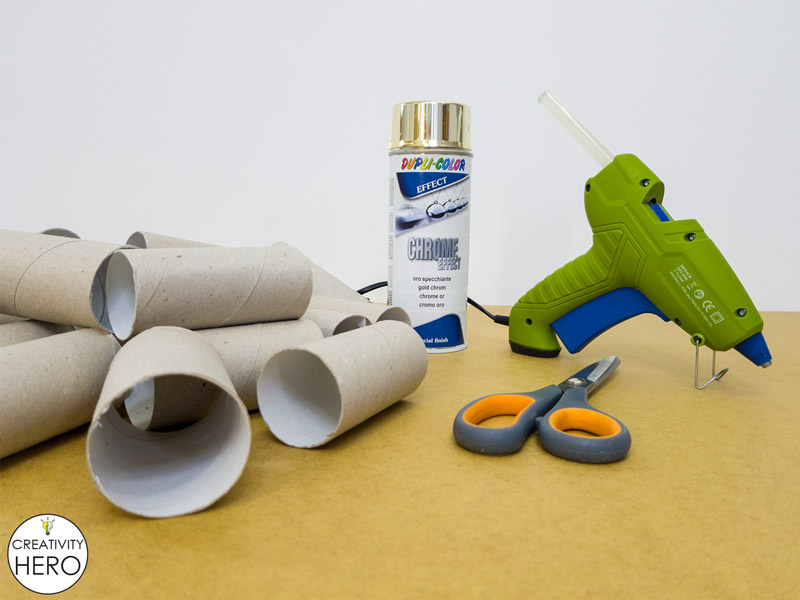
Here are the materials you’ll need to make this wonderful flower of life:
- Toilet Paper Rolls
- Scissors
- Glue gun
- Spray paint
Disclosure: As an Amazon Associate I earn from qualifying purchases.
You may like: Simple DIY Picture Frame Using Popsicle Sticks
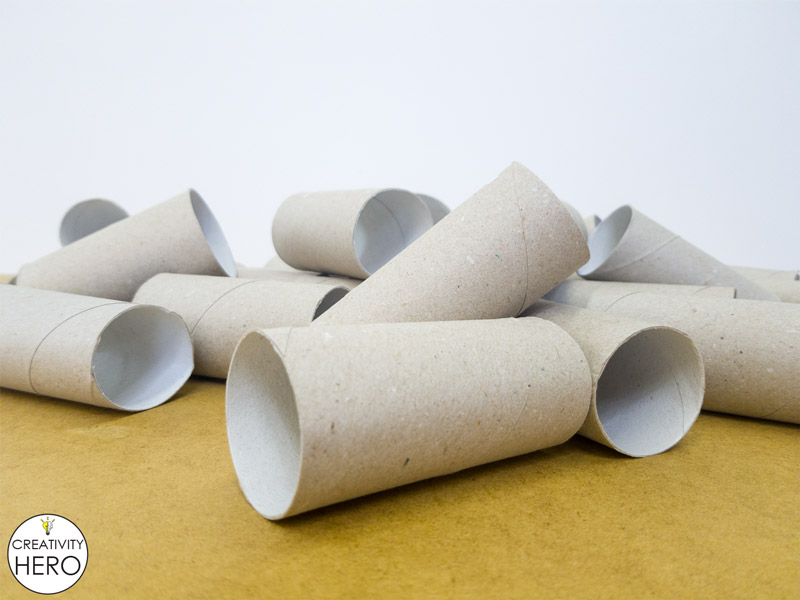
First, you need to collect a bunch of toilet paper rolls.
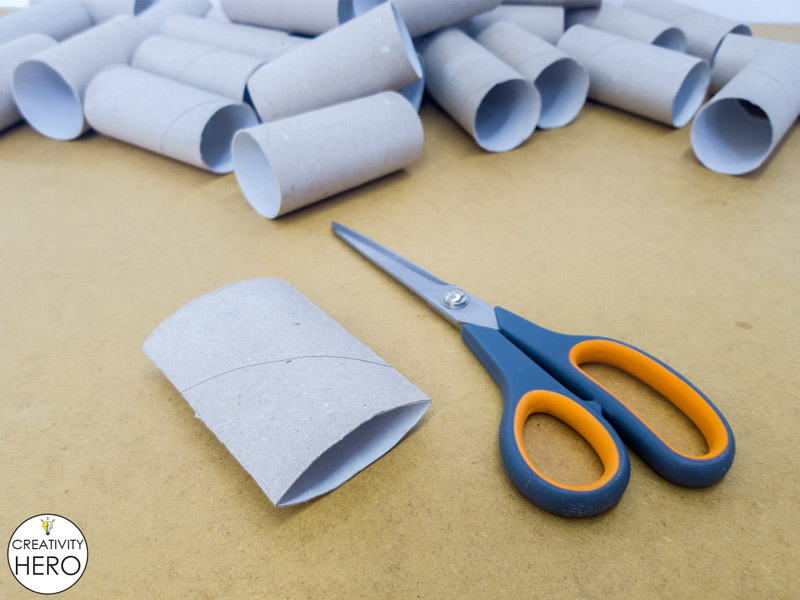
I started by flattening the paper rolls, and then cut them into 6 equal parts (around 1 cm wide).
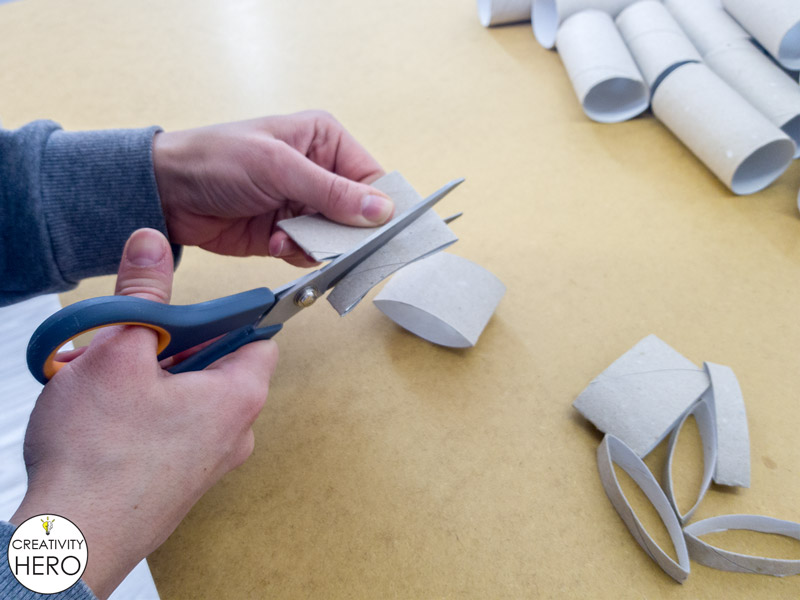
You can use a ruler to be more accurate.
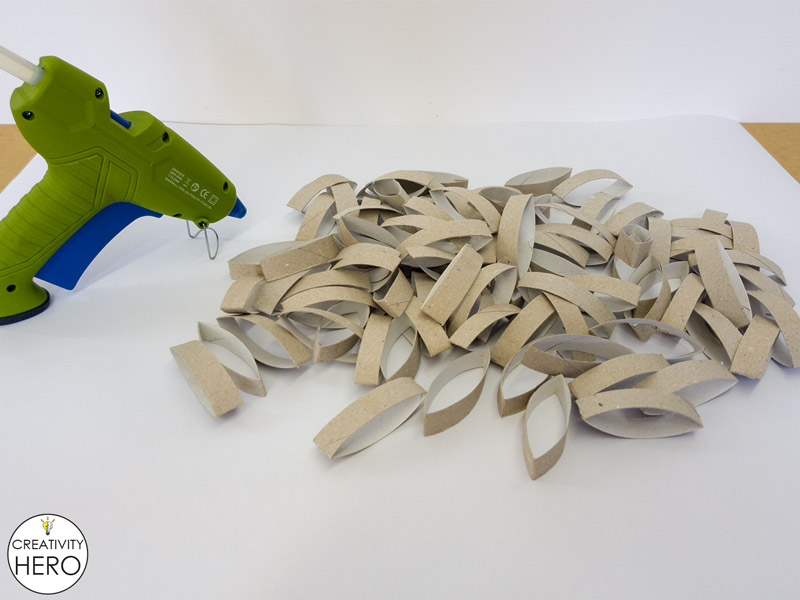
Repeat this step to all of the paper rolls until you have a bunch of cut-outs. I used 16 rolls in total.
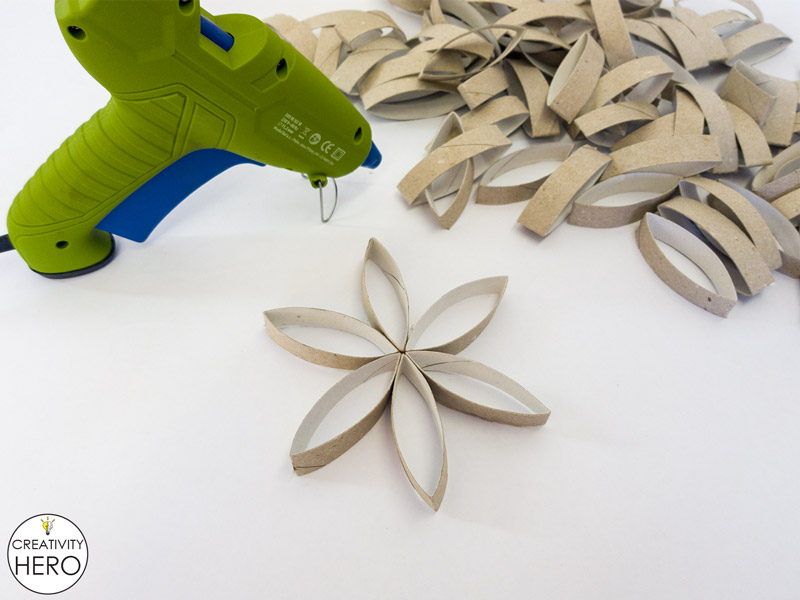
Next, place the pieces on a flat surface creating flower like shape. Now that I have the design, it is time to glue the pieces. I started with gluing one 6 petal flower which was the center point of the entire flower of life. Then I glued the pieces together where their sides touch.

I continued forming a circle around the flower.
Why you need to use a hot glue?
Hot glue is the perfect choice for gluing toilet paper rolls. It dries so fast, it is transparent and if there is any excess glue you can easily remove it.
Instead, you can use white crafts glue, but the process of drying is much longer, and also you’ll need clothes pins to secure them in place.

After finishing the circle, I added more petals around it, and that way I formed other flowers around the center. Here you need to pay attention to the number of petals. There should be 6 petals on each flower so that you keep the right shape of the object.
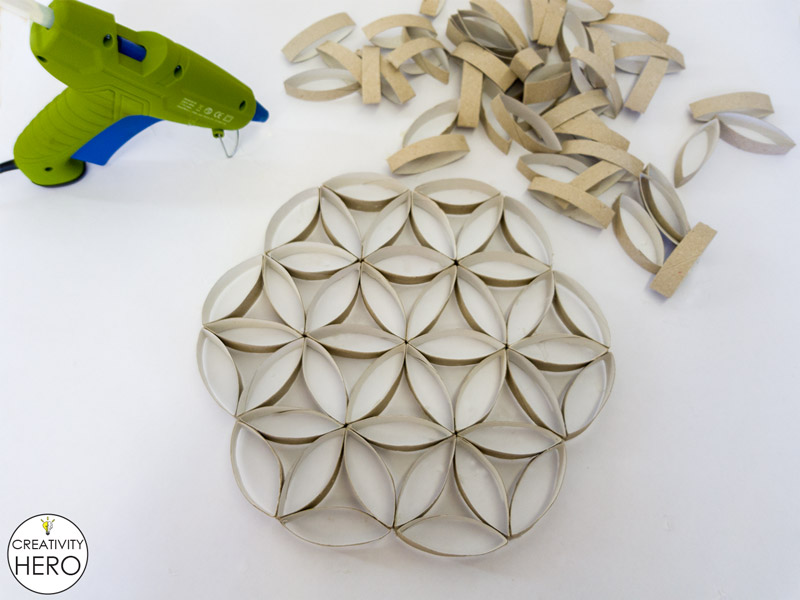
The next step is gluing more pieces around the flowers the same way you glued the circle, but here you’ll get a hexagonal shape of the object.

Follow these steps, and you can make as large flower as you want, depending on your taste and the place on the wall where you’ll attach it.
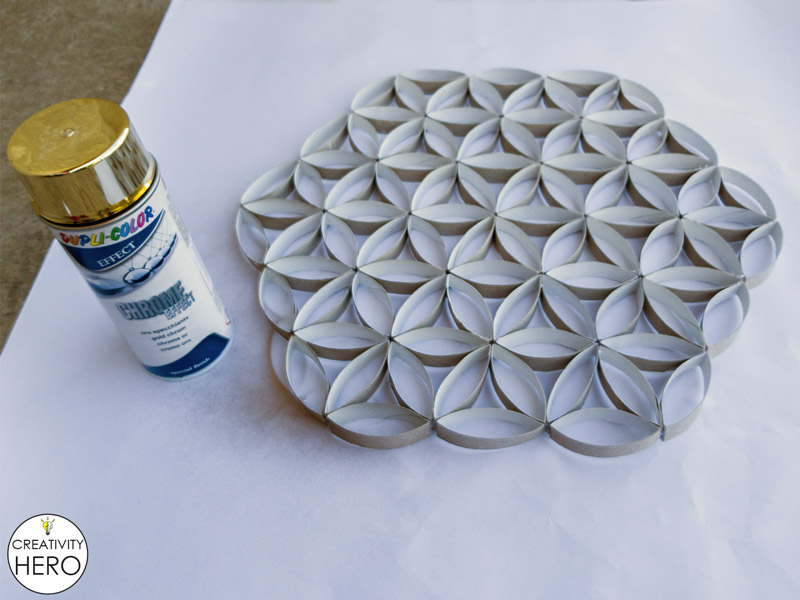
The final step is painting the flower any color you want. I chose gold spray paint and sprayed the flower. It didn’t take long to dry.
You may like: Simple DIY Picture Frame Using Popsicle Sticks
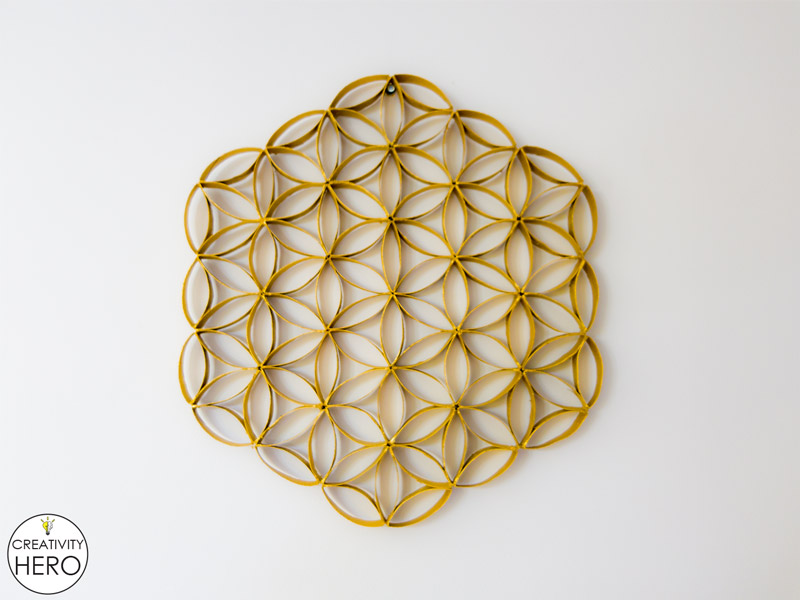
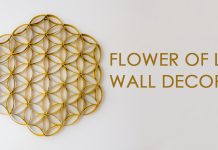
And this is the finished project hung on the wall!

I hope you like this simple craft as much as I like it. If you do please share this wonderful wall art with your friends and family.
