


In this video I’ll show you how I made an exploding sun LED lamp out of Styrofoam and optical fibers. The lamp might seem a bit complicated at first glance, but it is actually very simple project that can be done in a day.
Also, it requires just a few basic tools that everyone has at home, so I encourage you to follow my instructions and make your own outstanding piece of art.
Don’t forget to watch the video below, where you can see the full process of creating this magical lamp:
Materials:
- Styrofoam sphere (consisting of two pieces)
- 0.75 mm PMMA fiber optic cable
- LED light bulb
- Light bulb socket
- Neodymium bar magnets
- 5 min epoxy
- Acrylic paint
Tools:
- Glue gun
- Paint Brush
- Utility knife
- Scissors
- Needle (around 1 mm size)
Disclosure: As an Amazon Associate I earn from qualifying purchases.
This project was inspired by the designer Rutger Oomkes. You can check out his Instructable to see how he created such lamp.
Now, let’s get started!
Related: DIY Concrete and Acrylic LED Lamp with a Wooden Base
Making an Opening for the Light Bulb Socket
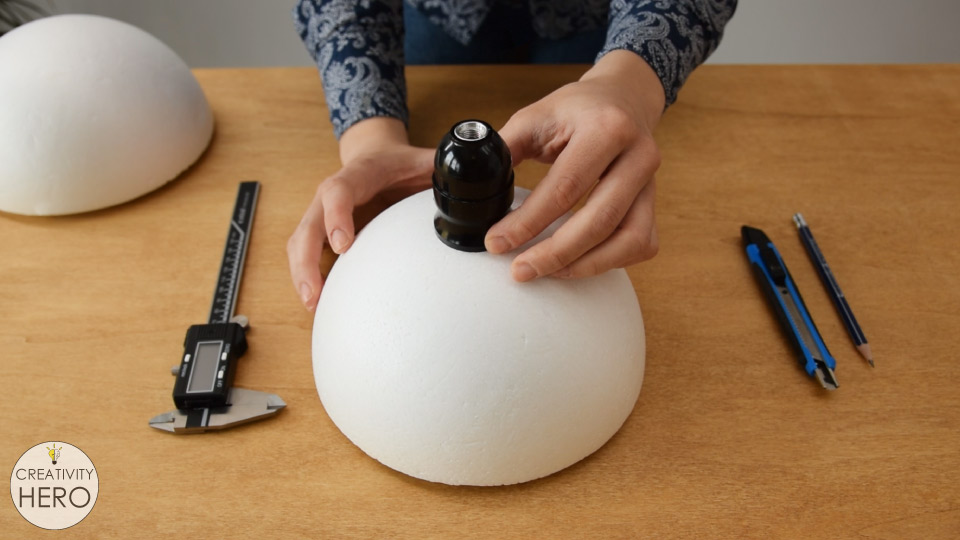
For this project I used a Styrofoam sphere with 20 cm diameter, consisting of 2 pieces.
The socket needs to be placed in the center of one half of the sphere, hence I need to make a hole to fit in the socket. The diameter of the socket is around 40 mm, but I couldn’t use the socket itself to draw a circle, because it is bell shaped, and it is much wider on the end.
Luckily, the electrical tape that I have has exactly 40 mm diameter, so I took it to outline the circle.
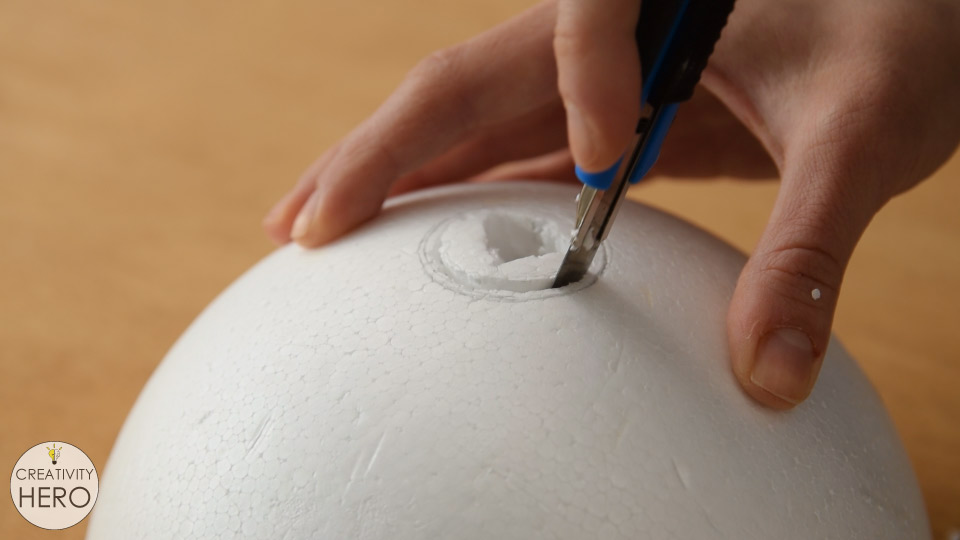
The opening I made with a utility knife, which works pretty well on Styrofoam. I tried to follow the line very carefully, making sure I don’t remove more than I needed.
The opening perfectly fits the socket, and now I can move on to the next step.
Making Tiny Holes into the Styrofoam for the Optical Fibers

I have around 100 m of optical fibers, that need to be inserted into the sphere. But first, I’ll use a medical needle to make tiny holes into the Styrofoam, in order to be able to insert the fibers easily.
I made as many holes as possible on both halves of the sphere. The hub of the needle served as a handle, thus it was very easy to make those holes.
Related: Curved Wood and Acrylic LED Desk Lamp with Concrete Base | Bending Acrylic
Attaching Neodymium Magnets
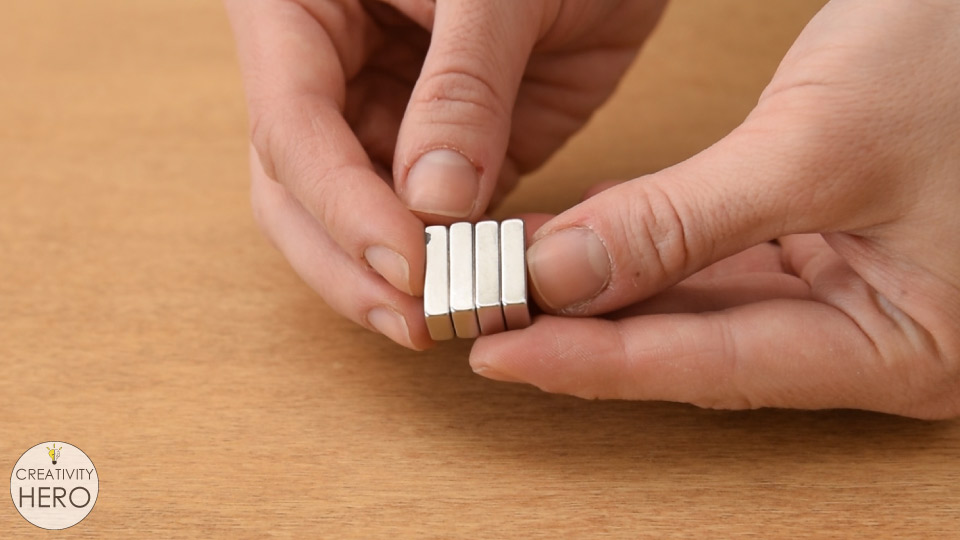
Once I’m done with the holes, I need to attach magnets to the sphere to keep the two halves together. Instead glue, I decided to use magnets, because that way I can easily remove one half of the sphere and replace the bulb if needed. I have 4 neodymium magnets with size 20 by 10 by 4 mm. They’re pretty large, so I’ll attach them vertically, which means they’ll attract each other with the smallest surface of 10 by 4 mm.
The neodymium magnets are very strong, and they’ll hold the two halves together pretty well.
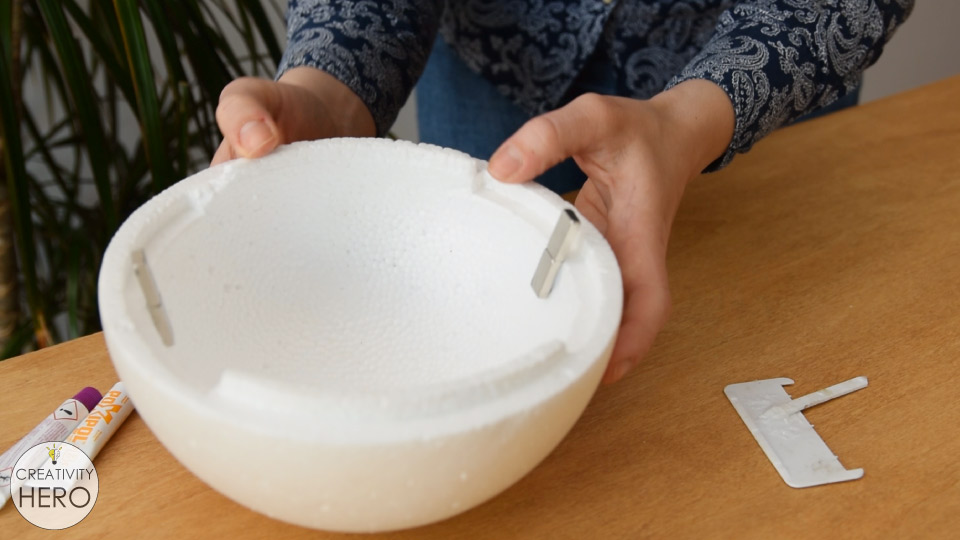
To attach the magnets onto the Styrofoam I used 5 min epoxy. But, if you choose different type of glue, you might want to test it first, because it can melt or dissolve the Styrofoam. Also, when gluing the magnets, make sure they attract each other on both sides.
Painting the Styrofoam Sphere
Now it is time to make the sphere more vibrant and add some color to it.
At first, I wanted to spray paint the sphere, but after spraying a scrap piece of Styrofoam, I noticed that it started to melt.
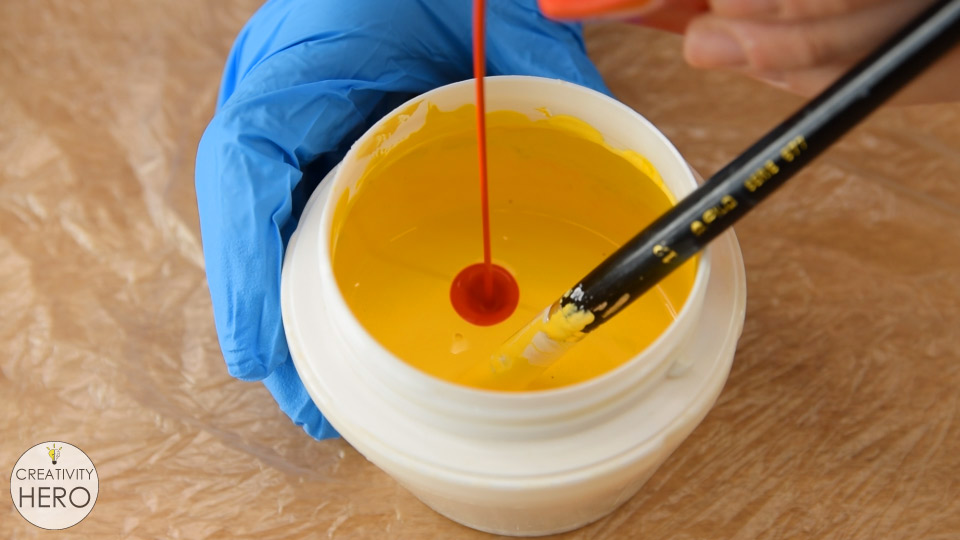
That’s why I went with acrylic paint, and combined white as a primary color, with a few drops of yellow and red tint in order to get a color that will remind of the Sun.

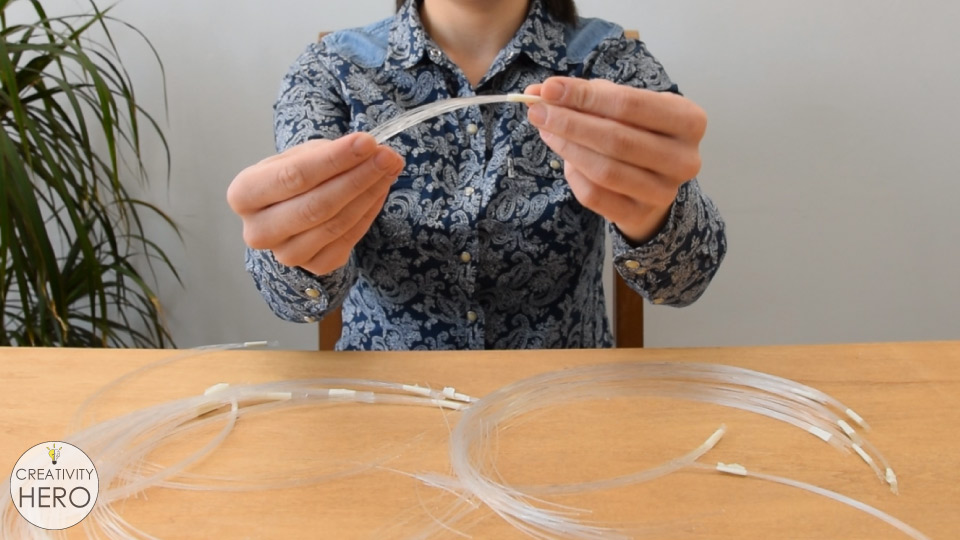
Cutting Different Lengths of Optical Fibers
While the paint was drying, I continued with the optical fibers. I cut different lengths of the fibers with scissors, the shortest are 5 cm, and the longest are around 60 cm. This will actually give the effect of explosion of the Sun.
Related: DIY Acrylic and Wood Color-Changing LED Lamp
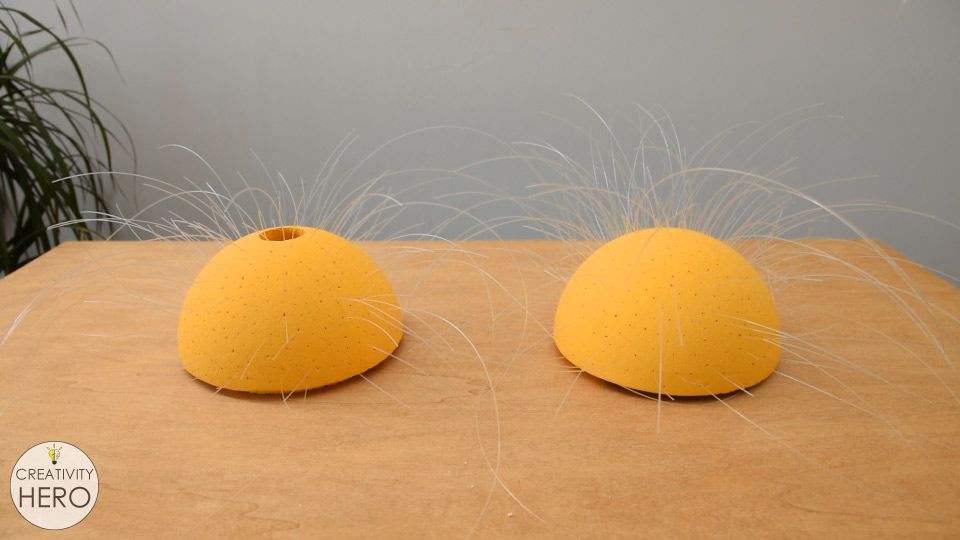
Inserting the Optical Fibers into the Sphere
Before I started inserting the fibers, I noticed that I actually needed more holes into the foam, therefore I took the needle and made a bunch of other random holes. This additional step didn’t affect the color at all.
Now I can move on to the most time-consuming part of the project, which is inserting the fibers into the holes.

This type of optical fibers perfectly transmits the light from one end of the fiber to the other. It took me around 2 hours to do that.
Applying Hot Glue onto the Optical Fibers
To keep the fibers in place, I applied hot glue onto the fibers inside the sphere. I used toothpick to apply a small amount of hot glue on each fiber. This process also gave the glue time to cool down just a little, because when applied directly it melts the fibers.
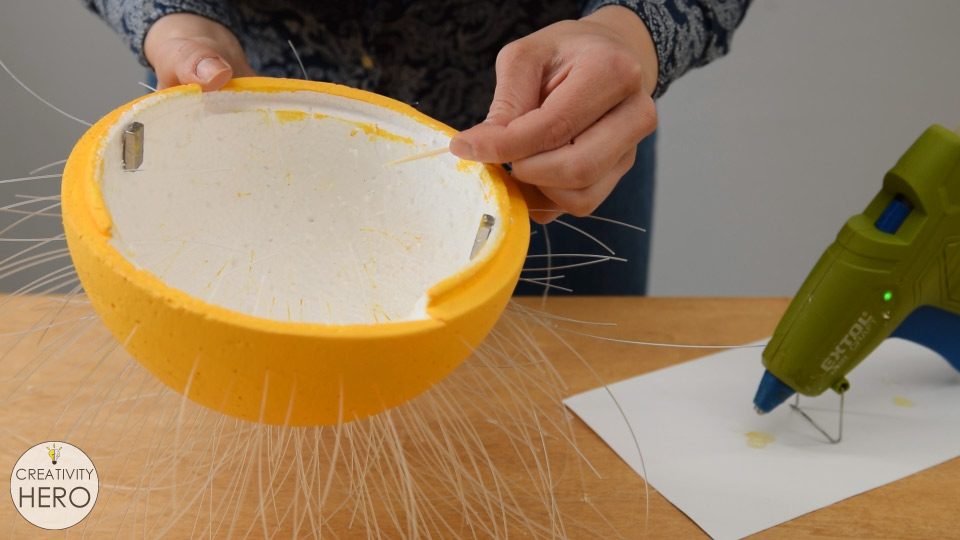
You need to be very careful here and avoid applying glue directly onto the end of the fiber, since you don’t want to prevent the light transmission.
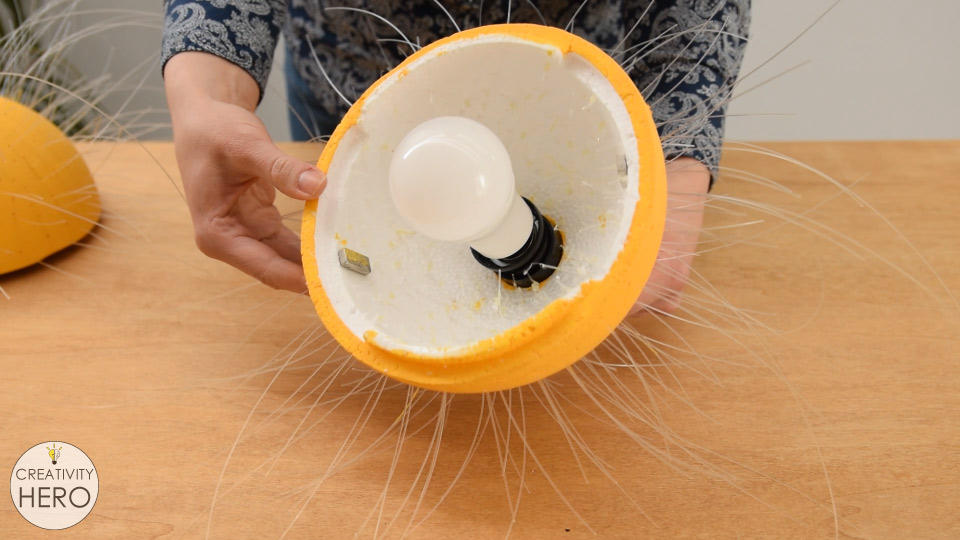
Installing the Light

Next, I moved on to the socket. I cut around 20 cm cable and removed 2 cm of the jacket with a utility knife. I used wire strippers to remove the insulation off of the ends of the wires. Then, I attached the wires into the socket interior, and screwed on the shell.
I chose warm white LED light bulb. It is very important to use LED bulb, because it produces very small amount of heat.
Related: How To Build A Wooden Desk Lamp | DIY Project
Mounting the Exploding Sun LED Lamp onto the Ceiling
Now that I’m done assembling the parts, I can mount it onto the ceiling.
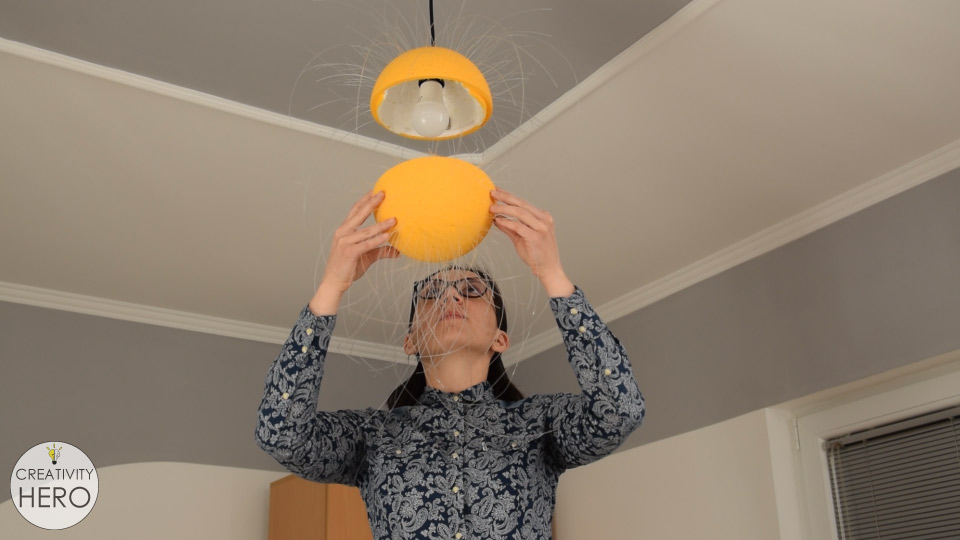
Finally, I can attach the other half of the sphere, turn the light on and enjoy the mesmerizing beauty of the lamp.
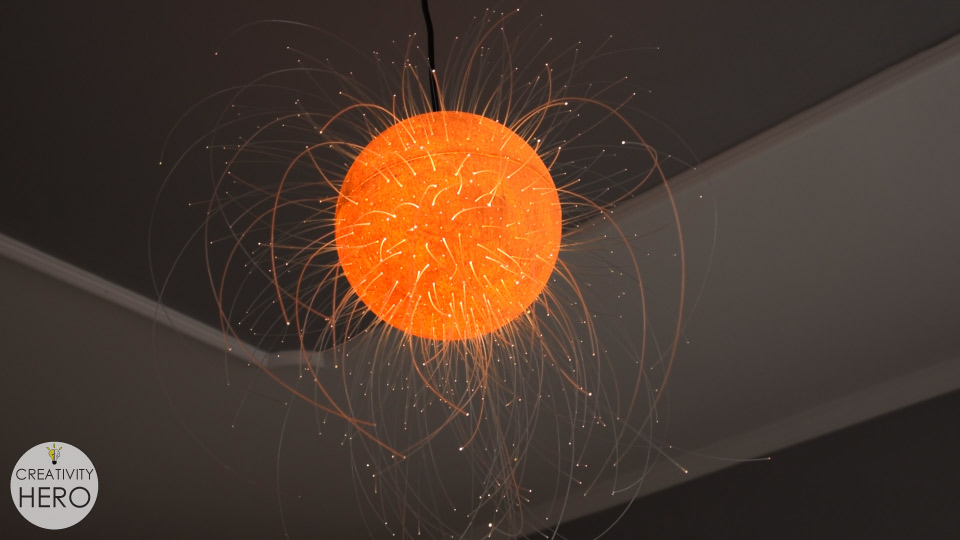
This is very simple and unique project, and I think it is perfect for both indoor and outdoor.
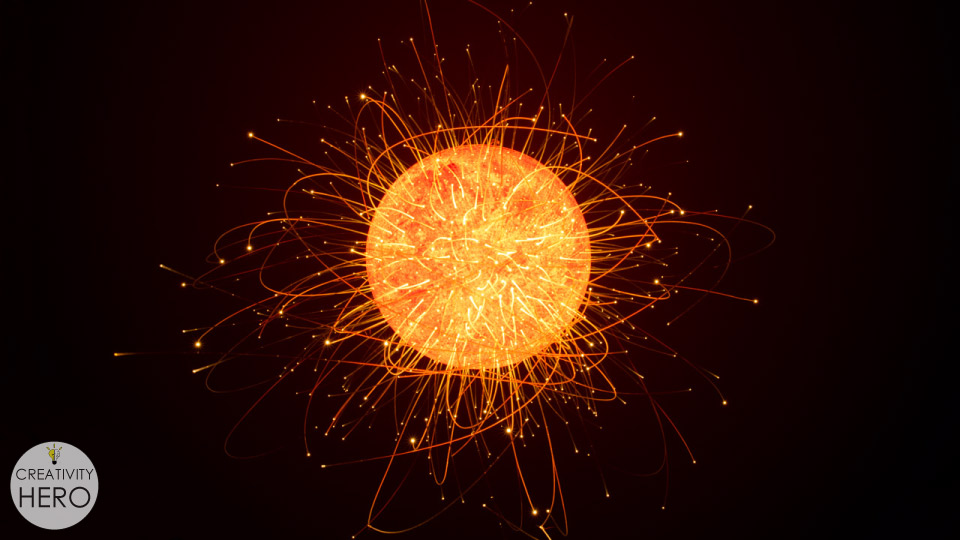
There are no limits on how you can make this Exploding Sun LED Lamp. You can use larger or smaller sphere, you can add more optical fibers, you can even change the color of the sphere and on the light, it’s all up to you.
I hope you enjoyed this project. Let me know what you think in the comments section below. Also, subscribe to my YouTube channel and hit the notifications bell to never miss another video.

Complimenti sei fantastica