


Today I’m going to make a color-changing concrete lamp with a wooden base.
I always want to challenge myself to try new things, and combine different materials in order to make something unique.
So, in this project I’m not only going to use a concrete, but also I’m going to try to embed tiny acrylic pieces into the concrete. The acrylic pieces guide the light from the LED light source on the bottom to the polished concrete surface.
Be sure to watch the video for full experience:
Materials:
- Acrylic sheet
- Quikrete
- Styrofoam board
- Epoxy
- Masking tape
- Wood glue
- RGB LED strip light
- Silicone pads
- Shellac
- Spray paint for concrete
Tools:
- Cordless drill
- Random orbit sander
- Coping saw
- Soldering iron
- Glue gun
- Forstner drill bits
- Metal ruler
- Utility knife
Disclosure: As an Amazon Associate I earn from qualifying purchases.
Related: Curved Wood and Acrylic LED Desk Lamp with Concrete Base | Bending Acrylic
Cutting the Acrylic
I started with the acrylic. This acrylic piece is 5 mm thick, which is enough for this project. First, I removed the protective film because I need to cut tiny pieces, and the film could make cutting the acrylic harder.
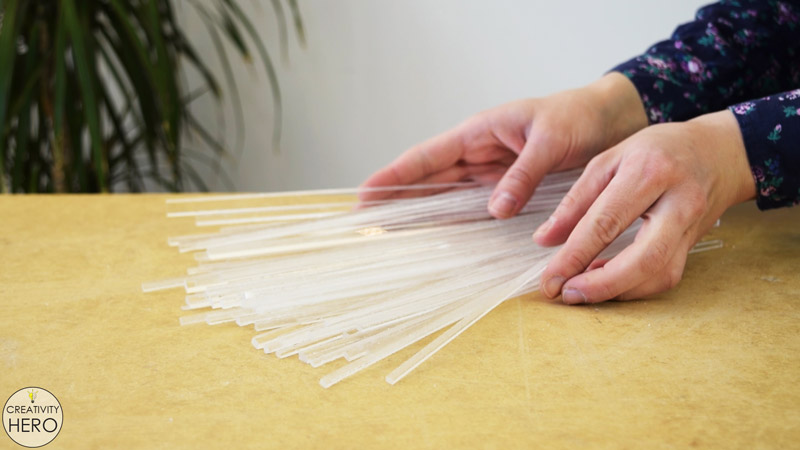
Then, I placed it onto the crosscut sled, and started cutting. While cutting acrylic, I’ve learned two important things: first, the table saw blade needs to be set higher, and second, the crosscut sled needs to be moved faster, which will prevent the acrylic from melting.
From this acrylic piece I got around 60 tiny pieces in total.
Making the Mold
Next, I can move on to the mold. I used 10 mm thick Styrofoam board, but you can use thicker, it doesn’t really matter.
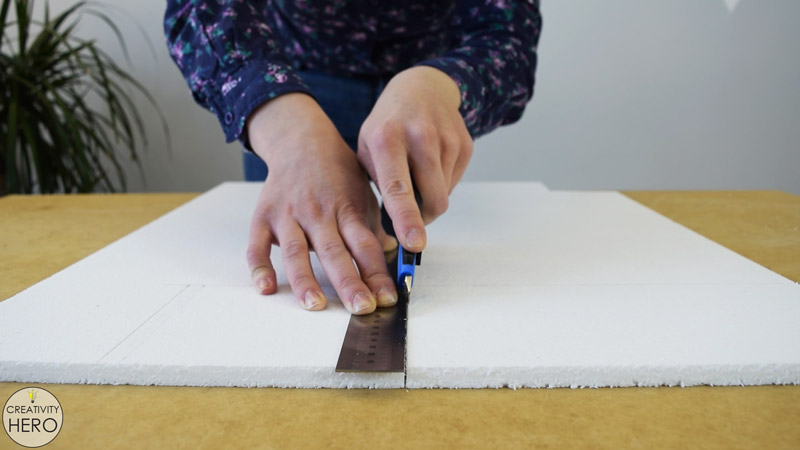
Before cutting, I measured and marked all the dimensions. Then, I cut the Styrofoam to size. For more precision I’m using a metal ruler and a utility knife. This is the best and easiest way to cut Styrofoam.
Combining acrylic and concrete is the trickiest part of this project. The thing is that I need to insert all the acrylic pieces into the Styrofoam, and then to assemble the mold.
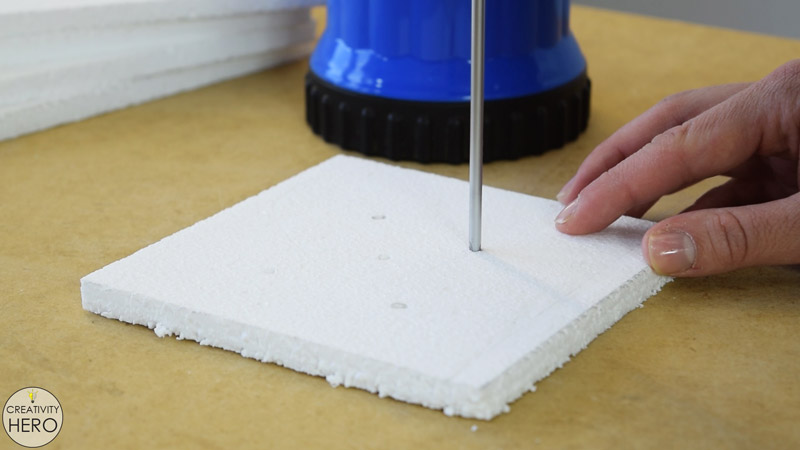
So, I created random holes into the Styrofoam with a hot screwdriver. I heated up the screwdriver onto a portable gas stove and made perfect holes without damaging the Styrofoam.
I repeated the same process onto all Styrofoam pieces and got pretty nice holes where I’m going to insert the acrylic.

Inserting the acrylic into the smallest Styrofoam piece, which will be the bottom of the mold, was very simple because all I needed to do was to push them straight into the holes. To keep the acrylic pieces in place I tied them up with zip tie.
But, this was not the case with the other 4 Styrofoam pieces. Here, I needed to bend the acrylic in order to get the desired shape of the mold.
I used the gas stove, turned it on, and reduced the heat as much as possible. Then, I took one acrylic piece, placed it above the gas stove and waited for about 20 seconds until it softened so that I can easily bend it and make whatever shape I want.
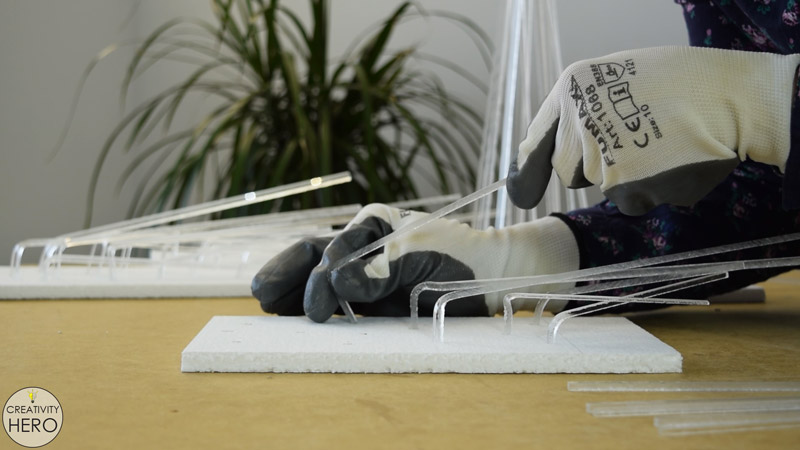
This way I bent all the acrylic pieces and inserted them into the Styrofoam. Bending the acrylic is the most important step that will make assembling the mold possible. When I was done, I tied them up with zip ties.
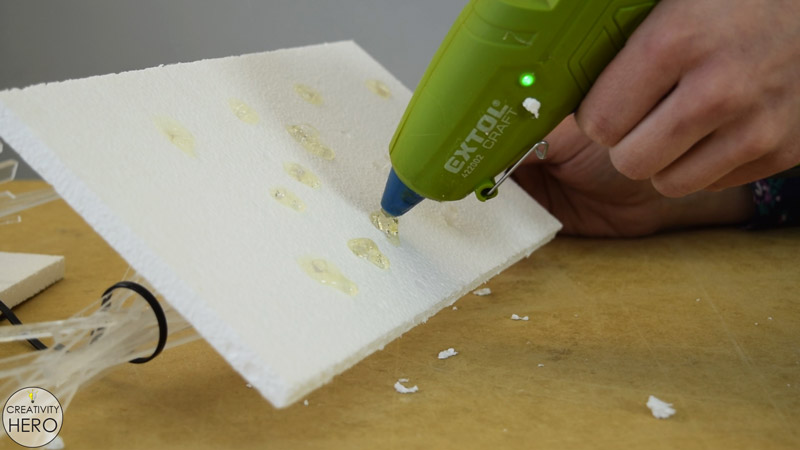
Some acrylic pieces are so tiny which makes some of the holes a bit loose, so I need to secure them in place. I used a hot glue for that purpose.
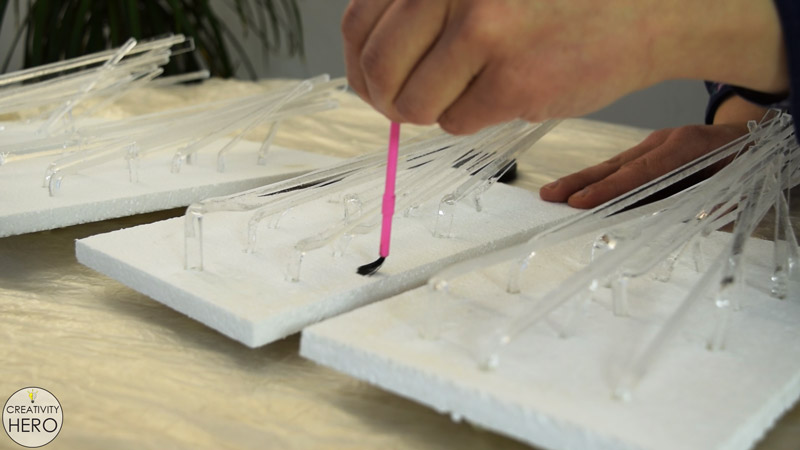
In order to prevent the concrete from sticking to the mold, I applied cooking oil all over the surface. I did it with a brush, making sure I don’t miss a spot.
Finally, I can assemble the mold. I cut a bunch of toothpicks in half, which will serve as dowels. I’ve used toothpicks before, and I can say they’re pretty effective.
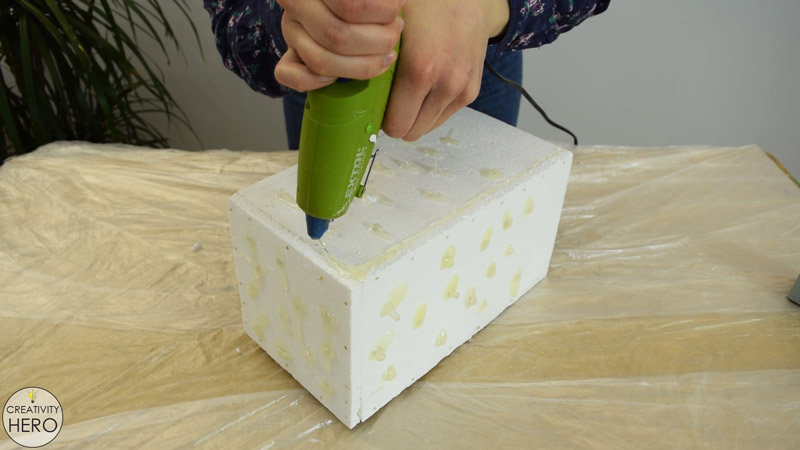
There are some gaps between the joints, so I decided to fill them up with hot glue. That way I’ll prevent the water from getting out of the mold. Additionally, I secured the mold with an adjustable corner clamp, a masking tape, and a duct tape.
Related: DIY Acrylic and Wood Color-Changing LED Lamp
Mixing up some Concrete
The mold is ready, and now I can make the concrete mix.
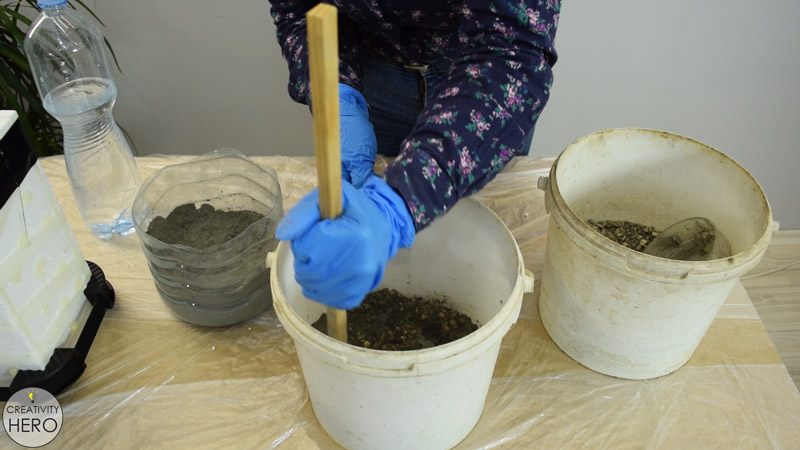
I mixed one part sand and one part cement, and added water until I got nice and thick consistency.
When I was satisfied with the consistency, I poured the concrete into the mold, by constantly vibrating the mold by hand in order to fill in all the voids.
I poured the concrete until it reached around 20 cm height. Then, I additionally vibrated the mold to release the air bubbles.
Once I was done, I let the concrete cure for 48 hours before removing the mold.
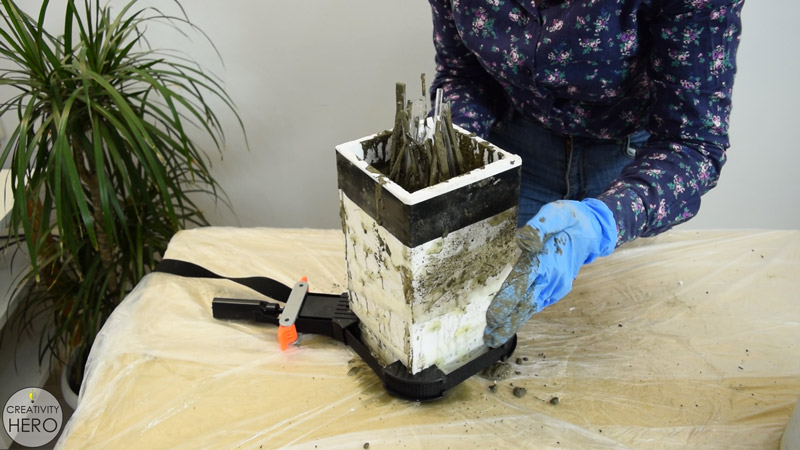
Removing the Mold
After 2 days I removed the mold. I was so excited to do that, because I had no idea how it will turn out. Removing the mold was easy, the only difficulty I had was with the hot glue which stuck onto the acrylic.
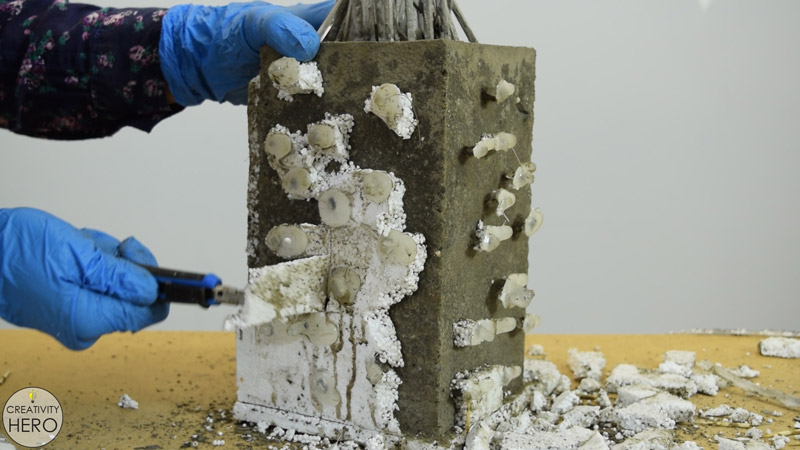
But, using a utility knife made everything much easier.
Luckily, the cooking oil prevented the concrete from sticking to the mold. I highly recommend using cooking oil in any concrete project.
Cutting the Acrylic Flush with the Surface and Sanding
Now I need to make all the acrylic pieces flush with the concrete surface. So, I’m going to cut all the parts of the acrylic that are sticking out of the concrete with a coping saw.
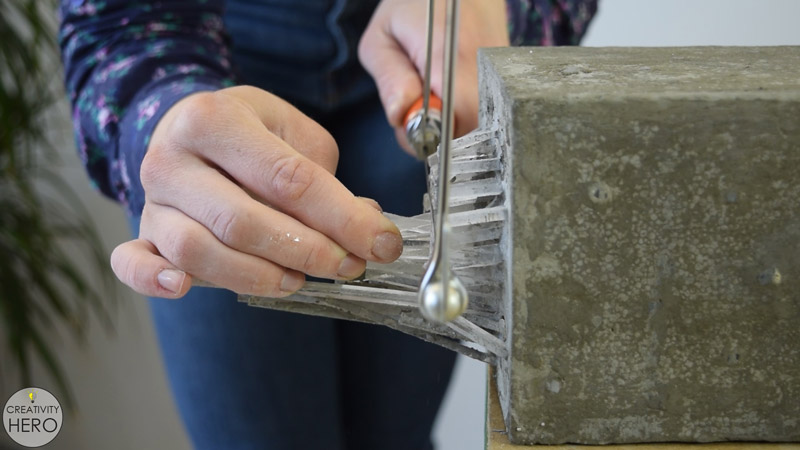
Also, I cut the extra length of the acrylic pieces that will go into the wooden base, and left around 3 cm of it, which will be enough to guide the light from the bottom to the concrete surface.
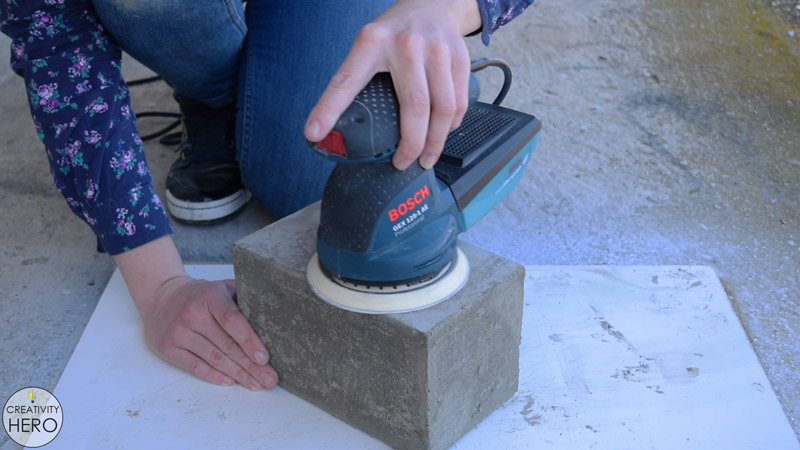
Then, I used my orbital sander to sand the concrete surface, in order to make it smooth and to remove all the imperfections.
Making the Wooden Base
Now it is time to move on to the wooden base. I use a beech wood, and cut 4 identical pieces on my crosscut sled. Their size needs to match the size of the concrete form.
I want to make a small box with a clean look, because I want the focus to be on the concrete and the acrylic.
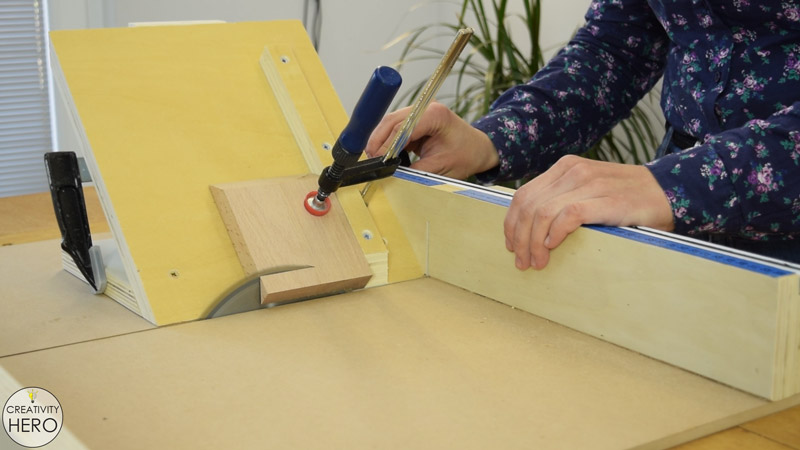
To achieve a clean look, I’m going to cut all the pieces at a 45 degree angle. So, I made this super easy jig to crosscut at an angle.
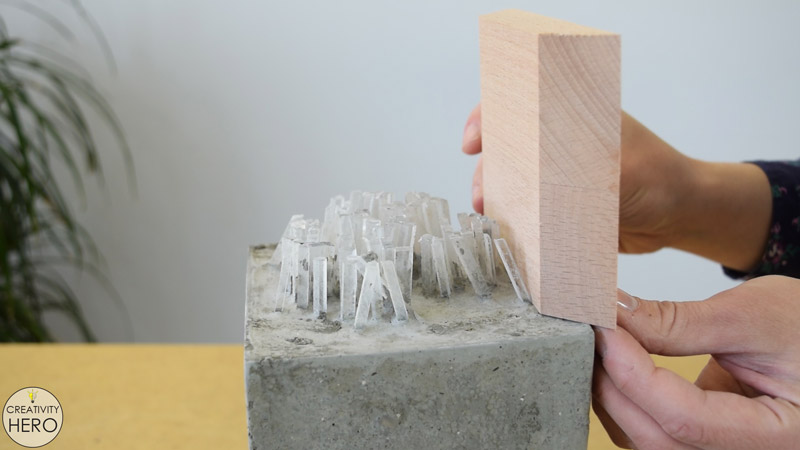
After that, I checked if the wooden pieces match the concrete form. Here, I realized that the ends of the acrylic were closer to the edge, and the wooden pieces couldn’t stay flush with the sides of the concrete.
So, I needed to make some adjustments onto the wood. In fact, I decided to remove parts of the thickness of the wooden pieces onto the crosscut sled. I measured and cut, adjusting the blade all the time in order to remove just as much wood as needed, not more nor less.
That way, I made enough space for the acrylic to fit inside the wooden base.
On the bottom of the base I plan to attach a fiberboard piece, to hide the controller and the LEDs. I’m going to make rabbets on each wooden piece, 5 mm wide and 7 mm deep, so when I attach the fiberboard later, it won’t be visible.
Before assembling the base I need to make a space for the LED controller.
First, I drilled two holes, one for the infrared receiver, and the other for the power plug.
On the other side of the same wooden piece I made a space for the controller using a Forsther bit and a chisel.
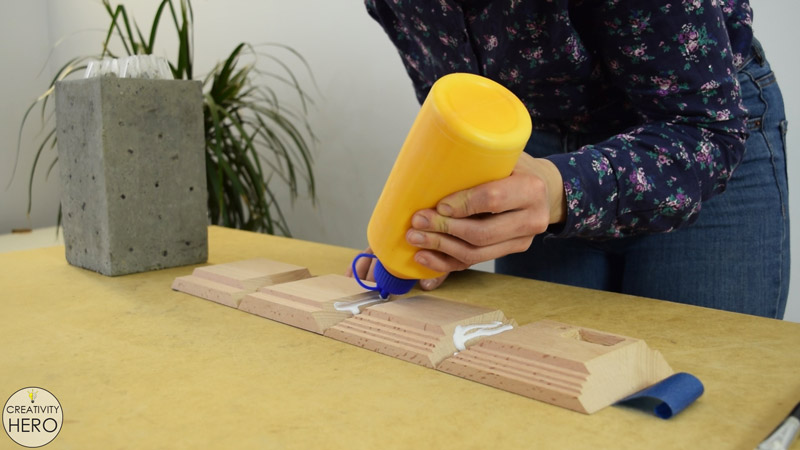
Now, I’m going to glue up the mitered corners. Using masking tape as a clamp when gluing mitered corners together works really great.
Related: How To Build A Wooden Desk Lamp | DIY Project
Applying Finish to the Concrete and the Wood
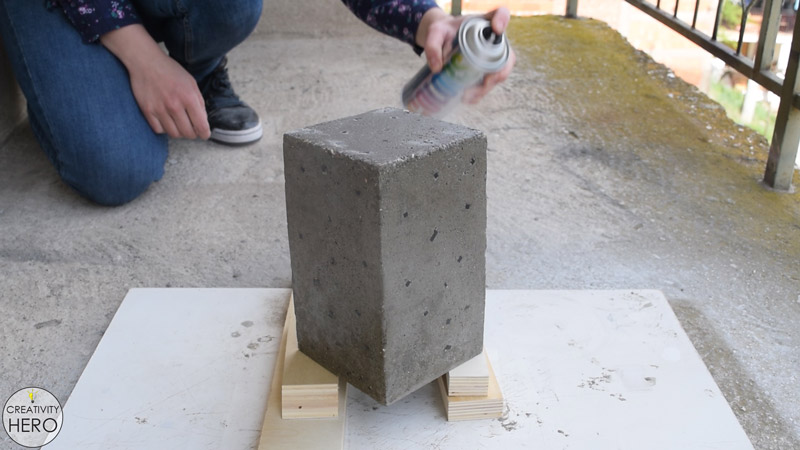
While the base is drying, I can apply finish to the concrete. I cleaned the acrylic, and wiped the dust off of the concrete surface with a wet cloth, and then I applied clear spray paint for concrete.
With this done, the concrete form is completely finished, so I can go back to the base.
One of the corners had a gap on the joint, so I needed to fill in the gap. I used a combination of wood glue and saw dust, which turned out to be much better than a wood filler.

Once it has dried, I sanded the base with 120, and then with 220 grit sandpaper. And then, I applied one coat of transparent finish to protect the wood.
Installing the Light
Next, I can move on to the light. I cut around 1 m of this RGB LED strip on the predetermined cutting points. It should give a strong light, which is exactly what I need.
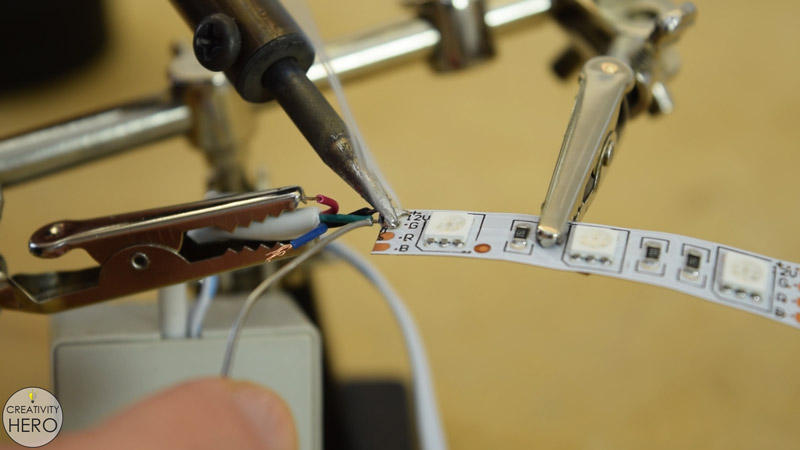
Then, I stripped off the wires on the connector, and soldered them onto the LED strip appropriately.
For this project I’m using 12 V power adapter. Before installing the light into the base, I checked if everything works properly.
After that, I secured the controller into place with hot glue. I did the same with the infrared receiver.
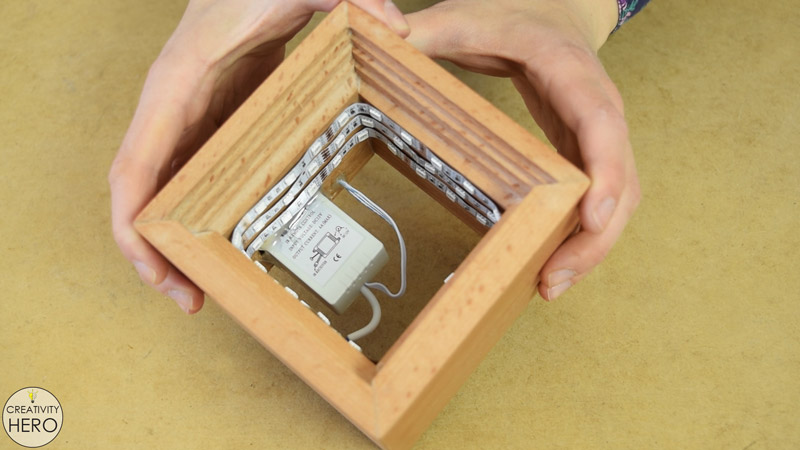
I peeled off the tape cover on the back of the LED strip and stuck it into the base.
Joining All the Pieces Together
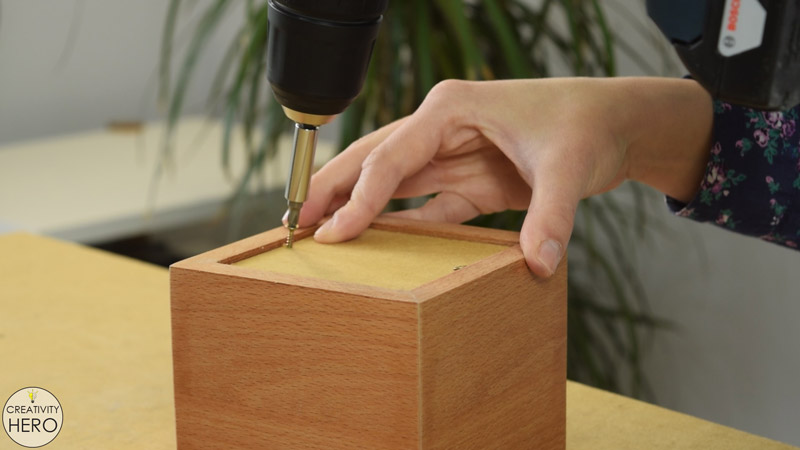
This is a 3 mm thick piece of fiberboard, which I’ll use to cover the bottom. To attach it to the bottom I used only 2 screws, so that I can easily remove it when needed.

The concrete form and the wooden base are completed, so now I can join them together with epoxy. I applied a generous amount of epoxy onto the wood, and then placed the heavy concrete form above it, which will make a strong bond, without using any additional weight.
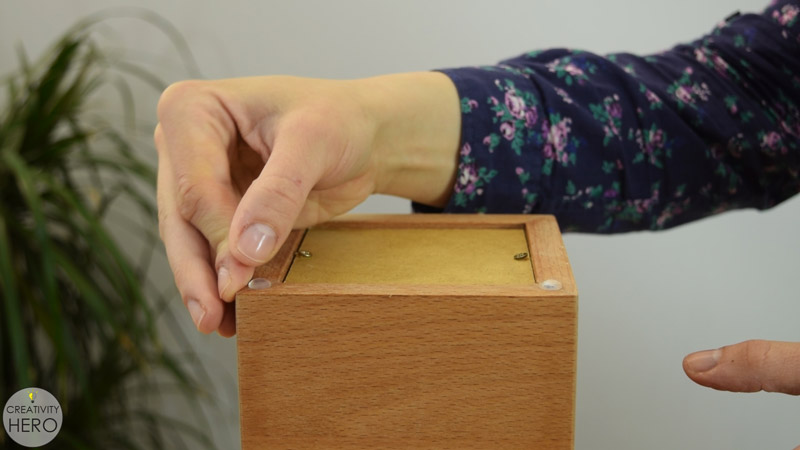
Lastly, I attached silicone pads on the bottom of the lamp to avoid scratching of the surface where it will be placed on.
Related: Exploding Sun LED Lamp | Simple DIY Project
Turn the Concrete Lamp on and Enjoy
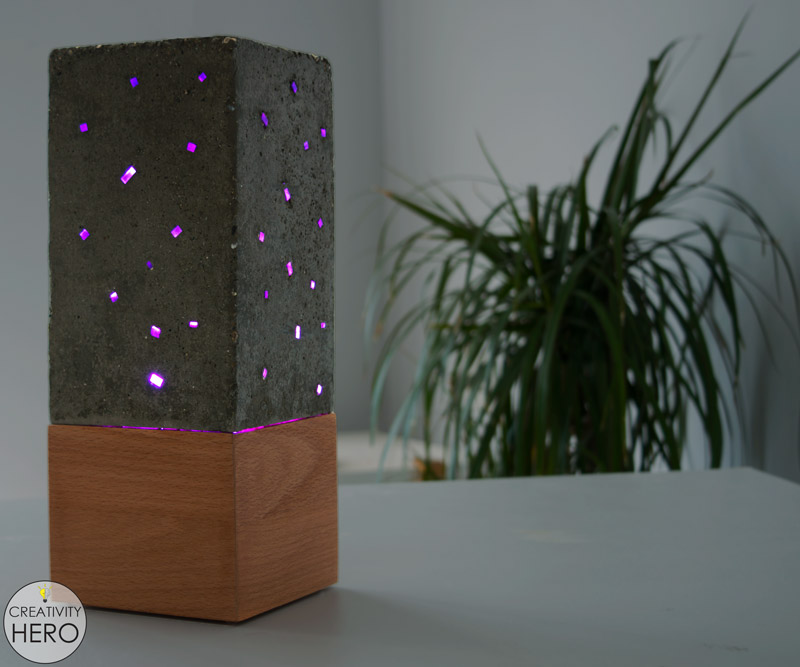
Now I can turn this concrete lamp on and enjoy this hypnotizing effect. This project was really challenging, and I had so much fun in the entire process of creating this lamp.
If you like this lamp share it with your friends and family, and subscribe to my YouTube channel.
